You've probably noticed your kitchen extractor fan whirring away while you're cooking up a storm, right? It's not just there to make noise; it's a crucial part of keeping your kitchen fresh and smoke-free. So, when it starts acting up, it can be a real headache. But before you rush to call in a pro, let's consider if it's something you can tackle yourself.
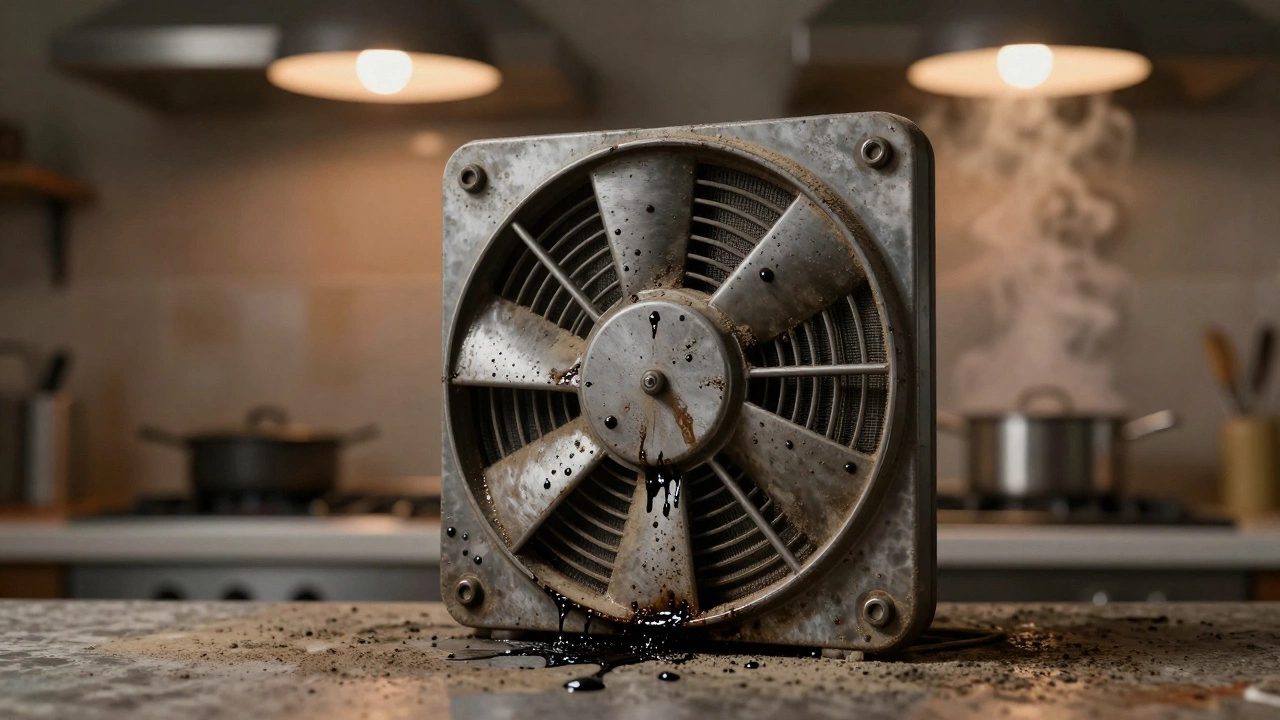
First things first, why replace it? Maybe it's making weird noises like it's trying to communicate with extraterrestrials, or it just stopped working altogether. Whatever the case, an extractor fan that's not pulling its weight is no use to anyone.
Now, you might be wondering, 'Can I actually handle this on my own?' The answer: absolutely, with the right know-how! But it's not just about enthusiasm; having the right tools is key. We're talking screwdrivers, pliers, and maybe a step ladder for those hard-to-reach spots. Got them? Great!
- Understanding the Function of Kitchen Extractor Fans
- Signs Your Extractor Fan Needs Replacing
- Choosing the Right Replacement Fan
- Essential Tools for the Job
- Step-by-Step Replacement Process
- Safety Tips and Common Mistakes
Understanding the Function of Kitchen Extractor Fans
Let's dive into the nuts and bolts of what a kitchen extractor fan really does. It's not just spinning away for fun. This handy device helps remove smoke, steam, and unwanted odors from your cooking space, which is essential to keep things fresh and reduce the risk of mold. It works by filtering out airborne particles and venting them outside your home, or it can recirculate filtered air back into the kitchen.
Kitchen extractor fans come in two main types: ducted and ductless. A ducted fan sends air through a duct to the outside, which is super effective at removing cooking fumes. On the other hand, a ductless fan uses filters to clean the air before expelling it back into your kitchen. Each type has its pros and cons, with ducted fans typically offering better performance, but requiring a more complex installation.
Parts of an Extractor Fan
Knowing the parts can help you understand how your extractor fan works and why it might need replacing. Here’s a quick rundown:
- Fan Motor: The engine that drives the fan blades, responsible for sucking air in and pushing it out.
- Fan Blades: These create airflow by spinning quickly to draw in air.
- Filters: Usually either charcoal or metal, these trap grease, smoke, and odors.
- Control Panel: Offers settings to adjust fan speed and sometimes includes a light switch.
- Hood: The housing for the fan, usually a stylish element in modern kitchens.
Imagine coming back home to a kitchen filled with smoke just because the fan decided to take a day off. Not ideal, right? But understanding how these parts work and their role can save you from such scenarios.
| Type | Advantages | Disadvantages |
|---|---|---|
| Ducted | Strong performance, great at removing fumes. | Requires duct installation, less flexible placement. |
| Ductless | Flexible installation, easier to install. | Less effective, needs frequent filter change. |
With this knowledge, you're not just staring at a buzzing metal piece; you're looking at a crucial appliance that keeps your kitchen environment pleasant and healthy.
Signs Your Extractor Fan Needs Replacing
Your kitchen extractor fan might be sending you some not-so-subtle signals that it's time to move on. It's important to catch these signs early, like a loyal detective catching clues. So, what are these warning flags you should be looking out for?
Unusual Noises
If your extractor fan sounds like it's hosting a concert that you'd rather not attend, it's a clear sign that something's off. Grinding, rattling, or squealing noises can mean anything from loose parts to a motor that's on its last legs. Noise complaints are often the first sign your fan is considering retirement.
Lack of Suction
One day, it just seems like your fan's gone lazy. You notice that it's not doing much to clear steam or smoke during your cooking adventures. Reduced airflow can be due to clogged filters or an aging fan motor that's just not up for the job anymore.
Visibility Issues
Sometimes, you can spot problems just by looking at the fan. If you see excessive dirt or grease build-up that doesn't clean off easily, or any visible damage like cracks or broken parts, it's probably time to consider a replacement.
Frequent Repairs
Constantly fixing the same issues? Investing in repairs more often than you'd like? It's a signal that you're throwing band-aids on a more significant problem. At some point, getting a new fan is more economical and less of a headache.
Electrical Problems
If you're noticing flickering lights or it has suddenly gone silent with a burnt smell wafting through, you may have electrical issues. This is not just an inconvenience; it's a safety hazard. Consider replacing it before any sparks fly.
Keep an eye out for these tell-tale signs so you can act before you're left fan-less in the middle of cooking your famous spaghetti carbonara.
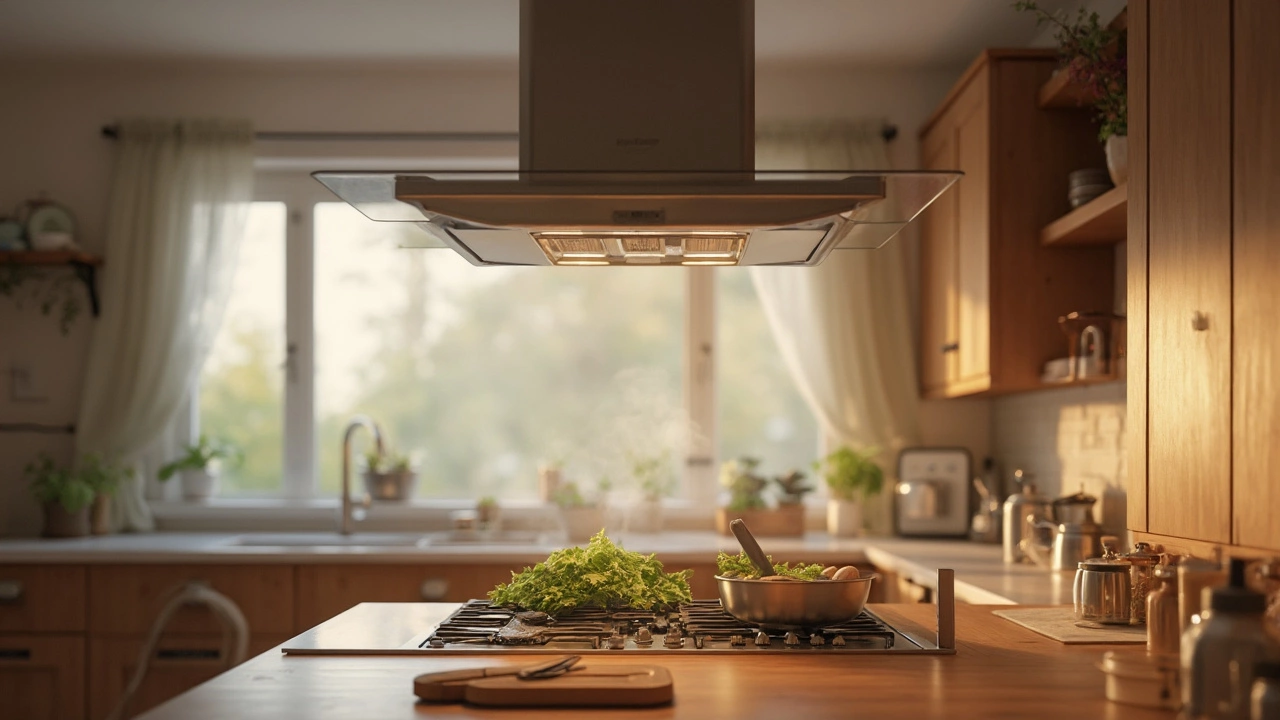
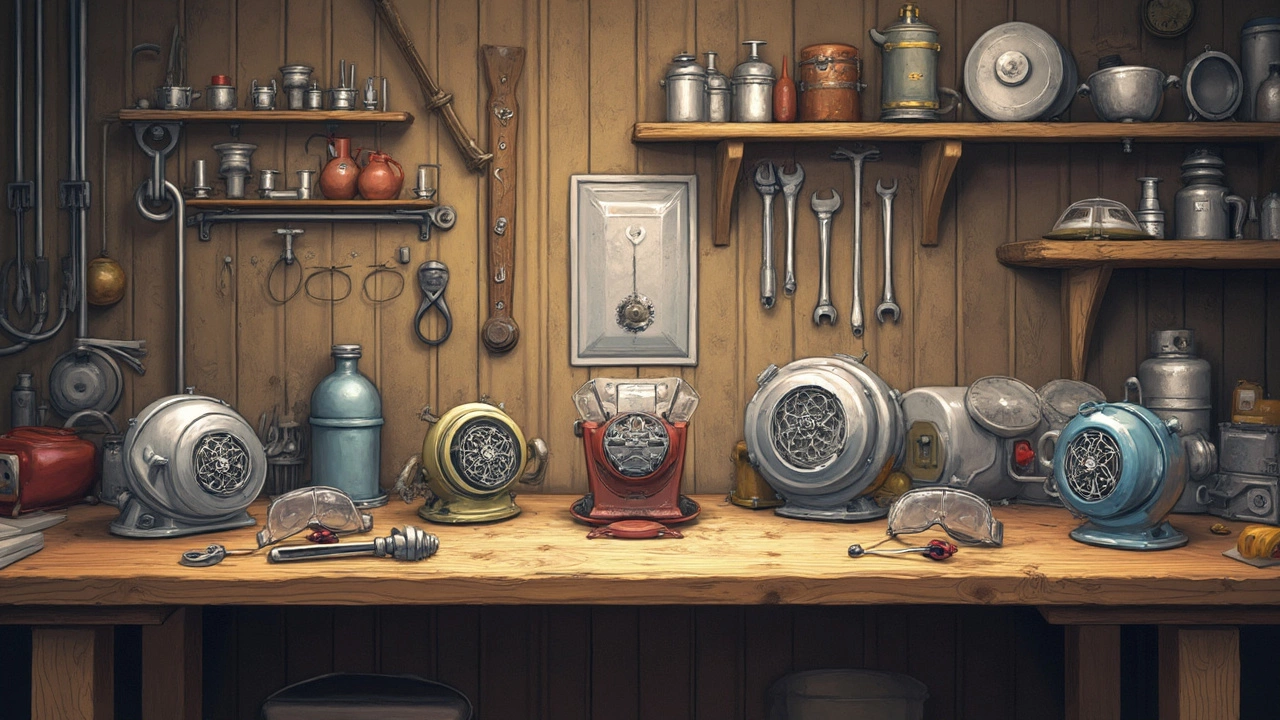
Choosing the Right Replacement Fan
Picking out a new kitchen extractor fan can seem overwhelming with all the options out there, but it doesn't have to be. Let's break it down to make sure you get the right fit for your needs.
Size and Compatibility
Before you click 'add to cart,' check the size of your current fan. You want something that’ll fit the already existing space without having to reshape your entire kitchen. Measure the diameter and depth of the fan you have now. Most kitchen extractor fans come in standard sizes, but mixing up your millimeters and inches could lead to a real headache.
Type and Style
Next up, you’ve got to decide on the type of fan. Do you want a wall-mounted model or something discreet that can fit under a cabinet? There are also island fans and chimney-style ones. It really depends on your kitchen setup. If you’re unsure, picture how each style will fit with your current kitchen design.
Airflow Power
Airflow, measured in cubic feet per minute (CFM), is key. More CFM means more power to whisk away smoke and smells. A good rule of thumb: multiply the volume of your kitchen by 15, and that's the CFM rating you should aim for. For larger kitchens, aim closer to 300-350 CFM.
Efficiency and Noise Level
Efficiency doesn't just mean power usage; it's about how well it gets the job done with little fuss. Check the energy efficiency rating of the fan, and don't forget to look at the noise level, often measured in sones. A fan that sounds like a jet engine isn’t what you want humming during your quiet weekend breakfast.
Budget and Brand
Your wallet is next in line. Set a budget that aligns with both your desire for quality and financial comfort. Sticking with trusted brands might save you headaches in the long run, even if they cost a bit more upfront. Brands like Broan, Panasonic, and Air King are often recommended for a reliable balance of cost and quality.
Handy Features
Some fans come pimped out with extra features like sensors or integrated lights. If you're a fan of bells and whistles, look for digital displays or humidity sensors that turn the fan on or off automatically.
| Feature | Benefit |
|---|---|
| Humidity Sensor | Automatic activation to help reduce mold |
| LED Light | Energy-efficient lighting for your cooking area |
Once you’ve decided on the type, power, and brand, make sure to read up on some user reviews. People love sharing their success stories—or letting off steam about their kitchen mishaps.
Essential Tools for the Job
Tackling a kitchen extractor fan replacement isn't just about rolling up your sleeves; it's about having the right gear on hand. Without the right tools, you might find yourself in a bit of a pickle, or worse, stuck halfway through the job.
Basic Toolkit Essentials
Let's break down what you really need before you dive into this DIY adventure.
- Screwdrivers: Both flathead and Phillips screwdrivers are your new best friends for this task. They're essential for removing screws and accessing the fan components.
- Pliers: A sturdy set of pliers helps with gripping and pulling cables or tight bolts loose.
- Voltage Tester: Before you touch any electrical stuff, double-check there's no current running with a voltage tester. Safety first!
- Drill: If your new fan requires new holes or fixings, a drill will come in handy.
- Step Ladder: Unless you're a giant, a step ladder helps you reach those tricky spots above your stove.
- Protective Gear: Safety glasses and gloves are great for keeping you safe from dust or sharp components.
Extra Handy Tools
To really streamline the process, consider having these additional tools ready:
- Wire Strippers: If you're dealing with electrical connections, these can save you a ton of time.
- Masking Tape: Perfect for temporarily securing loose wiring or covering surfaces while you work.
Armed with these, you're more than ready to tackle that DIY extractor fan job. Remember, preparation is everything. If you set aside a bit of time to collect your tools before jumping in, the process will be smoother and a lot less stressful.
Step-by-Step Replacement Process
Ready to get your hands dirty and replace that kitchen extractor fan yourself? No worries, I've got you covered with this straightforward guide.
1. Safety First
Always, and I mean always, start by cutting the power. Find that circuit breaker and flip the switch to avoid any unwanted shocks. Safety is king here!
2. Remove the Old Fan
First, take a look at your current fan setup to see how it's attached. Most likely, you'll need a screwdriver to undo the screws holding it in place.
- Remove the cover: Gently take off the front cover and set it aside.
- Disconnect the wiring: Take note of the wiring connections—snapping a quick picture with your phone can be helpful. Carefully disconnect the wires.
- Unscrew the unit: With your trusty screwdriver, remove the screws securing the fan to the wall or ceiling, and gently take the fan down.
3. Prepare the New Fan
Before you slap that new fan in place, double-check that it's the right size and type for your kitchen. It should fit snugly into the existing space.
4. Install the New Fan
Let’s get that shiny new fan in place:
- Secure the unit: Hold the fan up to the installation site and line it up with the existing screw holes. Use your screwdriver to securely fasten the fan in place.
- Connect the wiring: Remember that picture you took earlier? Use it as a guide to reconnect the wires correctly.
- Attach the cover: Pop the cover back on and ensure everything is secure.
5. Test It Out
After everything is hooked up, it's time to see if your hard work paid off. Flip the breaker back on and test the fan. Listen for smooth operation and make sure it's drawing air as expected.
6. Troubleshooting
If it’s not working, double-check your wiring and make sure all connections are tight. Sometimes giving the blades a gentle spin can help jumpstart it.
With these steps, you should be well on your way to having a functioning kitchen fan again. Enjoy cooking without the extra smoke and hassle!
Safety Tips and Common Mistakes
Replacing your kitchen extractor fan can seem like a straightforward task, but there's more to it than meets the eye. Safety should be your top priority. Here are some handy tips and common pitfalls to avoid:
Safety First
- Turn Off the Power: Always cut the power to your kitchen before you start tinkering with any electrical appliance. Use your circuit breaker to play it safe and avoid any surprises.
- Use the Right Tools: Having the right tools is crucial. Make sure you've got insulated tools to avoid any accidental shocks—screwdrivers and wire cutters are a must.
- Clear Area: Ensure the area around your extractor fan is free of any clutter. This not only gives you space to work but also prevents tripping hazards.
Common Mistakes
- Incorrect Measurements: Measuring the wrong size can halt your progress in its tracks. Always double-check your fan's dimensions and the space it needs to fit.
- Not Following Instructions: The manual that comes with your new extractor fan isn't just there for decoration. Follow it step-by-step; it often contains crucial information specific to that model.
- Skipping a Test Run: Don’t skip testing the fan after installation. Turn it on and ensure it functions correctly before you call it a day. You don't want any surprises later, right?
Facts and Figures
Did you know that nearly 20% of DIY attempts to replace an extractor fan result in electrical issues due to not switching off the circuit breaker? That's a stat to always keep in mind when embarking on this task!