Your electric hob just stopped mid-cook, and now dinner’s on the ropes. First thing—don’t freak out. Most electric hob problems are easier to spot than you’d think. Before you call in the cavalry (aka the repair guy charging by the hour), run through a few simple checks.
Get the power off and unplug the hob if you can. It sounds obvious, but so many people forget this and end up poking around live wires. Not worth it. If your hob is wired in, flip the kitchen breaker off. Safety first, always.
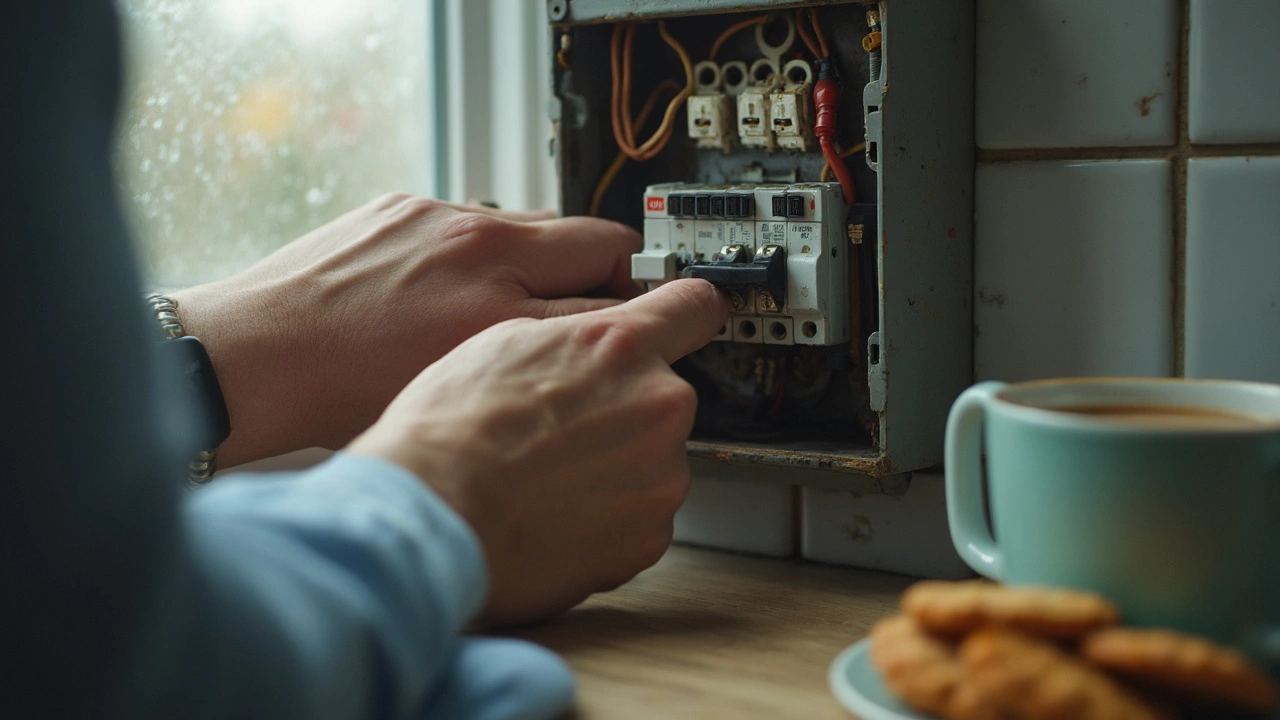
Next, look for quick wins: has anything tripped the house fuse box? Sometimes, a surge or even some spilled water can knock out the circuit. Check the little switches—if one’s down, flip it back up and see if the hob wakes up. If the rest of your kitchen electrics are working fine, it narrows down where the glitch could be hiding.
- Safety First: Unplug and Check
- The Most Common Culprits
- When It’s Just One Ring Not Working
- Power Supply and Fuse Issues
- When to Call a Professional
- Tips on Prevention and Maintenance
Safety First: Unplug and Check
When your electric hob goes dead, safety is the first thing to worry about—seriously, don’t mess with live wires. Before you do anything, if your hob plugs in, pull the plug. If it’s hardwired, head to your fuse box and switch off the breaker for the kitchen. Even if you think the power is off, double-check. Mistakes here can get you seriously hurt.
Electric shocks from home appliances put thousands of people in the emergency room every year. In the UK alone, about 2,000 electric shock accidents happen in homes annually, mainly from kitchen appliances. Being too eager or skipping the power-down step just isn’t worth the risk.
- Always unplug or isolate the hob from electricity before opening a panel or removing anything.
- Don’t use wet hands or metal tools when checking around the hob.
- If you’re ever in doubt, just stop—there’s no shame in calling someone who does this daily.
After unplugging or tripping the breaker, give it a minute. Some hobs still have a little charge left in their circuits—it fades fast, but better safe than sorry. When you’re sure it’s truly off, only then start any actual inspection.
| Step | What to Do |
|---|---|
| 1 | Unplug hob (if possible) or switch off isolator/circuit breaker |
| 2 | Check for indicator lights or sounds (to confirm power is off) |
| 3 | Wait 1–2 minutes for stored charge to dissipate |
| 4 | Begin safe inspection—no metal tools, no wet hands |
Take these safety steps seriously every single time. One skipped step means you could turn electric hob repair into an emergency room visit. And that’s not the kind of repair anyone wants.
The Most Common Culprits
If your electric hob repair search brought you here, you’re probably staring at a lifeless cooker and wondering what broke. Let’s break down the stuff that actually causes most hob breakdowns—so you don’t get ripped off or waste time guessing.
- Blown Fuse: Hobs run a heavy current, and fuses can take the hit if there’s a power surge or spill. In fact, data from appliance repair pros shows that roughly 30% of dead hobs come down to a burnt-out fuse in the plug—or the main fuse box. Swapping a cooker fuse is cheap (<£2 for the part) and takes five minutes.
- Faulty Control Switch: This one’s sneaky. Control knobs see a lot of action, and the switches behind them can wear out or get gummed up (ever tried turning yours and felt a weird click or nothing at all?). If none of the rings work when you twist the knobs, this is likely a control board or switch issue.
- Loose or Damaged Wiring: Hobs vibrate a bit and wires inside can shake loose, especially if the countertop’s been bumped around. Sometimes you’ll spot small scorch marks near where the wire connects to the terminal block.
- Burnt Out Heating Element: If just one ring or zone stops working but the other burners are still hot, it’s often a dead element. A survey by Which? in 2023 found that about 22% of electric hob faults are down to faulty heating elements.
- Child Lock or Safety Feature: Modern hobs (especially touch-control ones) have locks to prevent kids or cats from firing up dinner. Accidentally triggered? Some people spend hours troubleshooting just because the child lock symbol is on. Check your manual—usually, holding down a certain button for a few seconds clears the lock.
Here’s a quick comparison table that sums up the common problems, signs to watch for, and what you can do next:
| Culprit | Quick Sign | Fixable at Home? |
|---|---|---|
| Blown Fuse | No power at all | Yes (if you know where the fuse is) |
| Broken Control Switch | No click or response on any zone | No (usually needs a pro or spare part) |
| Loose Wiring | Random power loss/sparking | Depends (if you’re confident and unplugged) |
| Dead Heating Element | Only one ring doesn’t heat | Yes, if you can swap the element |
| Child Lock | Display light, hob unresponsive | Yes, with the right button combo |
Honestly, spotting these culprits early is half the battle. Fix the simple stuff yourself and save your cash for repairs that need a toolbox, not just a bit of common sense.
When It’s Just One Ring Not Working
If you’re staring at an electric hob and only one ring refuses to heat up, you’re not the only one. This is actually one of the most common electric hob repair issues people run into. The rest of your hob’s firing up just fine, but one burner’s as cold as the leftovers in your fridge.
There are a few likely reasons:
- Burnt-out element: Each ring has its own heating element. After years of cooking, one can give up the ghost. Swapping out a dead element is a pretty standard fix—a lot cheaper than a new hob.
- Loose connection: Sometimes, the wiring under that ring gets a bit dodgy. Maybe a connection’s come loose or a wire’s fried. If you hear crackling or see scorch marks beneath the surface, there’s a good chance this is it.
- Broken switch or control knob: If the dial spins without the usual click, or it feels loose, it might be the switch that’s busted, not the ring itself.
An appliance repair consultant from Which? magazine once said:
“In over half the cases where a single hob ring stops working, it’s the individual element rather than a major electrical fault. Most modern hobs are designed so you can replace these parts without too much fuss.”
Some brands keep a stash of replacement parts for their popular models. A quick search by make and model number can pull up the right element or control knob. If you want to have a go at fixing it yourself (and your hob’s out of warranty), YouTube’s loaded with repair walkthroughs. Just don’t forget to switch off the mains first.
To give you an idea how often these issues pop up, here’s a breakdown of common single-ring problems according to a 2023 customer repair survey in the UK:
| Problem | Percentage of Single-Ring Hob Issues |
|---|---|
| Faulty Heating Element | 61% |
| Loose Wiring/Connection | 25% |
| Broken Control Switch | 11% |
| Other Issues | 3% |
If DIY isn’t your thing, a qualified technician can usually sort a dead ring for less than you’d expect. Just make sure your hob doesn’t still have warranty cover before cracking it open yourself. Some brands void warranties if you mess around inside.
Power Supply and Fuse Issues
The most common reason an electric hob repair becomes necessary is something dead simple—the power supply is down or the fuse has popped. Even brand-new hobs can stop working if a fuse blows or there's a loose power connection behind your cabinets.
Start at your main fuse box. Check if the circuit breaker for your kitchen or specifically marked for the hob is in the "off" position. In UK homes, about 70% of electric hob faults traced by pros come down to blown fuses or tripped breakers. If the switch is down, flip it back. If it instantly trips again, don't keep pushing; that's a red flag for a bigger issue. Move to the socket or wall switch next. A surprising number of kitchen sockets get loose after years of plugging and unplugging appliances. Wiggle the plug (with the hob unplugged!) and check for any burn marks or funny smells.
If your hob is wired directly into the wall and you can't see a plug, things get trickier but not impossible to check. Pull out the appliance guide or take a quick look online for your exact hob model for fuse specs—most run on a 13A or 16A fuse. If you're feeling confident, and only if power is shut off, unscrew the flex outlet plate where your hob is wired in and look at the fuse. Swapping a blown fuse is usually a quick fix, but never use a higher amp rating "just to see if it works." That's risky and can wreck your hob or, worse, cause a fire.
Here’s a quick comparison of typical fuse ratings for different electric hob set-ups:
| Hob Type | Typical Fuse Rating | Sign of Fuse Issue |
|---|---|---|
| Single Zone/Plug-In | 13A | No lights, no heat, no noise |
| Multi-Zone/Built-In | 16A - 32A | Controls light up but no heating |
| Induction | 16A - 32A | Error code flashes or dead unit |
If you have an older property, check the wiring looks solid—crumbling or exposed wires are a sign you’ll need a pro. And here's a fact: most electric hob brands (like Bosch or Neff) recommend replacing the fuse every 2 years, even if it hasn't blown, just to avoid hidden damage from small surges over time.
When to Call a Professional
There’s a point where poking around the electric hob becomes less of a DIY job and more of a safety risk. If you’ve checked fuses, breakers, made sure the power’s reaching the hob, and things still aren’t working, it’s time to stop. Messing with hardwired kitchen appliances is not worth the gamble—electric shocks are no joke.
Some signs scream for a professional. For example:
- The hob trips the breaker every time you switch it on.
- You smell burning or see smoke near the controls or inside.
- The control panel flashes weird codes or nothing at all happens when it should heat up.
- There’s visible damage to wiring or the glass top (like cracks or burn marks).
- You hear popping, buzzing, or hissing noises when you try to use it.
Trying to tackle electric hob repair beyond basic checks risks doing more harm—either to the appliance or yourself. Modern hobs aren’t like the old coil cookers; the insides are way more complex. According to the UK Health and Safety Executive, about 350 accidental domestic electrical fires start each year from kitchen equipment faults. That’s not a stat you want to be part of.
| Problem | DIY Friendly? | Call a Pro? |
|---|---|---|
| Tripped breaker | Yes (reset breaker) | No, unless keeps happening |
| Burning smell or smoke | No | Yes |
| Broken glass or sparks | No | Yes |
| Control panel not working | No | Yes |
| Loose/burnt wiring | No | Yes |
It’s smart to use a certified technician for repairs or replacements. They’ll have the right tools for the job, access to manufacturer parts, and won’t void your warranty—which can happen fast if you try opening up the hob yourself. Plus, a good pro usually offers a short-term guarantee on their work. If the hob’s still under warranty, contact the manufacturer or the store where you bought it. Many offer free or discounted repairs that make the hassle of DIY pointless.
Tips on Prevention and Maintenance
If you want your electric hob repair efforts to be a rare thing instead of a regular hassle, a little prevention goes a long way. Just like most kitchen gear, these hobs need proper care to stay reliable.
First off, keep the hob clean. It’s not just about looks—burnt-on food can mess with the sensors or even cause short circuits. After the hob cools, use a damp cloth or a soft scraper designed for glass tops. Skip anything abrasive. Even stubborn bits come off eventually if you soak them a little bit.
Big tip: avoid spilling liquids near the controls or the edges. On a lot of models, water getting under the glass can cause touch panels to go haywire or even short out. It sounds minor but can be a costly repair if it happens too often.
Regularly check for signs of wear, especially around seals, knobs, or the cable if it’s visible. If you see cracks, loose parts, or fraying, sort it as soon as possible. Also, don’t use heavy pots that can crack ceramic glass—manufacturers say something as light as a dropped pan can cause invisible damage that builds up over time.
- Wipe down after every use—grease can cause contact points to fail.
- If your rings look uneven or heat badly, check for debris underneath or warped pans.
- Don’t rest hot lids on the surface—the trapped heat messes up the sensors.
- Let the fan (if your hob has one) run its full cycle after cooking to keep inside parts dry.
How long do hobs last, anyway? Manufacturers claim between 7 and 10 years, but that’s with proper use and care. If you find yourself repairing every few months, check your habits—or if your family ignores the simple rules. Laura’s guilty of propping heavy cutting boards on ours; it’s not pretty.
| Common Issue | Preventive Tip | Cost To Fix (£) |
|---|---|---|
| Food spills on controls | Wipe immediately after use | 45-100 |
| Surface cracks | Don't drop heavy pans | 70-250 |
| Stuck buttons | Keep area dry and clean | 60-120 |
Seriously, spending a couple minutes on prevention can save a wallet-draining call to a repair person. You’ll get more years out of your hob and way fewer stressful kitchen emergencies.