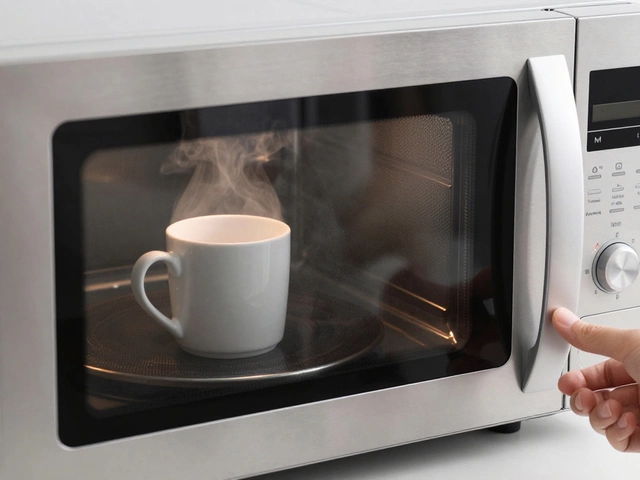
Your dinner isn’t cooking right, or maybe that cake just isn’t rising like it should. Staring at the oven, it’s easy to wonder if the element has finally given up. Trust me, a bad oven element causes all kinds of kitchen headaches—from undercooked food to sudden cold spots in your meal.
Before you rush to buy a new oven or call for help, there are a few basic checks you can do yourself. The good news is, spotting a bad oven element isn’t rocket science. You don’t need electrical skills, and you won’t have to take the whole oven apart to get some answers.
Look for telltale clues, like spots on the element that look burned, blistered, or broken. Pay attention to how the oven heats up and whether the element glows bright orange when it’s working. If you spot anything odd, it’s time to take a closer look. Getting ahead of the problem can save you money, hassle, and a whole lot of burnt dinners.
- Obvious Signs Your Oven Element is Failing
- Quick Visual Checks You Can Do
- How to Test for Power and Continuity
- Common Cooking Issues Linked to Element Trouble
- When to Try a DIY Fix or Replacement
- Calling a Professional: When It's Not Worth the Risk
Obvious Signs Your Oven Element is Failing
You won’t need any fancy tools to spot a dying oven element—most of the time, the symptoms are right in front of you. Here’s what to keep an eye on:
- Uneven cooking or cold spots: If cookies only bake on one side of the tray or a roast takes way longer than usual, the element might be struggling.
- No glow or just a weak one: The element should glow an even, bright orange or red when the oven's on. If only part of it lights up or it stays dull, something’s up.
- Visible damage: Look for blisters, burns, or cracks along the element. Black or gray spots, or sections that’ve literally broken off, are a dead giveaway.
- Sparks or tripping breakers: Weird noises, sparking, or your oven cutting out suddenly can mean the element’s shorting out.
- Funny smells: A bad element might release a burnt, metallic odor as it fails, which isn’t something you’d smell during normal cooking.
If you notice more than one of these issues, don’t ignore it. According to the U.S. Consumer Product Safety Commission, oven and range fires cause around 44,000 home fires every year. Many start from faulty or neglected heating elements.
“If your oven isn’t heating consistently, or if the element is visibly damaged, you should stop using it until it’s repaired or replaced,” says appliance repair expert Marty Allen of FixitRight Appliances.
To make it even clearer, here’s a quick breakdown in table form:
| Sign | What It Means |
|---|---|
| Element doesn’t glow | No power or element is burnt out |
| Visible blisters/cracks | Element damaged, needs replacing |
| Uneven cooking | Element not heating evenly or partially failed |
| Breaker trips | Possible electrical short in the element |
| Strange smells/sparks | Danger of further failure or fire risk |
If your electric oven element matches any of these warning signs, it’s time to take action before your situation gets worse.
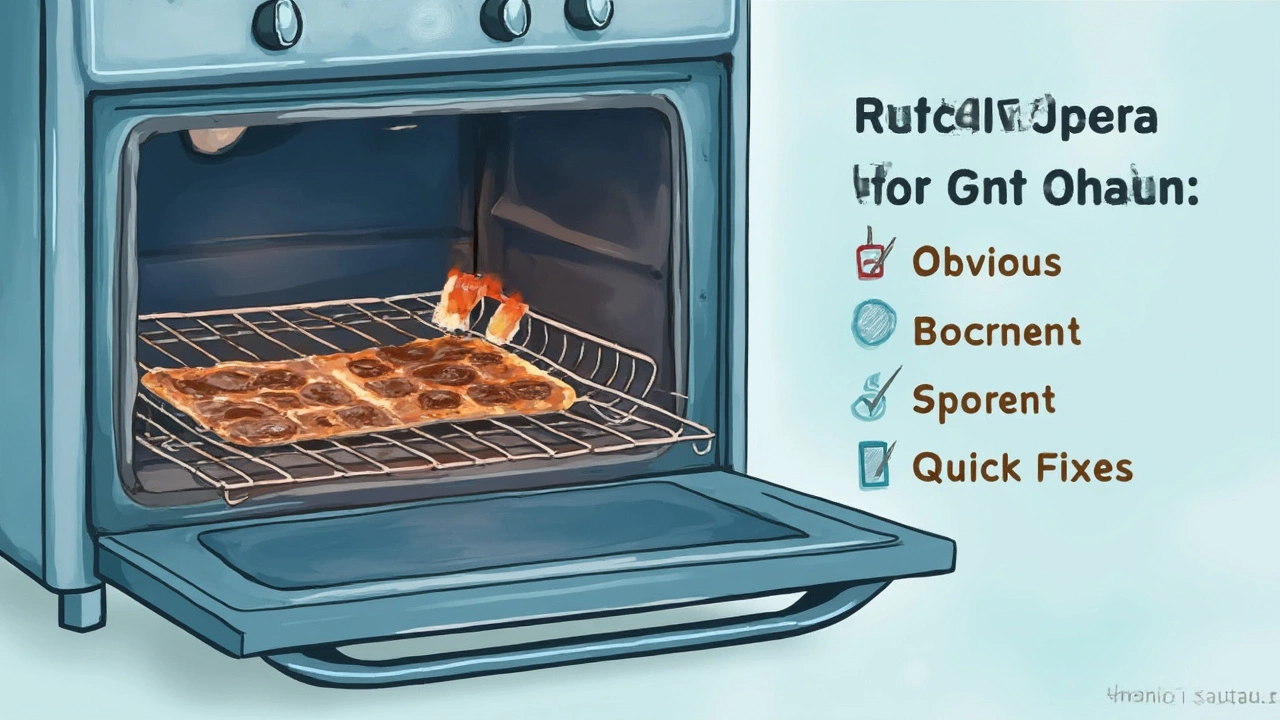
Quick Visual Checks You Can Do
Before you grab a screwdriver, start with what you can see. Your oven's heating element sits exposed inside—it’s that thick wire loop at the bottom (for bake) or top (for broil) of the oven. With the oven off and cool, take a look at it under good lighting. Grab your phone's flashlight if you need to get a clear view.
- Look for visible damage: Is the element bubbled up, cracked, or covered in burnt spots? Spots that look like metal blisters or breaks are obvious signs your element isn't doing its job anymore.
- Check the color: A healthy element is usually gray or matte silver before heating. Any parts that are white, charred black, or have uneven patches are suspicious.
- Notice any sagging or warping: If the element is drooping or twisted out of shape, it’s probably on its last legs.
- See if it glows evenly: When the oven’s heating, a working element will glow a steady orange-red through its whole length. Dark spots mean sections have failed.
- Inspect the connections: Where the element plugs in at the back wall, check for signs of scorching, melted plastic, or loose wires.
Here's a quick rundown of what you might spot, and what it could mean:
| What You See | What It Means |
|---|---|
| Bubbling or blisters | Element overheated, probably failed |
| Cracks or breaks | Element is broken—needs replacing |
| Uneven color patches | Element not heating evenly, likely faulty |
| Sparking or smoking | Do not use—element is unsafe |
| Loose/charred connection | Possible wiring issue, needs fixing |
If you spot any of these issues during your visual check, it's usually a clear sign your oven element is bad. Remember to unplug the oven or switch off the breaker before poking around any further. It’s simple, but this step can keep you safe if you move on to testing for power later.
How to Test for Power and Continuity
If you’ve spotted signs that your oven element might be toast, the next step is testing it. This means checking if it’s actually getting power and whether the element itself is able to do its job. It sounds technical, but you don’t need to be an electrician—and you definitely don’t need expensive gear. For most people, a cheap multimeter (often under $15 at hardware stores) is all it takes.
Before doing anything, unplug your oven or shut off its breaker. Safety first—you’re playing with live wires otherwise and that’s not a fun way to find out what’s wrong. Once the power is safely off, take these steps:
- Locate the element you want to test, usually visible at the bottom (bake) or top (broil) inside the oven.
- Unscrew the element from its mounting plate using a small screwdriver. Carefully pull it out just enough to reveal the wires connected at the back.
- Disconnect at least one wire from the element’s end. If the wires have slip-on connectors, gently wiggle them free—no yanking.
- Set your multimeter to the continuity or resistance (ohms/Ω) setting.
- Touch one multimeter probe to each terminal on the element. If your meter beeps or shows a reading between 10 and 50 ohms, it’s got continuity. That’s good.
- If your meter does nothing (shows infinite resistance or “OL” on a digital display), the element is broken inside and needs replacing.
Sometimes the oven isn’t the problem—the wall outlet or connection could be faulty. With the oven unplugged and the element safely removed, test the terminals within the back of the oven for voltage (when plugged back in). This step is riskier—don’t mess with live wires if you’re unsure.
Here’s a quick cheat sheet to check common readings when testing oven elements with a multimeter:
| Element Type | Expected Resistance (Ohms) |
|---|---|
| Standard Bake Element | 15–40 Ω |
| Broil Element | 10–30 Ω |
If you’d rather not fuss with wires, try running a bake or broil cycle and observe if the electric oven element glows evenly and fully. If only part glows, or none of it does, power or continuity is likely the culprit.
Getting these readings will usually tell you right away if you’re dealing with a dead element, a wiring issue, or a bigger electrical problem. Swap out the bad part and get back to working on your next meal.
Common Cooking Issues Linked to Element Trouble
If your electric oven starts acting up, the electric oven element could be the villain behind all sorts of cooking fails. When the element goes bad, your food rarely comes out the way it should. Let’s break down some specific headaches you might notice in the kitchen.
- Uneven cooking: If one side of your dish is burnt and the other is still raw, odds are the element isn’t heating evenly. This usually happens when only a part of the element is working.
- Longer cooking times: When it feels like everything is taking way too long, or you keep adding five more minutes to the timer, there’s a good chance the element isn’t reaching the right temperature.
- Cold spots: Ever noticed patches in your oven that just don’t get hot? Faulty elements can leave these cold spots, making some foods undercooked while others are scorching.
- No browning: If pizzas and casseroles just aren’t getting that golden crisp on top, the broil element might be to blame. It’s supposed to deliver intense, direct heat from above.
- Frequent tripping: Sometimes a broken element will cause your oven to trip the breaker or even blow a fuse. This is a safety feature, but it’s a solid sign something’s wrong with the element.
Here’s a handy table to show you what problem could be tied to which element failure:
| Cooking Issue | Possible Cause |
|---|---|
| Food cooks unevenly | Partial element failure, burned-out section |
| Takes too long to finish | Element not heating to full temp |
| No browning/grilling | Top (broil) element burnt out |
| Cold spots in oven | Element has lost continuity |
| Breaker/fuse trips | Short circuit in element |
If you see one or more of these issues pop up, don’t just blame the recipe. Your oven is dropping hints. Spotting them early can save your next meal from disaster and keep your kitchen safe.
When to Try a DIY Fix or Replacement
You don’t have to be a pro to tackle a busted oven element, but safety always comes first. If your electric oven element is clearly broken—like it’s split, blistered, or has burned-out spots—it’s usually something a handy person can swap out with basic tools. The trick is knowing when it makes sense to handle it yourself versus calling for backup.
If your oven is out of warranty and you’re comfortable with unplugging appliances and unscrewing parts, you’re good to go. The steps are pretty straightforward and don’t require any fancy gear. If you see visible damage, no heat output, or the element never glows when the oven is on, a replacement often fixes the problem instantly.
- Electric oven element replacements can usually be found online or at big home improvement stores for $20–$60, depending on your model.
- Switch off the oven at the wall and unplug it. Don’t trust just the power button—people forget this step and get zapped.
- Most elements are held in with a couple of screws. Remove them, gently pull out the element, and detach the wires. A quick photo with your phone can help you remember where things go later.
- Connect the new element, screw it back in, then plug the oven back in and fire it up. Watch for it to glow evenly. No fancy calibration is needed.
If you feel uneasy around wires or notice signs of more serious issues like melting, smoke, or tripped breakers, stop right there. That’s a job for a professional. It’s better to pay a little more than risk your safety or wreck the whole oven. But for the average broken element, a confident DIY fix can save you time and money, and you’ll have dinner back on the table fast.
Calling a Professional: When It's Not Worth the Risk
Swapping out a busted oven element sounds easy after watching a two-minute video online. But before grabbing that screwdriver, it pays to know when you should put the tools down and let a seasoned pro handle things. Oven repairs can dive into the world of high voltage, and that's where things get risky for anyone who’s not 100% sure what they’re doing.
Here’s the thing: electric ovens, especially newer models, use complicated electronics that don’t always play nice with a simple DIY approach. Touching the wrong wire or misreading a connection can kill the circuit board – or worse, give you a serious shock. According to the U.S. Consumer Product Safety Commission, home electrical fires cause more than 24,000 residential fires a year. The most common culprits? Cooking equipment and faulty wiring.
If you notice any of the following, it’s better to stop and call an expert:
- The wires connected to your electric oven element look burnt or melted
- You smell something burning even when the oven is off
- Your oven keeps tripping the breaker or won’t turn on at all
- The model is still under warranty (attempting your own fix might void it)
- You're not comfortable handling exposed wiring
Certified repair specialists see these issues every day. As appliance tech Jake McCoy from Rapid Oven Repair puts it:
“One mistake with a high-voltage oven element, and you can fry your electronics or yourself. If you’re in doubt, don’t risk it—just pick up the phone.”
Even if you’re handy, some oven brands make it tough to reach internal components without special tools or software. And not all failed elements are obvious—sometimes the issue lies with hidden thermostats or relays rather than the element itself.
Want to see how calling a pro often stacks up? Check out the table below:
| Oven Issue | DIY Repair | Professional Repair |
|---|---|---|
| Simple element replacement | $30–$60 (part only) | $80–$150 (parts + labor) |
| Electrical short or circuit fault | High risk of damage or injury | Lower risk, expert diagnosis |
| Warranty concerns | Void if opened by non-authorized person | Usually protected |
| Hidden component failure | Hard to spot, may misdiagnose | Tested and fixed right |
If things feel out of your depth (or just too annoying to mess with), don’t sweat it. Calling a professional isn’t waving a white flag—it’s playing it smart, keeping your house safe, and probably saving you money on further repairs down the line.