One minute, you’re prepping a perfect lasagna. The next, your electric oven decides to go on strike. Dinner plans ruined. Most folks have a story about expecting hot food and getting half-baked disappointment—or worse, nothing at all. Reliability is why people choose electric ovens, but even the best ones aren’t immune to annoying surprises. There’s one troublemaker that pops up again and again, and it’s more common than you’d think: the oven not heating properly.
Why Do Electric Ovens Stop Heating Properly?
Ever wondered why your oven suddenly turns cold feet when you just want a 200°C roast? The answer usually comes down to a handful of repeat offenders. The main villain is a faulty heating element. If the element burns out, your oven won’t get hot—no matter how high you crank it. This is so common that local repair techs in Auckland say burnt-out elements make up almost half their residential call-outs for ovens. Still, it’s not always the element’s fault. Thermostat problems, broken wires, or even dodgy oven controls can leave your oven stone cold.
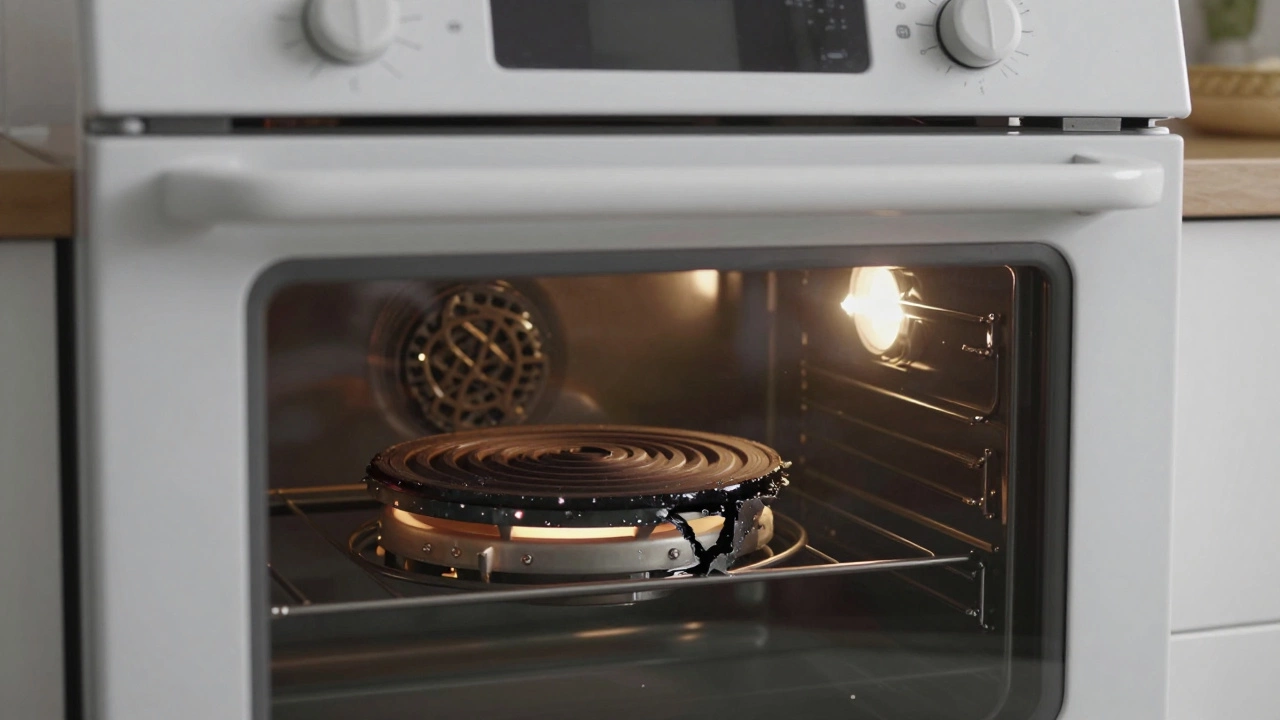
Most electric ovens have two main heating elements—one at the top (broil/grill) and one at the bottom (bake). Over time, these elements degrade. Sometimes you’ll spot the problem just by looking: bubbling, cracks, or visible breakage mean the element’s toast. Other times, it’s trickier. If one element fails, you might find food cooked unevenly, with the top burnt and the bottom raw, or the other way around. Digital display models might even flash an error code—like F1 or F3 lines—when the thermostat senses a problem.
But why do heating elements fail in the first place? Age is the main culprit, but it’s not the only one. Grease and food debris can burn onto the coils, trapping heat and causing hotspots, which weaken spots until they snap. Power surges from storms can fry delicate components. Some folks give their ovens death by cleaning, using too much water or harsh chemicals that damage wiring and connectors. Even slamming the oven door can jolt brittle parts if they’re already past their prime.
Troubleshooting usually starts simple. If the oven light works but the element stays cold, suspect the bake or grill element. If the entire oven’s unresponsive, you might have a bigger issue—like a faulty control board or a blown internal fuse. Models with self-cleaning features can sometimes trigger safety shutoffs, so check the manual for sneaky reset switches or fuse locations.
Here’s a crazy fact: According to an NZ Home Appliance Service data report from 2023, about 61% of electric oven repairs related to a loss of heat could be traced back to one or both heating elements. Only 13% were due to thermostat issues, and less than 10% were control or wiring faults. But swapping elements isn’t as scary as it sounds. Replacement parts are easy to find, and most ovens make it easy to access the coils. If you’re handy, you might save money with a simple fix—just make sure to cut the power first, or you’ll get an electrifying surprise.
| Common Problem | % of Cases | Average Repair Cost (NZD) |
|---|---|---|
| Heating Element Failure | 61% | $140 |
| Thermostat Fault | 13% | $180 |
| Control Board Malfunction | 9% | $250 |
| Wiring Issue | 8% | $150 |
| Door Switch Fault | 5% | $120 |
| Other | 4% | $130 |
If the heating element glows, but temperatures still seem off, it could be a sign of a dodgy thermostat. When a thermostat fails, the oven might overheat, undercook, or stay stuck at a single temperature. Techs have a neat trick: place a cheap oven thermometer inside and compare it with the display. If there’s a big difference, the thermostat’s unreliable. Don’t ignore it—dodgy thermostats can cause energy waste, ruined cakes, or worse, fires.
The Tell-Tale Signs: Spotting the Heating Problem Early
We ignore little annoyances—slow preheating or uneven cooking—until the oven flat-out refuses to bake your favourite Sunday scones. Recognising these warnings early saves money and avoids frustration. Watch for these clues:
- Longer cooking times even for simple recipes.
- Food that’s burnt on the outside but raw inside (or vice versa).
- No heat from one specific element—broil or bake just not working at all.
- Smoke or sparks when you turn the oven on—never a good sign.
- The oven light works, the fan runs, but the heat never comes.
- A buzzing or humming noise you didn’t notice before.
- Odd smells, like burning metal or plastic (hint: possible electrical short or failing insulation).
- Error codes on digital models that don’t reset after power cycling.
Don’t get caught off guard next time you’re preparing a big meal. Spotting these red flags means you can either attempt a quick DIY fix (if you’re confident with home repairs) or call a pro before making things worse. It’s much easier—and cheaper—to swap a faulty element now than deal with a bigger fix after it blows the main fuse or wrecks your control board.
Even if your oven still “sort of works,” those extra minutes waiting for it to preheat rack up on your power bill. Stuff like crusts coming out chewy or uneven usually means heat isn’t being distributed as designed. If you ignore the problem too long, you can actually cause extra wear elsewhere—like the wiring or thermostat—pushing your repair costs up fast.
Techs often see ovens less than five years old needing new heating elements, especially if they’re used several times a day. Cheaper brands cut corners on the metal used in elements, so they wear out faster. Higher-end models tend to last longer, but even they aren’t immune. Ovens in coastal areas like Auckland can suffer from corrosion thanks to the salty sea air sneaking in—check for rust on the inside, and wipe down after use if your kitchen’s near the beach.
No one wants to serve raw chicken or a burnt pizza. Trust your instincts—if that lasagna takes 20 minutes longer than last month, it’s time for a quick inspection. It takes less than a minute to open the oven door and look for glowing elements or visual damage. If you spot an issue, it’s rarely worth putting off repairs. Like your mum always said: “Don’t wait for the problem to get worse.”
How to Fix a Common Electric Oven Heating Problem Yourself
Feeling handy? You can tackle the most common heating issue with basic tools and a tiny bit of confidence. Here’s a straightforward way to check and replace a failed heating element yourself, saving the weekend roast and your bank account.
Rule one: Unplug the oven. Even if it’s wired into the wall, turn off the breaker/fuse at the switchboard. You want zero volts before you touch anything.
- Open the oven door and locate the faulty element. It's simple if the whole oven’s cold, but often just the bottom or top fails, so check which one isn’t glowing when you use bake or grill.
- Remove the screws holding the element brackets (usually at the back of the oven cavity). Some make you pull out the oven for rear access, but most are front-mounted.
- Gently pull the element towards you. Two wires are attached with slip-on connectors. Snap a photo first (trust me, you won’t remember how it was wired).
- Wiggle off the connectors—don’t yank, as they can break easily.
- Take the old element to your local appliance supply shop (or order the exact model online). They’ll help you match the wattage and fit. Popular Kiwi appliance brands like Fisher & Paykel, Westinghouse, and Parmco all use slightly different parts.
- Slot in the new element, connect the wires, and screw it into place. Tuck the wires back neatly—they shouldn’t touch the metal sides or oven walls.
- Restore power, switch the oven on, and test. The new element should glow within seconds (on grill or bake, depending on which you replaced).
This whole process can take less than 20 minutes. If the oven still won’t heat, you might be facing a faulty thermostat or something deeper in the wiring—time to call in the pros. But for most cases, a new element brings your oven back to life.
One heads-up: If you replace an element and it blows again after a couple of months, there might be a hidden wiring fault, dodgy thermostat, or a power surge damaging the appliance. Constant failures aren’t normal—don’t keep swapping parts without a closer look.
Tips to Make Your Electric Oven Last Longer
Electric ovens aren’t cheap, so it pays to keep them running as long as possible. So how can you avoid common heating problems? Preventive care is the answer.
- Clean the oven regularly, but never flood the element areas or use water sprays. A warm, damp cloth is enough for most surfaces. For burnt-on grime near the elements, use a soft brush—not anything metal that could scratch or break the elements’ coating.
- Avoid using self-cleaning cycles too often. These heat up the oven to extreme temperatures and can sometimes damage elements or the glass in the door. Stick to manual cleaning if you can.
- Check for cracks or bubbles in the elements every couple of months. Any visible damage means replacement time—it’s better to swap out before a total failure.
- If your power supply at home is older, ask an electrician to check for surges or voltage drops. Even a few big spikes can reduce appliance lifespan. Install a surge protector if you’re on an unreliable supply.
- Watch for pests—Kiwi homes sometimes get ants or cockroaches crawling into appliances, which can short out heating elements and other internal wires. Not a nice job cleaning up, but it’s better than dealing with dead hardware.
- After heavy spills, disconnect the oven briefly before cleaning around the elements. Liquid slipping behind the elements can corrode connections and wiring.
- If your oven has a removable bottom panel, take it out and clean underneath a few times a year. Burnt crumbs and spills can cause smoke, reduce heating, or even start a fire if left too long.
- If you notice any burning or electrical smell, disconnect your oven and get it checked ASAP. Delaying repairs can turn a quick fix into a much bigger bill.
Here’s something most owners miss: most electric ovens are happiest when used regularly. If your oven sits idle for weeks while you order takeout or use the BBQ, elements can build up corrosion or moisture inside. Just like a car battery, turning it on regularly keeps everything in good shape.
Replacement heating elements for popular New Zealand models run between $35 and $90, so it makes sense to act early rather than let your oven limp along. Regular maintenance is your secret weapon against surprise breakdowns.

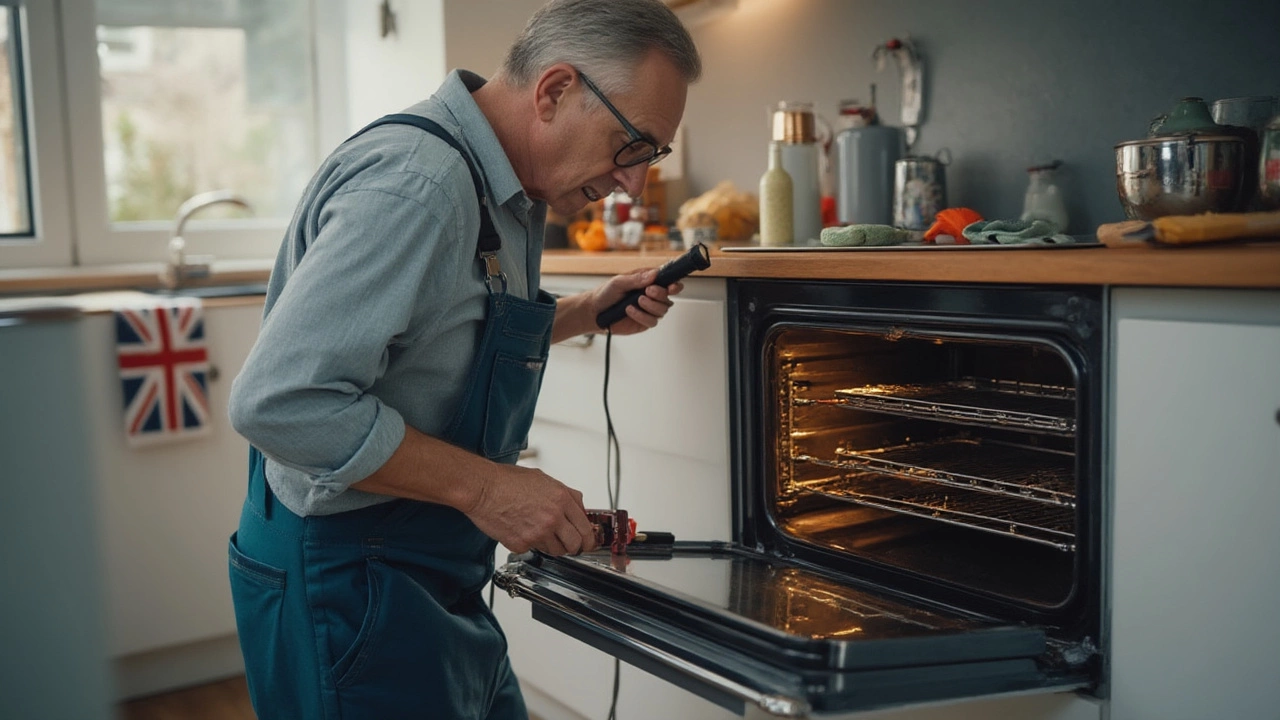
When to Call the Pros and What to Expect
Some folks are DIY daredevils, but there’s a line between clever and crazy. If you’re not sure where it is, don’t risk that nasty electrical shock. Professionals have the know-how, tools, and spares to diagnose sneaky problems. Here’s when to reach for the phone:
- The oven trips your breaker every time it’s turned on—possible electrical short or major wiring issue.
- You see sparks, smell burning, or suspect internal damage.
- The digital controls glitch or the temp readings jump around.
- Replacing the heating element doesn’t fix the problem.
- An error code won’t clear, and the manual’s no help.
- The oven is under warranty—DIY repairs could void your cover.
Local Auckland repair techs typically charge a call-out fee ($80-$150, depending on suburb), and most fixes can be done onsite within an hour. Parts like thermostats, control boards, or wiring harnesses can be pricier, but specialists have the right diagnostic meters to spot a bad component without endless trial and error. Modern ovens often hide fuses or boards deep inside, and fixing them is best left to experienced hands.
Ask for a written quote before any big job. Reliable techs will explain exactly what failed and why, so next time you might avoid the same hassle. Some will even clean your oven as part of the repair—never hurts to ask.
One last tip: Keep your appliance manual handy and jot down the oven’s make, model, and serial number. Having this info ready makes it quicker for the repair team to grab the right parts and get you cooking again without the wait.
When your oven stops heating, don’t panic. It’s a common problem with a usually straightforward fix, and a little knowledge can save you plenty of money—and burnt dinners—down the line. Treat your oven with a little care, listen for those subtle warning signs, and you’ll keep the Sunday roast (and weekday dinners) coming for years.