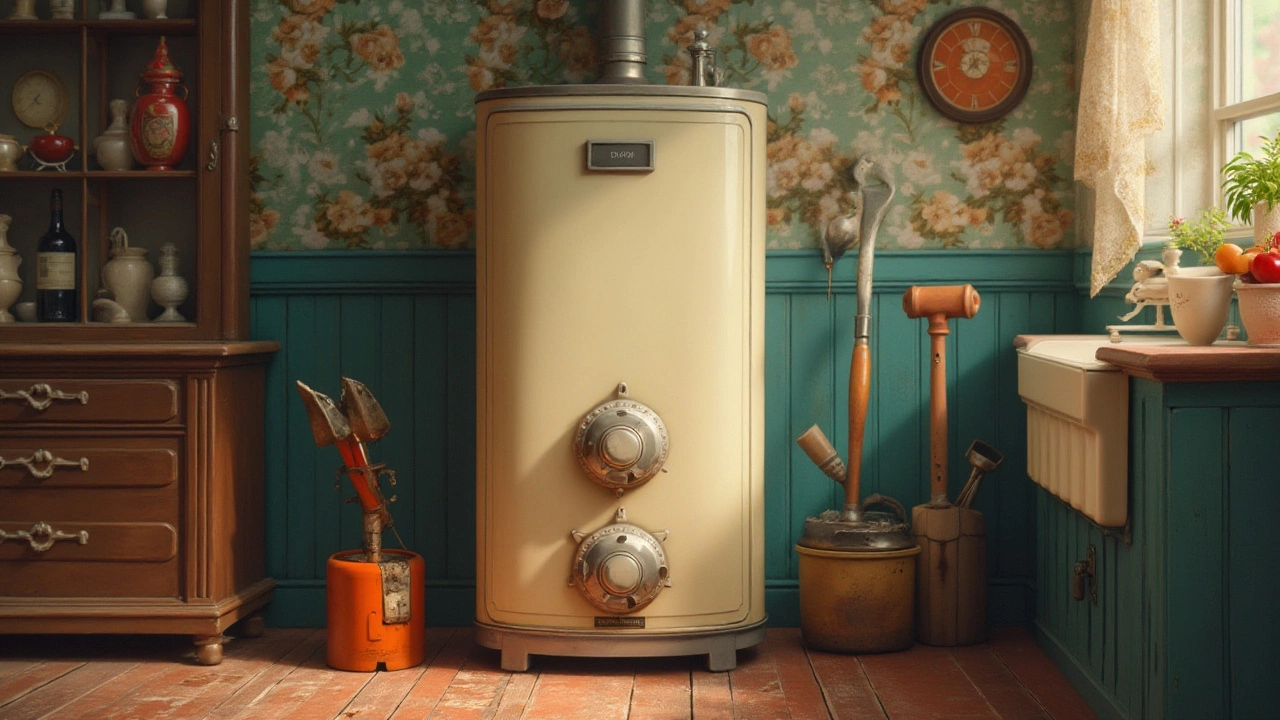
Regular maintenance of your water heater is not just a suggestion—it's a necessity. Over time, minerals and sediment settle at the bottom of the tank, which can lead to inefficiencies and even damage. Flushing your water heater not only prolongs its lifespan but ensures you get the most out of your appliance in terms of heating efficiency. Whether you’re a seasoned DIY enthusiast or a cautious novice, understanding this straightforward process can make all the difference in extending the life of your water heater and keeping those warm showers coming.
- Importance of Flushing Your Water Heater
- Signs Your Water Heater Needs Flushing
- How Often to Flush Your Water Heater
- Step-by-Step Guide to Flushing
- Professional Help or DIY?
Importance of Flushing Your Water Heater
When it comes to home maintenance, the water heater often doesn't get the attention it deserves. Yet this hardworking appliance plays a key role in ensuring comfort for your household. Flushing your water heater is a routine that many overlook, but it is crucial for maintaining the water heater's efficiency and extending its lifespan. Over time, minerals like calcium and magnesium settle at the bottom of the tank, creating a thick layer of sediment. This layer forces the heater to work harder, leading to higher utility bills and ultimately, wear and tear on the system. Not to mention, sediment can cause damage to the tank, leading to leaks and costly repair or replacement.
Conversations around water heater maintenance often miss the mark on sediment’s impact. Consider this: A study found that water heaters with just half an inch of sediment use up to 70% more energy than those regularly flushed. Sediment creates a barrier between the burner and the water, forcing the heater to work overtime to reach desired temperatures. Regular flushing not only helps in energy conservation but can also lead to financial savings over time. Failing to perform this maintenance step may lead to strange noises from your heater or issues with fluctuating water temperatures.
Beyond the Basics: Ensuring Quality Water and Longevity
Let's not forget about water quality. Sediment build-up can affect the quality of your tap water, leading to unpleasant smells and tastes. Over time, it can also cause corrosion, further risking leaks and potential water damages to your home. In extreme cases, untreated water heater tanks may even pose a health risk due to bacterial contamination. By simply incorporating a regular flushing schedule, householders can safeguard against these issues. This small task becomes not just a choice but an essential practice for a healthy and efficient home water system.
"Maintenance seems to be the central problem, whether it’s in the home, workplace, or community. The importance of regular, thoughtful upkeep cannot be overstated." — Renowned Home Expert, Peter Walsh
Flushing should be seen as more than a chore—it’s an investment in your home for a comfortable and trouble-free life. With regular maintenance, a water heater can last from 8 to 12 years, sometimes even longer. This can mean thousands saved on new appliances and unexpected water damage repairs. Homeowners ought to craft a habit of addressing heater maintenance, embracing a future free of cold showers and dodgy heaters. So the next time you feel that warm rush of water, you’ll know your careful upkeep is to thank.
Signs Your Water Heater Needs Flushing
Understanding the signs of when your water heater needs flushing can save you a great deal of trouble in the long run. One of the most obvious signs is a reduction in the water heater's efficiency. If you're noticing that it takes significantly longer for your water to heat up, or if the hot water doesn’t last as long as it used to, there is a good chance that sediment build-up is to blame. This layer of sediment acts like a barrier between the heating elements and the water, requiring your heater to work harder and use more energy. You might notice an increase in your utility bills as a result of this inefficiency, another solid indicator that it's time for action.
Another telltale sign is noise. Your water heater should not sound like a percussion band. If you hear rumbling, popping, or banging noises when the unit is on, these are classic indicators of sediment build-up. As particles deposit at the bottom of the tank, they can trap water underneath which creates steam bubbles. When these bubbles burst, they cause noise. Ignoring these sounds might result in prolonged damage to your water heater and even lead to leaks in more severe cases. Addressing these signs promptly can prevent the escalation of problems.
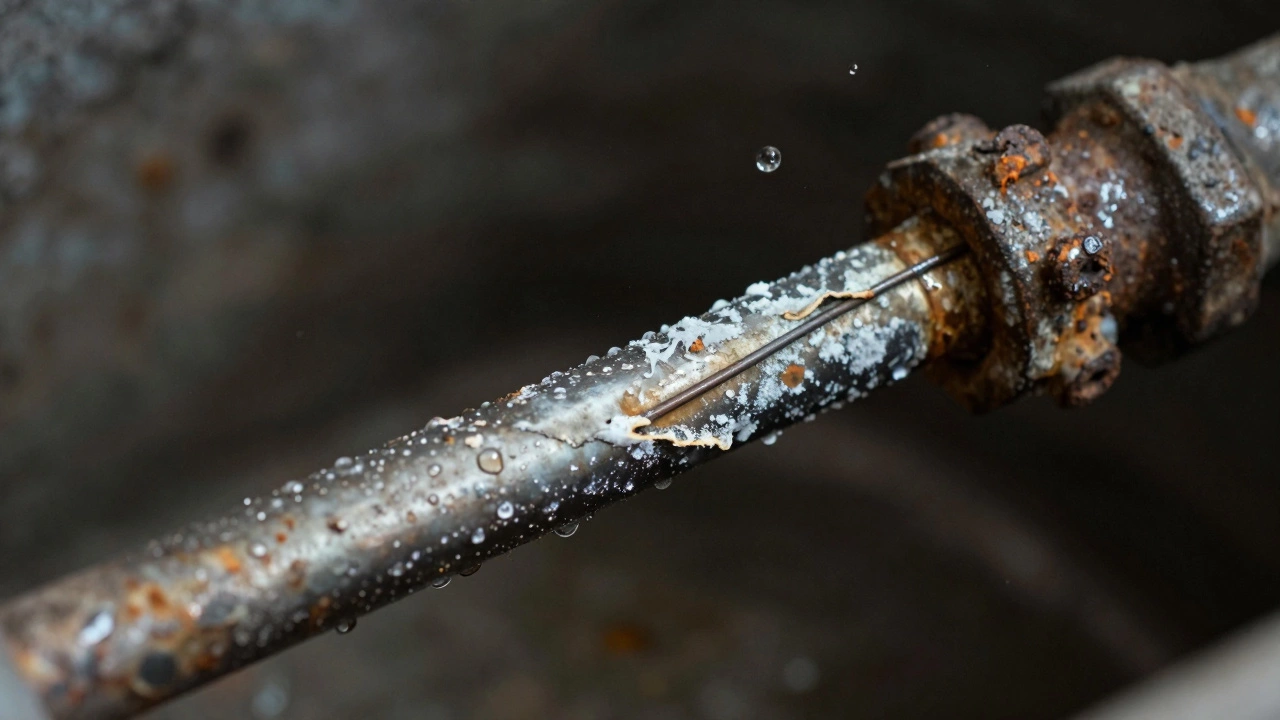
Do your faucets deliver rusty or murky water sometimes? This is another red flag. Sediment and minerals build up inside the tank over time and, when not addressed, can leak into your water supply. If not attended to, this can lead to potential health risks and corrosion of the tank itself. Dr. Jason Miles, a prominent voice in plumbing systems, once said,
"Regularly flushing your water heater prevents sediment from causing irreversible damage, keeping your water clean and your system efficient."If the water discoloration coincides with unusual odors, then you certainly have a sediment issue on hand.
Keep an eye on the temperature fluctuation as well. While setting the water heater to high temperatures occasionally for maintenance is acceptable, having fluctuating temperatures without any changes in the thermostat settings indicates sediment imprisoning the heating element or poor thermostat calibration. This can accentuate the urgency of flushing your system. Ignoring this can compel the water heater to exert itself to attain the desired temperature settings, consequently accelerating wear and tear.
Considering Age and Maintenance History
The age of your water heater should also factor into your flushing schedule. Typically, if it’s more than a few years old, sediment could be settling faster, demanding more frequent flushing. Reviewing your water heater’s manual or a quick call to the manufacturer can provide guidance on expected flushing intervals based on model specifications. Additionally, if you know there hasn’t been regular maintenance performed, especially in areas with hard water, it is crucial to be proactive. This can add years to the longevity of your unit, optimizing its functionality.
Trusting Your Senses
Don't underestimate the power of scent. If you detect a strange or unpleasant smell emanating from your hot water, it may be time to flush. Odors, especially those reminiscent of rotten eggs, can signal a reaction between the anode rod in your tank and the existing water, often exacerbated by a sediment build-up. While some homeowners worry about average maintenance costs, the expense of not flushing could be substantially higher if these signs are neglected. Ultimately, paying attention to what your water heater is telling you is critical for ensuring it remains a reliable commodity in your home.
How Often to Flush Your Water Heater
Deciding how often you should drip the water heater's faucet to clear it entirely of mineral deposits is not a one-size-fits-all answer. Several factors come into play when determining the ideal flush frequency for your water heater maintenance. A good rule of thumb is to flush it annually. However, if your home is situated in an area with hard water—water laden with high mineral content—this task might need to be on your to-do list every six months. Hard water increases the likelihood of sediment buildup; hence, more frequent flushing is beneficial to keep the sediments at bay. These sediments, if left unattended, can decrease the efficiency of your heater and, in severe cases, cause damage that might require replacement of the entire unit.
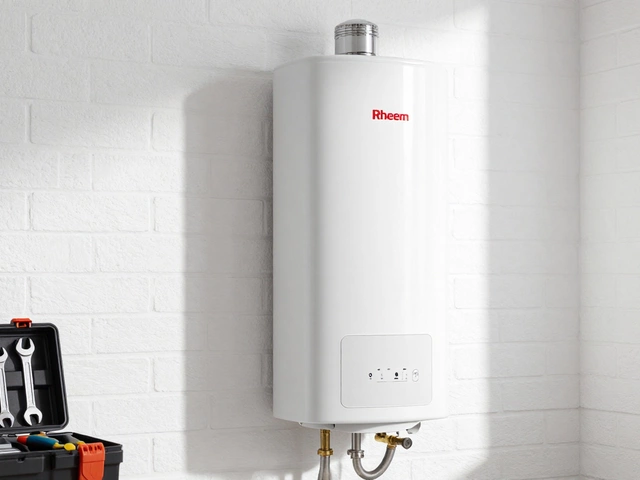
Interestingly, tankless water heaters have a different maintenance requirement altogether. The absence of a tank means there is no place for the minerals to settle. Yet, this doesn’t mean they’re maintenance-free. They require descaling every one to two years, as mentioned by Noah Jackson, a plumbing expert with over two decades of experience, “It's easy to overlook tankless systems, but regular maintenance here is equally vital.”
“Hard water environments are particularly demanding on tankless systems. If you have such a setup, don’t wait more than a year before a thorough flush,” Jackson advises.Geographic location plays a huge role in your water heater maintenance schedule. For residents dealing with softened water, their system might show less aggressive sediment formation. A fleeter flush schedule, say every year and a half, could be enough. Still, water quality can vary house by house even within the same block, so it's always wise to keep an eye and ear out for telltale signs that flushing is needed, such as popping or knocking noises from the unit when it’s heating. Knowing these guidelines ensures effective water heater repair and upkeep—a guarantee that your showers stay cozy and energizing all year round.
Step-by-Step Guide to Flushing
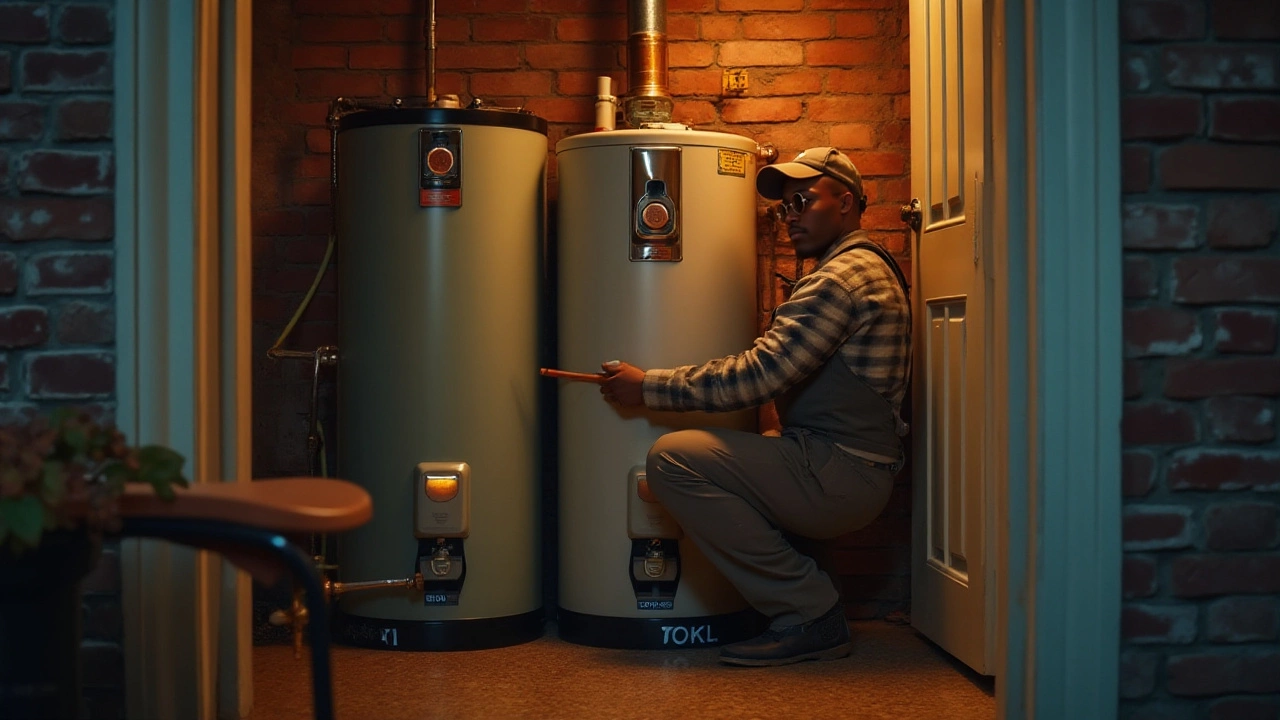
Flushing your water heater is an important part of maintenance that can keep your appliance humming along reliably. Depending on your comfort level with home repairs and your specific water heater model, this task can be a straightforward endeavor. Getting started with this task doesn't require specialized tools, just a garden hose, a bucket, and a little patience. Before you dive in, always remember to check your manufacturer’s manual; each model has its specific requirements and steps. Flushing can remove accumulated sediment, which can significantly impact your heater’s efficiency and lifespan. If you're unsure at any point, consider reaching out to a professional plumber to guide you through the process safely. Taking these precautions preemptively saves you potential headaches and costs in the long run.
Tools You'll Need
To ensure you're prepared, gather the necessary tools. You'll need a long, sturdy garden hose, a bucket for catching drips, a wrench suitable for your drain valve, and protective gloves to keep your hands safe. Remember to choose a garden hose long enough to reach a nearby drain or an appropriate drainage area outside. Before starting, inspect the hose to ensure it's free of blockages or kinks, which can impede the flow of hot water. A rag or towel can be helpful for any unexpected spills, as dealing with water means handling potential mess. While the task isn't inherently dangerous, safety goggles are advisable if you're working in a tight space to protect your eyes from any spraying hot water.
Steps to Flush Your Water Heater
- Turn Off the Power Supply: Safety first—always start by turning off the power supply to your water heater. If you have a gas water heater, set the thermostat to 'pilot' mode. For electric heaters, switch off the power breaker at your electrical panel to cut off the supply safely.
- Connect the Garden Hose: Attach your well-inspected hose to the drain valve located at the bottom of your water heater. Place the other end securely in a drainage area, either outside or into a large bucket capable of handling the expelled water. It's essential to ensure the hose is secure; a loose connection could lead to unwanted spills or hotter-than-expected water escaping where you don't want it.
- Open the Pressure Release Valve: This step helps to release any built-up pressure in the tank, enabling smoother drainage. Open the pressure relief valve, typically located toward the top of your heater, carefully and slowly to allow air inside the tank, which prevents a vacuum.
- Drain the Tank: Now, it's time to open the drain valve. Slowly twist the knob to release hot water from the tank through the garden hose. Be cautious during this step, as the water can be quite hot. Let the tank drain completely or until you see clear water without sediment.
- Flush with Cold Water: For effective sediment removal, briefly run cold water back into the tank several times. Doing this helps stir up any remaining particles and flushes them out of the system. Monitor the water—continue flushing until the expelled water runs clear, which signals your tank is free of accumulated sediment.
- Close All Valves: Once content with the clarity, close the drain valve first, followed by the pressure relief valve. Reconnect everything securely to prevent leaks, and ensure all components are back in their original positions.
- Refill and Restore Power: Turn the water supply back on and allow the tank to fill completely. This process may take a few minutes, depending on your water pressure. Only when the tank is full and ready, restart the power supply or gas by reversing the initial shutdown steps. Once the heater is back online, check for any leaks around the valves and listening for unusual noises that may indicate air in the system.
And there you have it—a thorough yet approachable guide to flushing your water heater. This little investment of time ensures your hot water stays hot and your appliance remains efficient, extending its life. As the Plumbing Manufacturers International suggests, "Routine maintenance by homeowners can significantly prolong the life and performance of their plumbing systems." Following this quote's advice, you'll save on energy bills, enjoy enhanced hot water supply, and avoid unforeseen repairs. Take the initiative to care for your system, and it will reward you with reliable performance, shower after shower!
Professional Help or DIY?
Deciding whether to tackle the task of flushing your water heater yourself or to call in a professional can feel a bit daunting. But fear not—either option can work out well, depending on your comfort level and the specific circumstances of your water heater. Many homeowners are quite capable of handling a flush water heater task on their own. It requires some basic tools, a bit of patience, and a willingness to follow a few easy steps. Essentially, if you prefer hands-on projects and enjoy learning about your home systems, the DIY approach could save you money and give you the satisfaction of a job well done.
However, if you're the type who prefers leaving plumbing tasks to those with experience, reaching out to a professional can offer peace of mind. Professionals bring expertise and can often identify subtle issues that a DIYer might overlook. Consider hiring a plumber if your water heater has specific quirks or if you suspect there may be more complex issues, like significant sediment build-up in areas with notoriously hard water. As Albert Einstein once half-jokingly said, “If I had my life to live over again, I'd be a plumber.” This goes to show how intricate and rewarding the field of plumbing can be, particularly when one can detect underlying problems you might not spot immediately.
Another factor to consider is time. Flushing a water heater might take a DIY enthusiast anywhere from a couple of hours to half a day, factoring in preparation, execution, and clean-up. In contrast, a trained plumber could complete the task more swiftly, leaving you with more time to enjoy your day. The costs associated with hiring a professional vary, but typically range between 100 to 200 NZD, depending on location and any additional services required. Weighing these practicalities can help you decide which route provides the most value and least hassle.
Here’s a handy table summarizing some key factors to consider:
| Factor | DIY | Professional |
|---|---|---|
| Cost | Minimal (possibly 0 if tools on hand) | 100 - 200 NZD |
| Time | 2-4 hours | 1-2 hours |
| Skill Level Required | Basic | Expert |
| Peace of Mind | Self-satisfaction | Guaranteed by expert |
For those willing to take on the challenge, a successful DIY job can leave you with improved insight into your home’s systems and potentially motivate you to attempt more home maintenance tasks. On the other hand, getting the job done professionally ensures accuracy and reduces your chances of mishaps. Either way, ensuring your water heater is regularly flushed and maintained can lead to significant long-term savings, both in efficiency and repair costs. Therefore, assessing your comfort with the process and the specific needs of your home are crucial to determining the best approach for you.