Ever opened the oven expecting a hot meal, but your food comes out still half-raw? If your electric oven’s not heating right, it usually comes down to two main suspects—the heating element or the thermostat.
First things first, pay attention to what’s actually happening. If you notice the oven light and fan work, but the heat’s just not there (or only the grill or bottom works), there’s a good chance the element’s at fault. On the flip side, if your oven acts totally random—sometimes too hot, sometimes not—your thermostat might be to blame.
Before you call anyone or break out the tools, you can run a couple of tests using just your eyes and maybe a screwdriver. Trust me, you don’t need to be an expert. Knowing what to look for can save you both time and money on repairs that might turn out to be easier than you think.
- Spotting the Signs: Symptoms of Each Problem
- Quick Checks: Test the Element
- Pro Tips: How to Check the Thermostat
- When to Replace vs. Repair
- Staying Safe During DIY Repairs
Spotting the Signs: Symptoms of Each Problem
Figuring out if your oven element or thermostat is broken starts with spotting the right symptoms. No need to break anything down yet—just look and listen.
- Heating Element Symptoms:
- Oven doesn’t heat up at all, even after a long wait.
- Only some parts of the oven get hot. You might notice the top (grill) works but the bottom (main oven) stays cold, or vice versa.
- Visible damage—like a break or blister—on the oven’s metal coil. That’s usually a dead giveaway.
- Foods cook unevenly—burnt on one side but raw on the other.
- Sparks or popping sounds sometimes show up when the element has a short. Turn off power right away if you see this.
- Thermostat Symptoms:
- Oven gets way too hot, burning everything even on a low setting.
- Random temperature swings—sometimes it barely heats up, other times it overheats.
- Oven light indicator never turns off, even when it should mean “ready.”
- Food takes much longer or way less time to cook than the recipe says.
Here’s a quick cheat sheet to show these classic symptoms side by side:
| Problem | Classic Symptoms |
|---|---|
| Broken Oven Element | No heat, uneven cooking, visible damage, sparks |
| Faulty Thermostat | Overheating, temperature swings, indicator stays on |
With these clues, you can already narrow it down quite a bit. Most kitchen disasters trace straight back to one of these signs. Grab a flashlight and just look—most of the time, your electric oven is trying to tell you what’s wrong if you know what to look for.
Quick Checks: Test the Element
If your electric oven is acting up, the heating element is your prime suspect. This is the part that glows red and actually cooks your food. Most ovens have two: one for baking at the bottom and a grill (or broil) element up top. Here’s how you can check if one’s gone bad without calling in the cavalry.
Visual Test: Start by cutting the power at the main switch or unplugging the oven. Safety first—you don’t want a shock. Once that’s done, open up your oven and look at the element. Common signs it’s toast:
- Obvious breaks or visible cracks in the metal
- Blisters, burns, or melted spots
- No red glow at all during operation (when it usually glows)
- Dark spots where it should heat evenly
Hands-On Test: If everything looks fine but you still think there’s trouble, you’ll want to test continuity with a multimeter. This tells you if electricity can actually flow through the element.
- Unplug your oven again or switch off the breaker.
- Remove the back cover—usually a few screws. The element’s two ends stick through the back so you can reach the connectors.
- Disconnect the wires from the element's terminals.
- Set your multimeter to the lowest resistance setting (ohms).
- Touch each lead to each terminal. You should get a reading between 10 and 100 ohms. No change or a result of “OL” (open loop)? This element is dead.
If your numbers are in the right range, the element is fine. Still, if you saw any of those tell-tale visual signs, it’s safer just to replace it.
Recent research by appliance brands shows that a worn-out oven element is behind nearly 70% of uneven heating complaints in homes. Swapping out a broken element isn't complicated—it’s usually just a couple of screws and wire connections.
If you end up needing a new element, write down your oven’s model number to make sure you get the right part. This will save you a ton of headache later on.
Pro Tips: How to Check the Thermostat
When your electric oven is playing mind games with the temperature, your thermostat could be acting up. The thermostat is what tells your oven when to switch the heat on or off, keeping things at the right temp. If it’s off, you get burnt cookies or raw pizza—never fun.
You don’t need a fancy toolkit to check if your thermostat is busted. Grab an oven thermometer (the cheap kind at any supermarket works) and follow these steps:
- Put the thermometer in the center of your oven. Preheat the oven to a common temp, like 180°C (350°F).
- Wait at least 15-20 minutes after the oven says it’s ready. Ovens often claim they’re preheated before they really are.
- Check the thermometer reading. If it’s 10-20 degrees off from your setting, your thermostat could be misreading things.
- Bake something simple, like a tray of cookies. If they come out uneven or burnt, the thermostat isn’t regulating the temp well.
Some folks get creative and swap in another oven (neighbor or friend) just to make sure it’s not your recipe. But most of the time, a simple thermometer check is your best move.
If you’re into a little DIY, you can go deeper:
- Unplug your oven—safety first.
- Take off the back panel (the thermostat sensor is usually a thin, metal rod running inside the oven and connecting to the controls).
- Look for obvious damage, like burn marks or disconnections.
- If you have a basic multimeter, you can check for continuity on the thermostat: no beep or reading means it’s likely faulty.
Did you know? In the past ten years, faulty oven thermostats have been behind around 30% of oven temperature complaints, based on local UK appliance repair stats.
Testing the thermostat yourself can rule out a lot before you pay for a new element or call in a pro. And if you’ve confirmed the thermostat is the issue, most modern ovens let you swap the part with a screwdriver and a little patience.
When to Replace vs. Repair
The big question: should you fix the faulty part or bite the bullet and buy a new piece? When it comes to the electric oven, the answer usually depends on the age of your oven, the cost of replacement parts, and how safe the fix will be. Let’s get practical.
Here’s how most home pros break it down:
- If the oven element is visibly cracked, burned, or has obvious breaks, don’t bother repairing—just replace it. Swapping an element is often cheap (usually under $50 if you’re handy) and takes about 20-30 minutes with a screwdriver. Trying to "patch" a broken element just isn’t safe or reliable.
- If the thermostat acts up (oven gets too hot, too cold, or never reaches set temperature), professional repair might make sense if your oven’s less than 10 years old and in good shape. Replacement costs can run between $75 and $200 (parts and labor) depending on brand and model.
- For ovens older than 12-15 years, consider total replacement if both element and thermostat fail or if repairs start stacking up. Older ovens can drain your electric bill, and sometimes replacement parts are impossible to find.
- If you hear unusual buzzing, smell burning plastic, or see sparks—not just a cold oven—unplug it ASAP. That’s usually a sign of a bigger electrical problem. Don’t try to fix it yourself.
Wondering what people actually pay? Here’s a quick cost comparison:
| Part | DIY Replacement | Pro Repair |
|---|---|---|
| Oven element | $25 - $60 | $100 - $200 |
| Thermostat | $30 - $75 | $120 - $250 |
If your oven plays a big part in your daily cooking or you love a good weekend bake, it’s usually worth fixing. But if you’re starting to notice frequent issues and the cost adds up, that’s your oven telling you it’s time to shop for a new one.
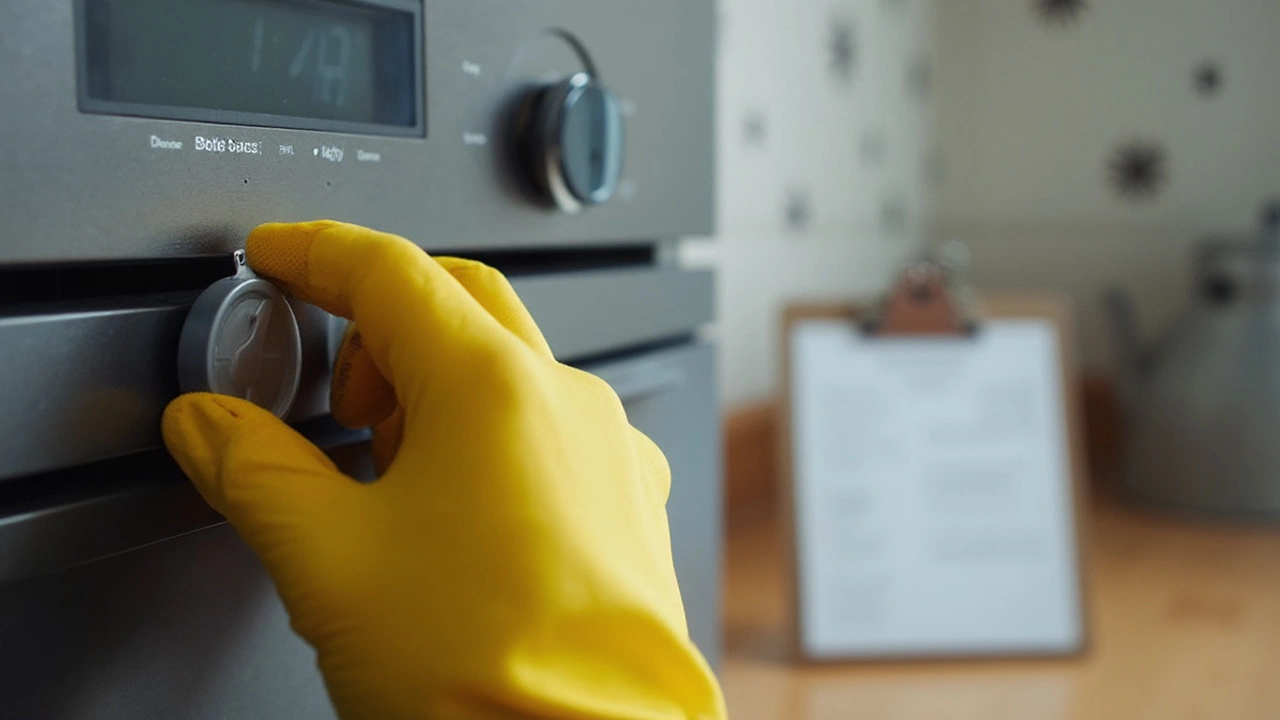
Staying Safe During DIY Repairs
Before you even think about checking your oven repair or swapping out any parts, safety comes first. Electric ovens can give a nasty shock if you’re not careful—don’t be another statistic. According to fire departments, home electrical fires are a leading cause of kitchen damage, and a lot start from careless repairs.
Here’s how you protect yourself before diving into any electric oven work:
- Unplug the oven or turn off the breaker for your kitchen. Don’t just trust the dial is off. Electricity can still be flowing inside even if everything looks dead from the outside.
- Wait for things to cool. Elements and internal parts can stay hot longer than you think, sometimes up to 30 minutes after use.
- Use insulated tools. Those rubber-handled screwdrivers are there for a reason. Metal tools plus live wires? Nope.
- Wear gloves if you’re handling sharp or jagged parts inside the oven. A cut from an old element isn’t fun.
- Work in good lighting. Miss a screw or clip and you might damage more than you fix.
For anyone swapping out a broken element or testing the thermostat, don’t leave any loose wires dangling when you’re done. That’s a fire hazard waiting to happen. Once everything’s done and put back together, double-check for leftover screws or metal bits inside the oven.
| Common Safety Risk | Best Prevention |
|---|---|
| Electric shock | Always disconnect power before repair |
| Fire hazard | Don’t leave exposed wires or flammable material inside |
| Burns | Let oven cool down completely before touching |
If anything looks confusing or you’re unsure about a wire or connection, don’t wing it. There’s no shame in calling a pro for oven repair.