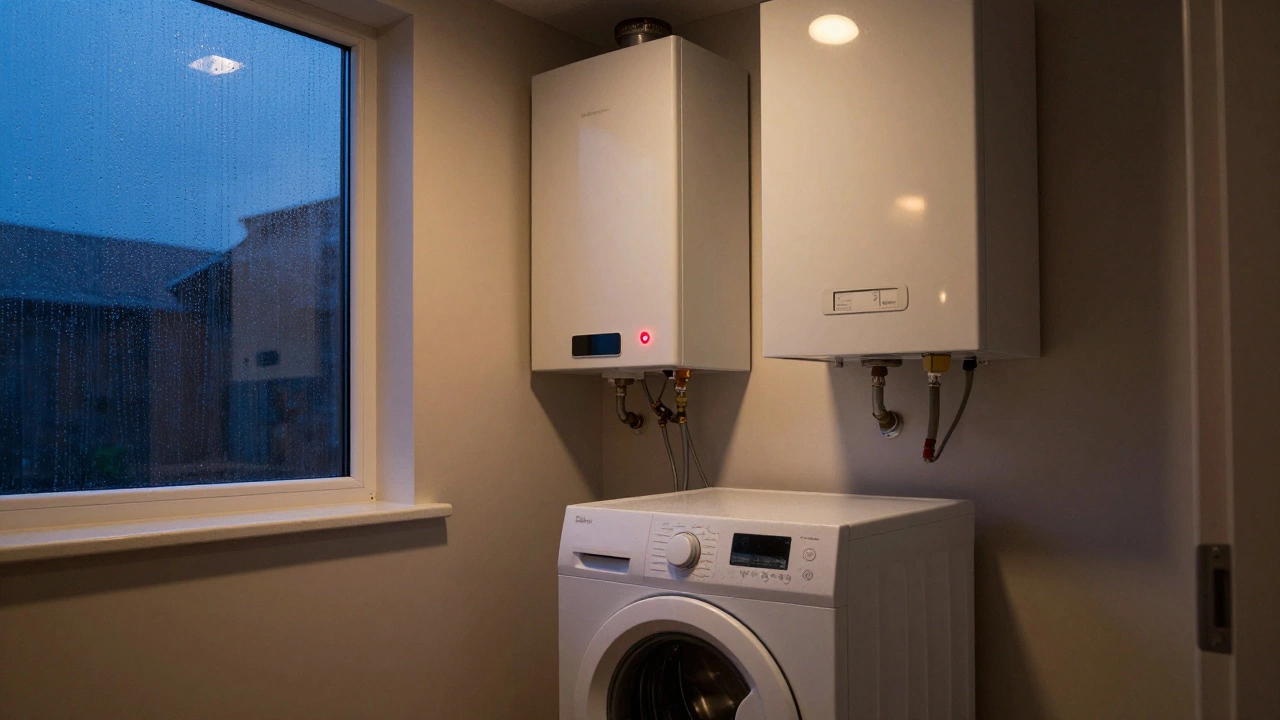
Ever had that sinking feeling when your freezer just isn't, well, freezing? It's a real headache, but sometimes the fix is simpler than you'd think. A lot of the time, an unresponsive freezer can be traced back to the compressor, that unsung hero of your kitchen appliances. If it's on the fritz, a quick reset might be all it takes to get things back on track.
Before embarking on this DIY adventure, it's important to recognize the signs that your freezer's compressor might need a nudge. Is there humming but no cooling? Frequent cycling? These are red flags that the compressor could use a reset.
First things first, gather your tools: a screwdriver, flashlight, and multimeter if you're feeling fancy. Safety's key—unplug your freezer before getting down to business. Stay grounded, and let's troubleshoot this together.
- Signs Your Freezer Compressor Needs a Reset
- Tools You'll Need
- Step-by-Step Reset Process
- Common Mistakes and How to Avoid Them
- When to Call a Professional
Signs Your Freezer Compressor Needs a Reset
So, what are the telltale signs your freezer’s compressor might be crying out for a reset? It’s like your freezer has its own language of SOS signals. Catch them early, and you might just avoid a meltdown, literally.
1. Temperature Troubles
If your freezer can't seem to keep its cool, that’s a big red flag. Warm ice cream? Vegetables turning mushy? Not cool. Quite literally. A malfunctioning compressor often leads to temperature irregularities.
2. Persistent Hum or Buzz
Is your freezer making more noise than normal? A freezer that's overbuzzed means the compressor's working overtime. It's like the sound of impending trouble. But before you panic, try a reset.
3. Frequent Cycling
A happy compressor runs like clockwork. But if it's starting and stopping more than usual, something's up. This is a sign of your freezer working harder than it should.
4. Visual Condensation
Seeing unwanted moisture or frost in weird places like freezer walls? It's another signal something's amiss. Condensation often points to cooling issues at the core – the compressor.
5. Data Check
| Issue | Impact |
|---|---|
| Temperature Fluctuations | Spoiled food |
| Excessive Noise | Compressor strain |
| Condensation | Increased humidity |
Understanding these signs can save you a ton of hassle. Listen to your freezer, it knows what's wrong. If you're picking up on these signals, a quick reset of the compressor might just save the day!
Tools You'll Need
Before jumping into resetting your freezer compressor, you'll need a few basic tools to make the process smooth. Don't worry, you probably have most of these lying around in your garage or kitchen drawer.
Essential Tools
- Screwdriver Set - Depending on your freezer model, you'll likely need both Phillips and flathead screwdrivers to access and handle different parts of the unit.
- Flashlight - Shining some light on your work area is crucial, especially if your freezer is tucked away in a dim corner of the kitchen or basement.
- Multimeter - While optional, a multimeter can be a game-changer. Use it to test the compressor's electrical connections accurately, saving you from potentially resetting the wrong component.
Optional, But Handy
- Gloves - Keep those hands protected, especially if you're dealing with older models that might have sharp edges.
- Notebook and Pen - Jot down any observations or steps to remember during the reset process. It's easy to forget what worked and what didn't if you're troubleshooting multiple times.
Now, here's a quick look at why each tool matters:
| Tool | Purpose |
|---|---|
| Screwdriver Set | Remove panels, tighten or loosen screws. |
| Flashlight | Brighten up dark spaces, see clearly. |
| Multimeter | Check for correct voltage and continuity. |
| Gloves | Protect your hands from sharp edges. |
| Notebook and Pen | Record findings and track progress. |
Having these tools at your disposal makes tackling a DIY freezer fix so much easier. Plus, there's a certain satisfaction in solving these appliance hiccups on your own, isn't there?

Step-by-Step Reset Process
So, you've decided to tackle the task of resetting your freezer's compressor. Kudos! It's a straightforward process, and here's how to do it step by step.
Safety is Key
First off, always prioritize safety when diving into any kind of DIY freezer fix. Unplug your freezer to avoid any nasty shocks. Double-check you're dealing with a power cut before touching the compressor.
Locate the Compressor
Most compressors are at the back bottom of the freezer. If your appliance is against the wall, you'll need to move it carefully, making sure to use your legs - not your back - to avoid injury.
Perform the Reset
- Switch It Off: Once unplugged, let the freezer sit for a few minutes. This allows the system to 'forget' its previous state.
- Inspect: Take a good look at the compressor. Is it dusty or dirty? Gently clean it with a soft cloth, making sure not to damage any wires.
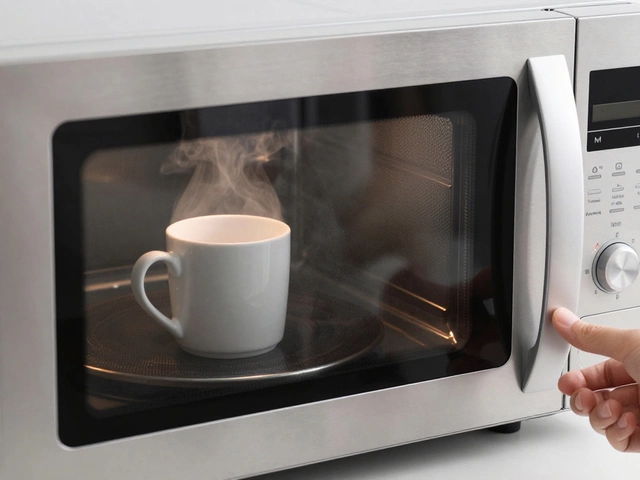
- Reconnect Power: After about 10 minutes, plug the freezer back in. This acts like a system reboot, potentially solving minor glitches.
- Reset Thermostat: Set the thermostat to your desired temperature. Wait around 24 hours to see if cooling efficiency improves.
Monitor Performance
After the reset, pay attention to how your freezer behaves. Is it cooling properly now? Listen for any unusual sounds or vibrations that weren't there before. If it’s still not functioning right, it might be time to call in a pro.
Optional: Check for Error Codes
Many newer models display error codes if something's off. Consult your manual to decode these messages—they might provide clues.
If you're unsure at any step, remember that there’s no shame in calling a professional. Safety and effectiveness should always come first when dealing with appliance troubleshooting.
Common Mistakes and How to Avoid Them
Resetting a freezer compressor can sound like a piece of cake, but there are some common hiccups that folks run into. Let's go over these blunders and make sure you're not that person sweating over a mess.
1. Skipping the Power Down
Freezer repair 101: Always, always cut the power before you start. It's not just about dodging a shock—many miss this, causing issues to linger. Make sure your beloved freezer is unplugged before diving in.
2. Ignoring the Reset Button
Some newer models have a handy dandy reset button hiding at the back or bottom. Don’t overlook this simple DIY freezer fix. A quick press might just solve your issues, sparing you a half-hour of fiddling.
3. Misinterpreting Compressor Sounds
Not every sound spells doom. Hearing a click or a buzz doesn't always mean it's toast. Manufactures often say that normal ops come with a little noise. Distinguish normal from trouble early, so you avoid the panic reset that could mess with your appliance.
4. Skimping on Time
When letting the unit power down, patience is your best pal. Many make the rookie move of rushing, trying to cut downtime. Allow a solid 10-15 minutes before powering it up. This break helps fully reset the system.
5. Overlooking Airflow
Don’t cramp the style of your compressor by blocking ventilation. Keep those vents clear. Lack of airflow can mute the effect of any reset you attempt, leaving you in the same mess.
Minor Tips that Matter
- Ensure the appliance isn’t overloaded; give it some breathing room.
- Check for any frost buildup hindering airflow.
- Double-check connections—loose plugs can mimic compressor failures.
Get these right, and you'll avoid a lot of frustration, plus save some bucks. Mastering these basics of reset compressor processes puts you on the fast track to being able to troubleshoot like a pro. Still facing troubles? Have that professional on speed dial just in case!
When to Call a Professional
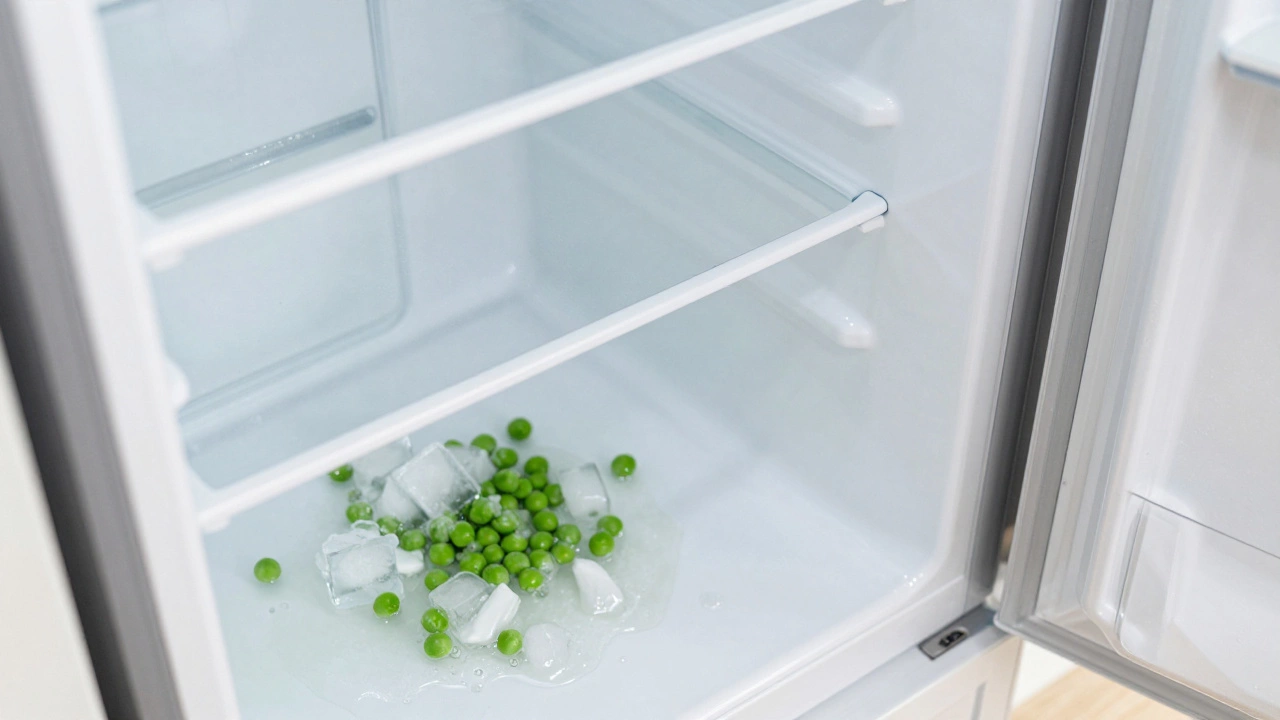
So, you've tried the DIY route, and your frozen peas are still more slush than solid. What next? Knowing when to call in the pros can save a freezer full of food—which is probably worth more than the service call itself.
Signs You Need a Pro
If your freezer compressor reset doesn't solve the issue, it might be more than just a simple fix. Here are signs that it's time to get a professional involved:
- Strange noises like rattling or clunking. These sounds can signal mechanical failures.
- Persistent warm temperatures even after resetting the compressor.
- Recurring issues despite trying the basics, like cleaning coils and checking seals.
- Visible leaks or frost build-up, which might point to a refrigerant leak.
Risks of DIYing Beyond Limits
Sometimes enthusiasm can lead us into deeper waters than planned. Tinkering with complex parts like the evaporator or condenser without proper knowledge can void warranties or cause damage. It's smart to recognize when you're out of your depth.
The Expert Edge
Calling a professional isn't admitting defeat; it's a savvy move to ensure that issues don’t worsen. Given that the average repair cost for a freezer is between $100 and $400, addressing minor problems before they escalate can be cost-effective. A certified technician will not only handle repairs efficiently but also offer insights on maintaining your freezer for optimal performance.
Don't sweat it—letting an expert handle complex freezer repair can take a weight off your shoulders, and who knows, you might just learn a thing or two in the process!