Extractor fans are the unsung heroes of many homes, quietly battling humidity, smoke, and odors. When they stop working, it can lead to lingering smells and even mold issues. Knowing how to fix these fans can save you money and keep your living space comfortable.
Getting to grips with the basics first can make a big difference in your repair success. Whether it's a mechanical issue or something else, understanding what makes your extractor fan tick is the first step in troubleshooting. Armed with the right tools and knowledge, you can tackle this repair task with confidence and ease.
- Understanding the Basics of Extractor Fans
- Identifying Common Problems
- Tools You Will Need
- Step-by-Step Repair Guide
- Maintenance Tips to Prevent Future Issues
Understanding the Basics of Extractor Fans
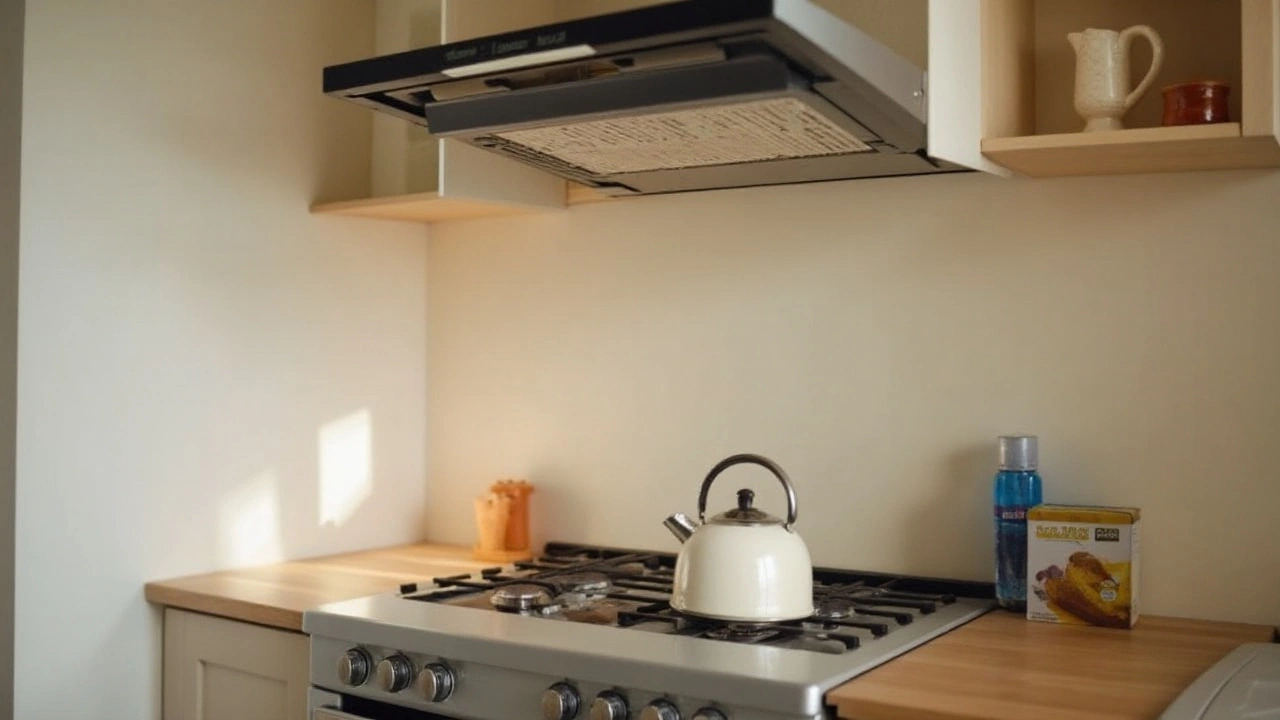
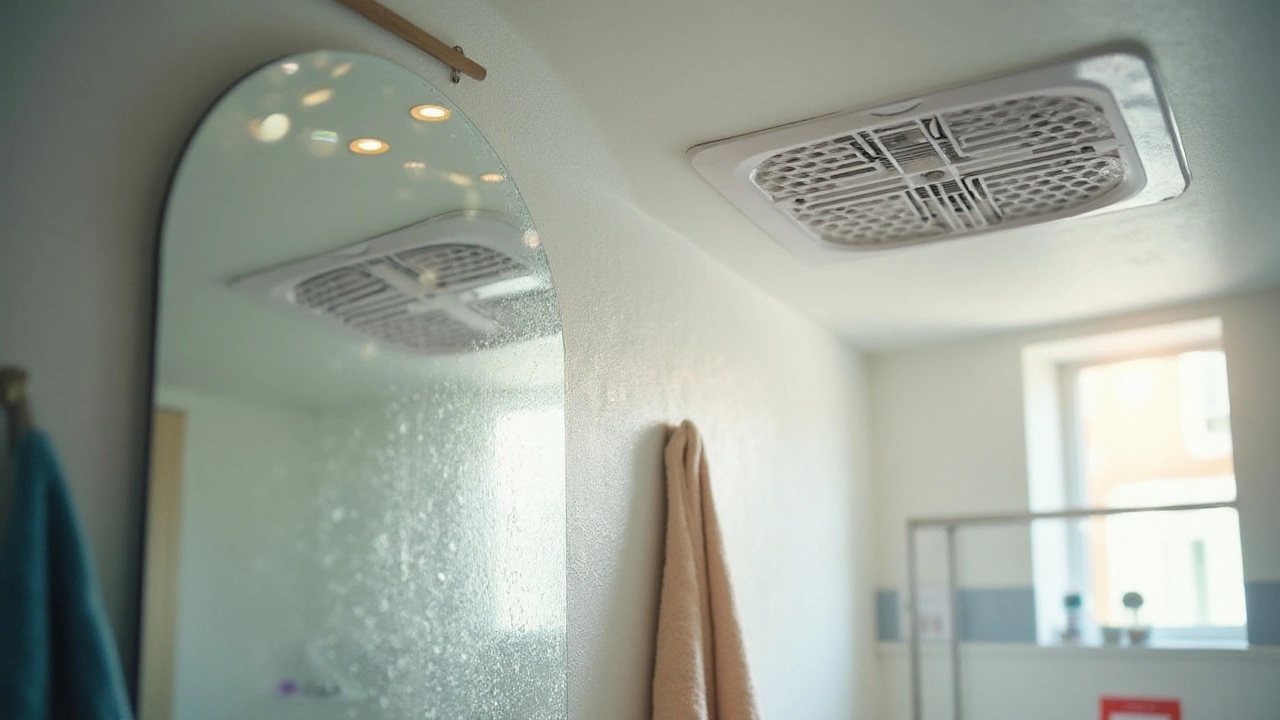
Before you can effectively address any issues with your extractor fan, it's essential to understand how it operates. Extractor fans are designed to remove unwanted particles, heat, and moisture from your home, primarily from kitchens and bathrooms. They work by pulling in air from the room and expelling it outside, using a duct system or recirculating it after filtration through a range of modern filters. These systems are particularly effective in preventing mold, a common issue in areas that frequently retain moisture. You might be surprised to learn that not all extractor fans are created equal; some are equipped with cutting-edge sensors that automatically adjust the fan speed to optimize air quality.
Extractor fans come in various models and sizes, each suited for specific spaces and volumes of air. The fan mechanism typically consists of a motor-driven impeller or rotor. This is responsible for creating airflow by pushing or pulling the air through the blades. The most common issues, like strange sounds or a fan that doesn't run at its full speed, often trace back to blockages or motor malfunctions. Regular maintenance like cleaning the fan blades and checking the motor can prevent these problems.Fan troubleshooting knowledge can go a long way in maintaining the integrity and efficiency of these devices.
A landmark study published in the "Journal of Interior Environment" highlighted that kitchens without proper ventilation systems, like an extractor fan, reported higher levels of indoor pollutants compared to those with adequate ventilation installations. Blocked fans or inefficient ones may not be noticeable at first but can lead to significant health implications over time, ranging from respiratory issues to increased allergen presence in the home. This illustrates the crucial need for routine checks and maintenance to keep your kitchen fan working efficiently.
"Maintaining a proper air exchange rate in living spaces is fundamental to preserving indoor air quality. Extractor fans, when functioning optimally, contribute significantly to this." — Dr. Emily Stone, Environmental Scientist
Additionally, installing these devices correctly is half the battle won. Ideally, you want your kitchen fan located as close as possible to the primary source of humidity or odors, ensuring maximal efficiency in its extraction process. Ensuring there is a clear path for the airflow in the ducting, without unnecessary bends and curves, can also significantly enhance performance. These technical considerations are pivotal in both existing and new installations and can impact the equipment's longevity alongside general air quality improvements.
Identifying Common Problems
The moment you realize your extractor fan isn’t functioning properly can lead to a series of frustrations as you try to figure out what's gone wrong. Several factors might cause a fan to break down, and being able to identify these issues is the first step in the repair process. Common problems can range from electrical faults to physical obstructions. Understanding what each issue might entail will help you decide the best course of action to take. Knowing the subtle differences in the sounds or lack thereof, can also be a hint; if the fan doesn't start or makes unusual noises, it could be a sign of an electrical issue or a mechanical jam.
Electrical problems are often the trickiest to diagnose without prior experience. Check if the fan is getting power, which can sometimes be overlooked. In some cases, a tripped circuit breaker or a blown fuse might be the culprit. It’s wise to start by inspecting the power source before examining the fan itself. As DIY Network states, "Most common issues are related to electrical connections, so ensuring all connections are intact is crucial." Every home has its quirks, and older homes might have outdated wiring that could contribute to these problems.
Physical blockages can be a bit easier to spot and address. These obstructions can be due to dust accumulation, or perhaps even a nesting bird, which is quite common in certain areas. A good cleaning might be all that’s needed to restore the fan to its former glory. Regularly cleaning the fan can prevent such problems from occurring. Use a damp cloth and some mild soap to clean any accessible parts. Always ensure the power is off before you proceed, ensuring full safety during the process.
Mechanical faults often arise from worn-out components. Over time, the parts that keep your fan blades spinning efficiently, such as the bearings or the motor itself, can wear down. When the fan blades are sluggish or not as effective, the bearings may require lubrication or replacement. Occasionally, the fan's blades themselves might be the issue, especially if they’ve been bent or damaged. Replacing such parts can breathe new life into your fan and eliminate noisy operations, which often hint at impending mechanical failures.
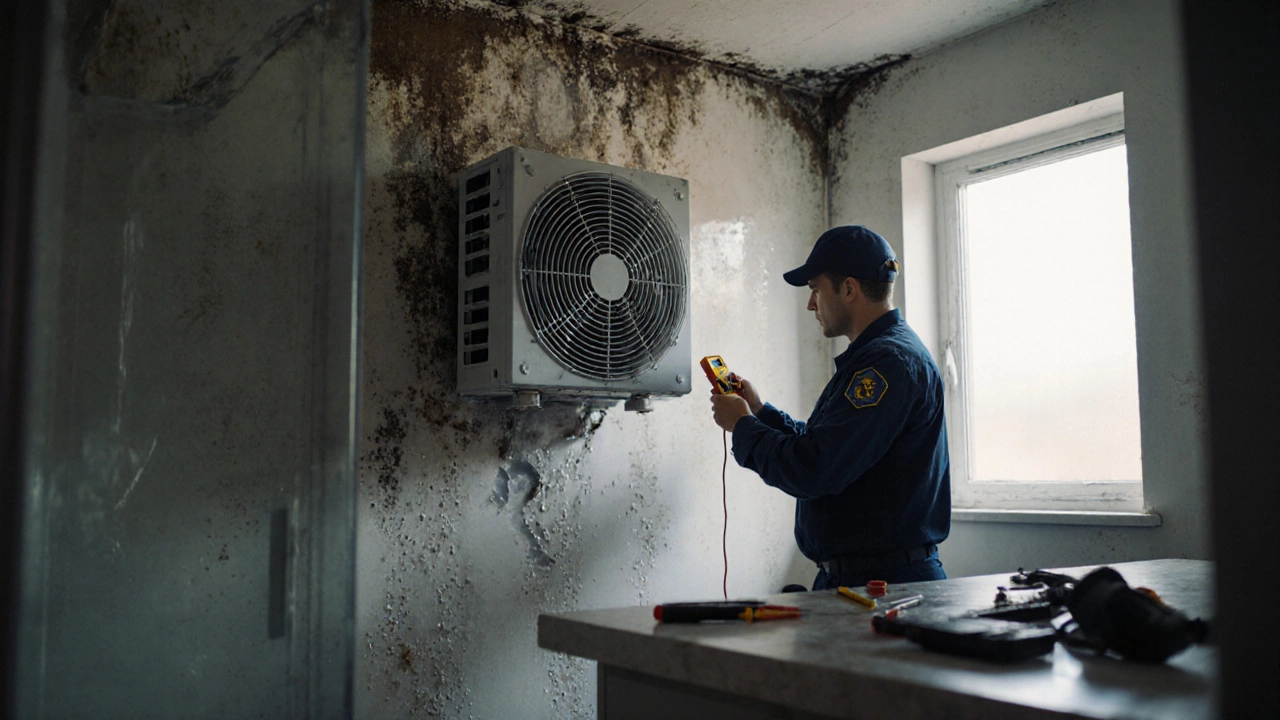
Given these issues, keep an eye out for water damage, especially in areas with high moisture levels, like bathrooms or kitchens. Water can short-circuit your fan or cause rust within its components. A proactive approach by installing splash guards or ensuring adequate ventilation in such areas can mitigate this risk. Regular inspection and maintenance can catch potential problems early on, saving you from more costly repairs down the line.
Tools You Will Need
Embarking on a extractor fan repair journey requires more than just enthusiasm; it necessitates an understanding of the tools that will make the task seamless. For starters, a basic toolset is a must-have for any repair or maintenance mission. This includes a multimeter, which is vital for testing electrical connections to ensure that the power is flowing correctly through your fan's wiring. In many cases, a malfunctioning fan isn't due to the fan itself, but a problem with the electrical supply, and a multimeter helps pinpoint these issues precisely.
To tackle any potential electrical work, you'll also need a set of insulated screwdrivers. These are designed to protect you from electric shocks while working on electrical components, a safety precaution that cannot be overstated. Amanda Mondale, an expert electrician, once said, "Safety is not an option; it’s a requirement, especially when handling electrical appliances." Having pliers and a wire cutter in your arsenal is equally important. They're particularly useful for dealing with wires that need trimming or adjusting, ensuring they fit snugly into connectors without leaving any exposed strands that might lead to a short circuit.
Next up is a torch or flashlights. While it might seem banal, having a hands-free light source is invaluable, especially when you’re working in tight or dimly lit spaces where most extractor fans are commonly installed. Spotting that tiny, out-of-place wire is significantly easier when it’s lit up brightly, ensuring no detail goes unnoticed. While removing or tightening screws, a drill with a set of assorted bits might be your best friend. It saves time compared to manual screwdrivers and is quite efficient when your fan is fixed high up, like above a kitchen stove, where reaching involves stretching.
Moreover, a can of compressed air or a handheld vacuum offers a practical solution for dust and debris removal. Fans collect dust over time, which can hinder their efficiency and lead to overheating or complete failure. By clearing out the debris, you not only improve the fan's performance after repair but also prolong its operational life. Here's a quick look at tool usage statistics:
| Tool | Frequency of Use |
|---|---|
| Multimeter | 90% |
| Insulated Screwdriver | 85% |
| Pliers/Wire Cutter | 80% |
| Torch/Flashlight | 75% |
| Drill | 65% |
| Compressed Air/Vacuum | 70% |
Finally, a digital camera or smartphone can be a surprisingly handy tool. Taking pictures before you start disassembling your fan setup aides greatly in remembering how everything fits back together. This is especially useful when working on complex electrical configurations common in modern fans, ensuring you don’t end up with a screw or wire that seemed to have magically appeared from thin air. By equipping yourself with these tools, the path to restoring your kitchen fan to its original glory becomes not only manageable but also an exciting learning experience.
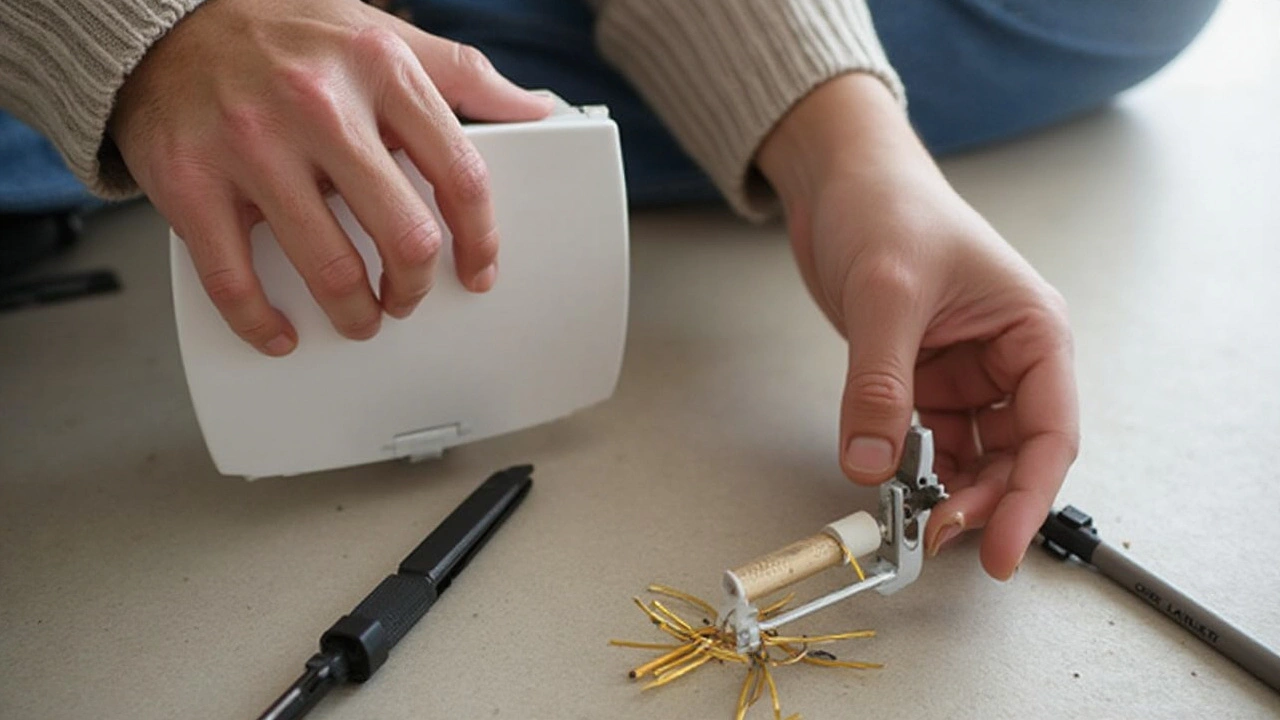
Step-by-Step Repair Guide
Repairing an extractor fan can seem daunting at first, but breaking it down into manageable steps can simplify the process. Start by ensuring the power supply is turned off for safety. Without this crucial step, you run the risk of electrical shock. Once you’ve achieved this first line of safety, you can move forward to remove the fan cover. For most models, this involves unscrewing it gently with a screwdriver. Keep those screws somewhere safe – they have a mysterious way of disappearing just when you need them most!
Once you open it up, you're looking at the inside mechanics of the fan. Here, dust and dirt are often the culprits behind slow or non-existent rotation. With the fan dismantled, it’s time to thoroughly clean the blades. You’d be amazed at the gunk these blades collect over time, impacting performance. Using a soft brush and perhaps a vacuum with a brush attachment, carefully remove all visible dirt. Be cautious around any sensitive wiring or components. The accumulation of dirt is no small problem; a University of Colorado study actually found that household dust contains thousands of different types of bacteria, which can be released into your living space if not dealt with properly.
Next, inspect the wiring. Look for any signs of wear or burnt areas on the wires, which could indicate a short circuit. If you spot anything unusual or damaged, it may be wise to consult a professional or someone with electrical expertise to help you safely replace or repair any faulty wiring. A poor connection here could prevent your fan from operating smoothly. In fact, a surprising amount of fan failures are due to bad electrical connections – something often overlooked by DIY enthusiasts.
Sometimes, the issue lies elsewhere in the system. Check the fan motor itself. Use a multimeter to test motor continuity; if you find no continuity, it means the motor might need a replacement. Most extractor fan motors have a lifespan of about ten years, so if yours is older, it might be time to consider a new one altogether.
According to Home Repair Guru, “Regular maintenance can extend the life of an extractor fan by up to 30%, saving homeowners unnecessary replacements.”
Finally, once repairs are complete, and everything is cleaned and inspected, it’s time for reassembly. Carefully reattach the fan cover, ensuring all screws are tightly secured. Turn the power back on and give it a test. A proper-starting and smoothly-running fan is the reward for your efforts. Ensure no odd noises are coming from the fan, which could suggest a problem still lurks beneath its casing.
By following these steps, you can address most common issues, restoring your fan to full functionality. Engaging in this process will not only resolve your current issue but acquaint you better with the workings of your extractor fans, empowering you to tackle potential future issues with confidence.
Maintenance Tips to Prevent Future Issues
Keeping your extractor fan in optimal condition doesn't just enhance its lifespan, but also ensures it's always ready to tackle those uninviting odors and moisture. Regular maintenance is key, and it's something homeowners should incorporate into their routine. Start by cleaning the extractor fan regularly. Over time, dust and grease can accumulate on the blade, which can cause the fan to work inefficiently and may even lead to a breakdown. Use a soft cloth and a gentle cleaning solution to wipe down the fan blades and surrounding areas. Doing this every few months can significantly reduce potential problems later on.
Next, prioritize the inspection of the fan’s electrical components. Even a minor electrical fault can escalate if overlooked. Checking the power source and ensuring there are no obvious signs of wear or damage can be critical. If your fan starts making strange noises, it might indicate a motor issue or worn-out components. Tightening loose screws and oiling moving parts can help maintain smooth operation. As one industry expert remarked,
"Preventative maintenance can often be the difference between a minor repair and a costly replacement."Such insights underscore the importance of regular checks.
Pay attention to the fan’s filter as well. Many modern extractor fans feature filters that trap grease and other particles. These should be cleaned or replaced according to the manufacturer's instructions. A clogged filter will not only reduce the fan's performance but can also lead to overheating. Some homeowners create a simple maintenance schedule, which includes filter checks. Additionally, visually inspect the exterior outlet to ensure there are no obstructions like leaves or debris that can impede airflow. If your fan features a duct system, verify there are no blockages within it, as these can severely limit efficiency.
If you live in an area with hard water, you might face mineral buildup in your fan similar to what happens with a kettle or showerhead. Depending on your fan's location and usage, this might be less of a concern, but it's worth keeping in mind. Regularly de-scaling can help maintain functionality. An interesting fact is that over 25% of extractor fan failures are due to build-up issues that could have been prevented with routine cleaning and maintenance. This shows the effectiveness of keeping on top of fan hygiene.
Don’t overlook simple tests, either. Periodically switch off power to the fan and examine the wiring for damage or fraying. This can prevent electrical hazards and maintain efficient performance. An organized toolkit with the essentials for fan maintenance, such as screwdrivers, a vacuum for dust removal, and lubricating oil, can be invaluable for quick DIY interventions. Encouraging others in your household to be mindful of the fan's functionality can create a shared responsibility, ensuring it's not solely your task to maintain the device.
The monthly or quarterly routines you adopt now could potentially save you from the inconvenience of a more significant issue. Implementing these tips can dramatically reduce stress, save you money, and guarantee a fresh and pleasant home environment consistently.