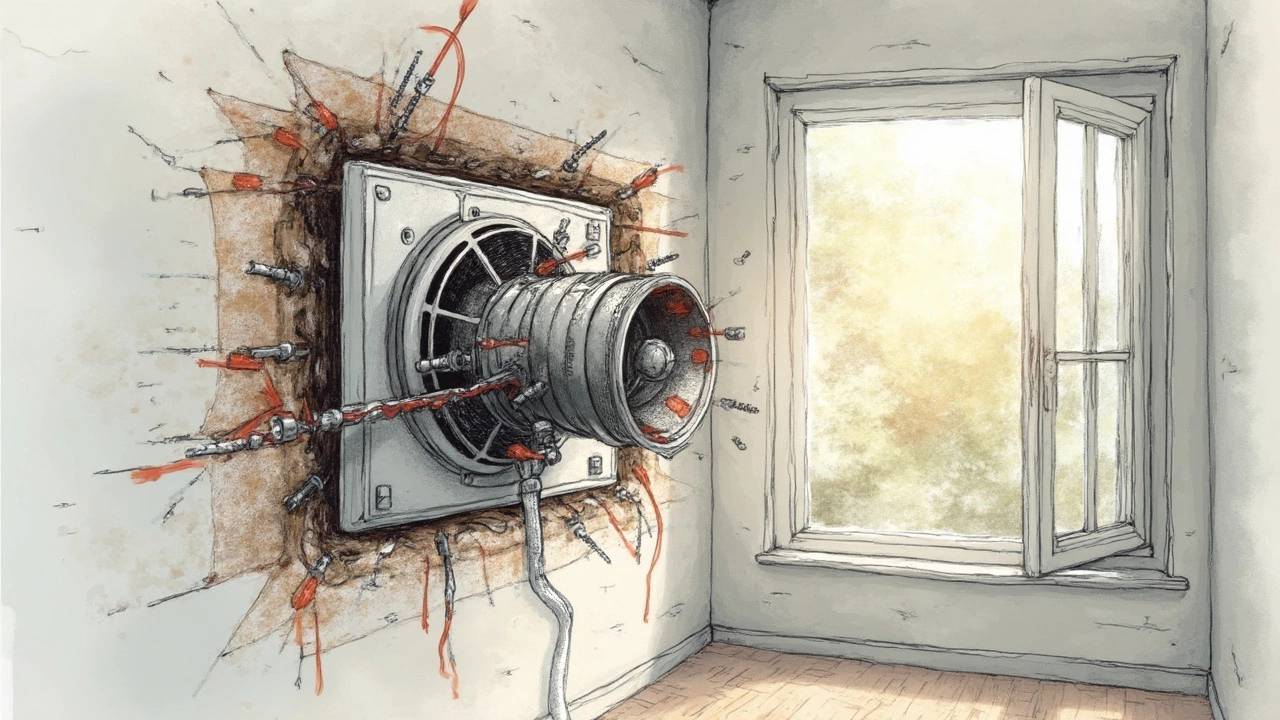
Ever had that moment when your bathroom or kitchen starts feeling like a sauna, all because the extractor fan decided to take a day off? Yeah, it’s frustrating, right? These fans are champs when it comes to maintaining air quality and moisture levels, but like everything else, they can go on the fritz.
If your extractor fan suddenly stops whirring, it doesn't mean you need to run out and buy a new one just yet. Most problems can be fixed with a bit of detective work and some elbow grease. Knowing what’s wrong is the first step. From strange noises to the thing just not turning on, the issues might be simpler to solve than you think.
- Understanding Your Extractor Fan
- Common Issues and Solutions
- Tools You Might Need
- When to DIY
- Calling in the Pros
- Preventive Maintenance Tips
Understanding Your Extractor Fan
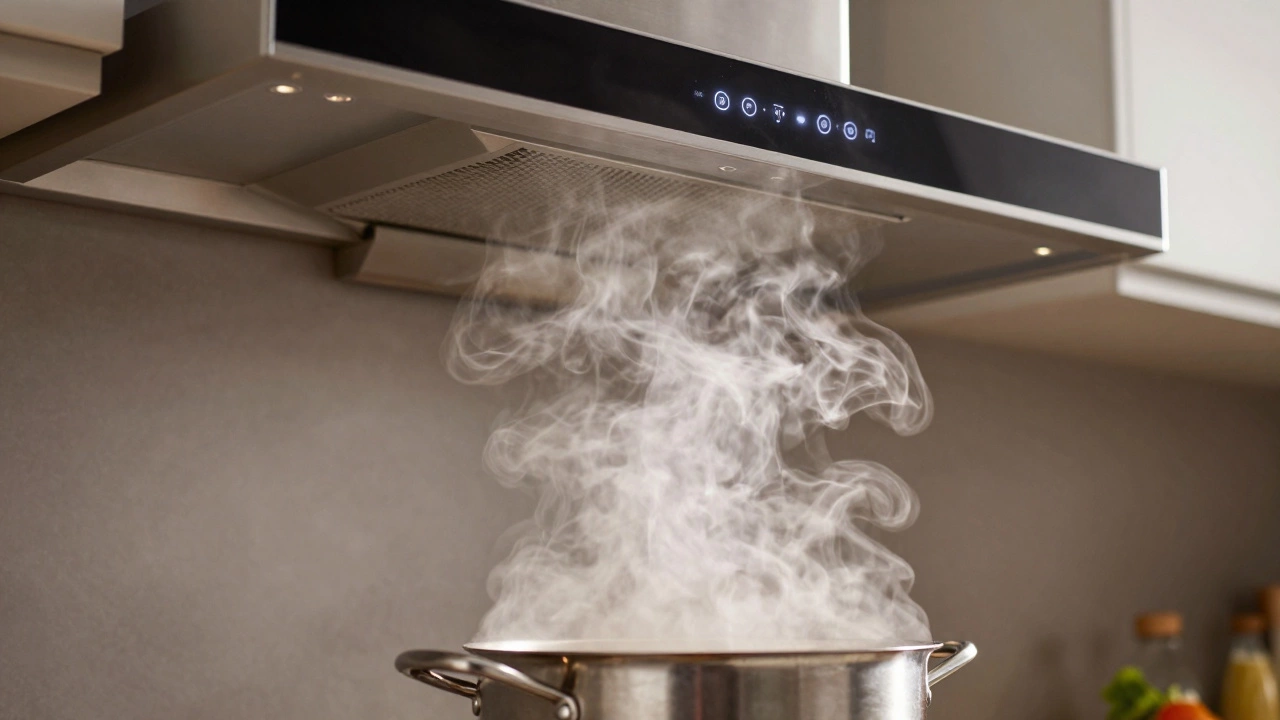
Got an extractor fan in your kitchen or bathroom? Then you probably know they’re more important than they often get credit for. These fans are your first line of defense against mold, lingering odors, and unwanted moisture buildup. But how do they actually work?
Extractor fans, unlike ceiling fans, don't just circulate air—they move it outside. They have a motor that operates a fan blade, creating an air current that draws out steam and smoke. This is why they’re most common in places like kitchens, where cooking aromas and smoke can build up, and bathrooms, where hot showers turn the room into a sauna. Ventilations are often vented to the outside through a duct, ensuring those odors and moisture have somewhere to go.
Different types of extractor fans you might find include axial, centrifugal, and inline fans. Axial fans are typically used in small to medium-sized rooms and are perfect for walls or windows. Centrifugal fans, on the other hand, are powerhouses perfect for pushing air over longer distances. Inline fans are a bit more sophisticated, great for larger setups where the fan is placed along a length of ducting.
Not too interesting yet? Well, here’s a fun fact: efficient extractor fans can exchange the air in a kitchen up to 10 times per hour. So, if you’re setting up your ventilation game at home, it’s wise to check the airflow rate you’re getting.
Understanding your fan means knowing the basic components and how they fit together. Most important to note is that when troubleshooting, the fan, motor, and the electrical connections play crucial roles in its operation. Keep an eye on them for the basics of fan maintenance. Missing these can mean the difference between a minor DIY fix and a call to a repair service.
Common Issues and Solutions
Extractor fans can throw a tantrum for a bunch of reasons. So, if yours is acting up, let's figure out what's bugging it. Here are some common hiccups and how you can tackle them.
Noise, Noise, Noise: If your fan sounds like it's about to take off, it might be dirt or a loose part. First, unplug the fan for safety. Once that's done, take a peek inside. Sometimes it's just dust or debris choking it up. A gentle clean with a damp cloth could do the trick. If things are still rattling, check for any screws that might need tightening.
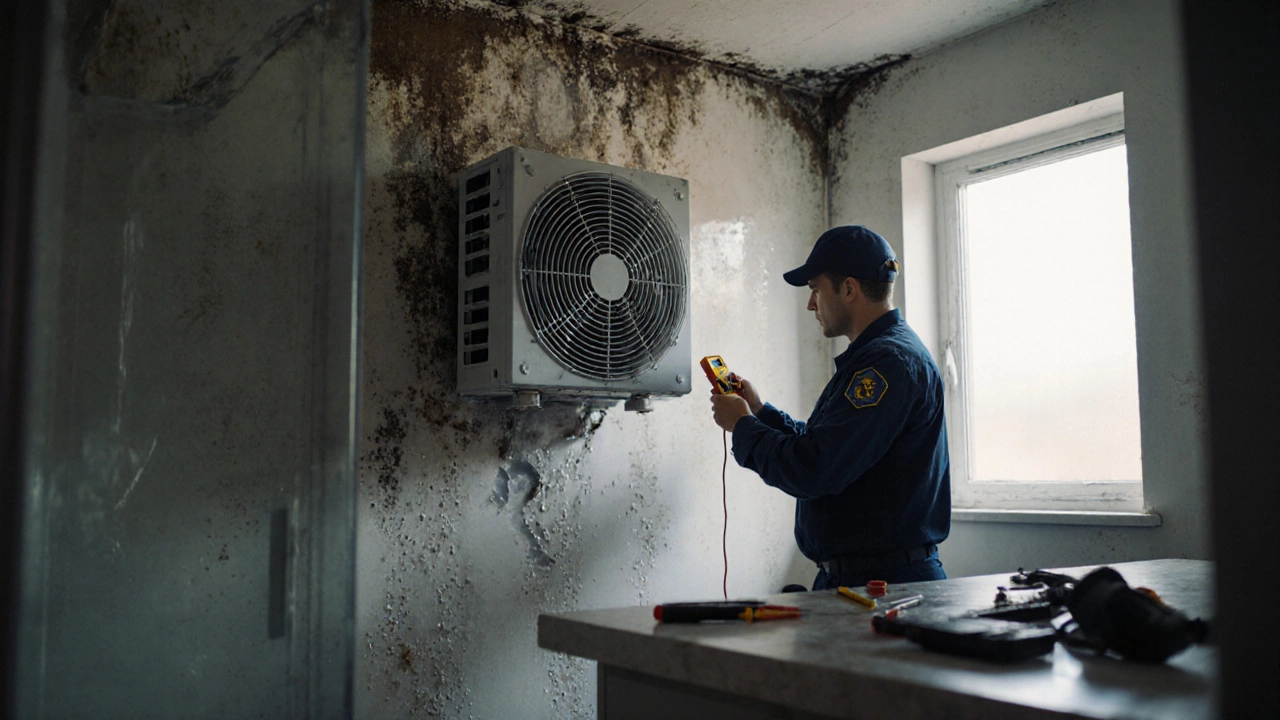
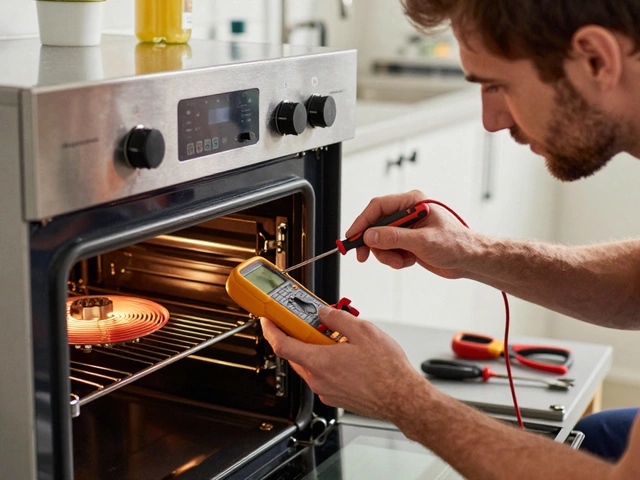
The Fan That Won't Turn On: Nothing's more frustrating than a fan that’s lost its power mojo. Before writing it off, check the simple stuff—like if it's plugged in properly or if a fuse has blown. If you can, use a multimeter to see if electricity's actually getting there. If there's no power issue, it could be the motor or a burned-out capacitor that's crying for help. These parts can usually be replaced, saving you a shopping spree for a new fan.
Lack of Power: Sometimes the fan’s spinning, but not with its usual gusto. This can be due to buildup on the fan blades. Grease, dust, or any grimy culprit may just need a good scrubbing. Turn off the power, remove the fan cover, and clean those blades.
Here's a quick look at some extractor fan repair magic:
- Tighten Loose Parts: Check screws and brackets.
- Clean the Blades: Ensures efficiency and reduces noise.
- Replace Faulty Parts: Like the motor or capacitor.
- Check Wiring and Fuses: The problem might be right there.
You might be surprised how these small fixes can make a big difference in getting your fan back to working order. Lucky for you, these machines aren't as complicated as rocket science!
Tools You Might Need
Getting ready to roll up your sleeves? Awesome! But before you dive into fixing that extractor fan, let's make sure you've got the right gear. It’s not about having a full-on workshop, just some basic but essential tools to get the job done without fuss.
Here's a handy list:
- Screwdrivers: You’ll need both flathead and Phillips—they’re your bread and butter here.
- Multimeter: This is crucial for checking electrical connections and ensuring everything's receiving power. Don't guess—measure!
- Pliers: Needle-nose pliers are great for holding or pulling wires, and you might run into some tricky spots.
- Volt Tester: Safety first! This will help ensure no live wires catch you off guard.
- Dust Cloth and Brush: Fans collect dust like magnets. Regular cleaning makes a world of difference.
- Ladder or Step Stool: Most fans are mounted high, so you’ll need a safe way to reach up there.
Now, you might not believe it, but keeping these tools handy can make fixing your extractor fan a breeze. It's all about having easy access to what you need without having to run out in the middle of a job. Plus, who doesn't like feeling like a home repair hero with a trusty toolbelt?
Oh, and a little tip from experience: label your tools if you can. It sounds super organized (maybe over-the-top), but it makes putting everything back in place easier, especially when you’re super focused on getting that fan whirring again.
When to DIY
Sometimes tackling an extractor fan repair yourself can save you a ton of hassle and cash, but how do you know when to go for it? Well, it boils down to the problem and your comfort level with tools.
First off, if your fan is totally unresponsive, it's worth checking the basics. Here's a quick checklist:
- Check if the circuit breaker tripped. This is super common and easy to fix—just reset it.
- Inspect the power supply. Make sure it's actually plugged in and getting power, especially if it's an older model prone to loose connections.
- Examine the fan blades. Dust and grease build-up can bog things down. A good cleaning might be all you need!
If these don't solve the problem, it might still be a DIY project if you're comfortable tinkering:
- Loose screws or mounting: If your fan sounds like a rattling tin can, it could be loose screws. Tightening them might do the trick.
- Minor wiring issues: Reconnecting a loose wire is not too hard if you've worked with wiring before. Always shut off the power first!
- Basic motor swaps: If you're a bit more experienced, replacing a small fan motor can actually be pretty straightforward. Motors often have standard fittings, making it easier than it sounds.
But hey, if any of this seems overwhelming or you're hearing weird grinding sounds or facing complicated wiring issues, it’s probably time to call in the pros. Better safe than sorry, right? Remember, DIY doesn't mean ‘do it ALL yourself’—just what you're comfy with handling.
Calling in the Pros
So, your extractor fan repair attempts have hit a wall, and you’re still stuck with a steamy room. That’s when you might start thinking about bringing in the experts. But what's the scoop on getting professional help, and when is it really necessary?
First off, if the fan is still under warranty and you've given it a good once-over without success, it's usually best to call in the manufacturer or a certified technician. Most warranties cover repairs during a certain period, so you avoid those out-of-pocket costs.
For more challenging issues, like serious wiring problems, a professional is definitely the way to go. Messing around with electrical wiring without the right knowledge can be super dangerous. Specialists have the know-how and tools, ensuring everything's compliant with local electrical codes. Plus, they often provide a service guarantee, so you've got peace of mind if the fan decides to misbehave again.
When deciding on which pro to call, do some homework. Check their licenses, certifications, and online reviews. You want someone who knows their fans inside out. Word of mouth from friends or local community groups can also point you in the direction of someone reliable.
Next is the price. On average, professional repairs could range from $50 to $150, depending on the complexity of the job and your location. While it might seem like a bit much, remember that paying a skilled professional upfront often saves a bigger expense down the line.
Ultimately, a specialist not only saves you time and head-scratching but also ensures that your home stays ventilated effectively. So if you're stumped, know that it's okay to call in the cavalry!
Preventive Maintenance Tips
To keep your extractor fan running smoothly and avoid unexpected breakdowns, a little preventive maintenance can go a long way. Just a bit of regular attention will keep it efficient and prolong its life. Let’s dive into some simple tips to keep your fan in top shape.
First up, regular cleaning is crucial. Dust and grease can build up over time, bogging down the fan. A thorough cleaning every few months will help. Here’s what you should do:
- Turn off the power to the fan at the main switch to ensure safety.
- Remove the grill or cover of the fan. Often, these can be unscrewed or just popped off depending on your model.
- Gently clean the grill and the fan blades using a damp cloth with mild detergent. Avoid using water directly on the fan, as it can damage the motor.
- Once clean, dry the parts completely before reassembling them.
It's also a good idea to check the fan’s performance every now and then. Listen out for unusual noises or reduced airflow, which might indicate a deeper issue. If it sounds like something’s wrong, don’t ignore it, as catching problems early can save a lot of hassle.
Consider inspecting the fan's wiring at least once a year. Over time, wires can become loose or frayed, which can lead to power issues. If you're not comfortable doing this yourself, especially around electricity, it might be best to call in the pros.
Finally, control moisture around the fan. High humidity can lead to moisture buildup in the motor, which spells bad news. Using a dehumidifier in especially damp areas can prevent this from happening.
By following these preventive maintenance tips, you'll likely experience fewer hiccups with your extractor fan and possibly save on repair costs down the line.