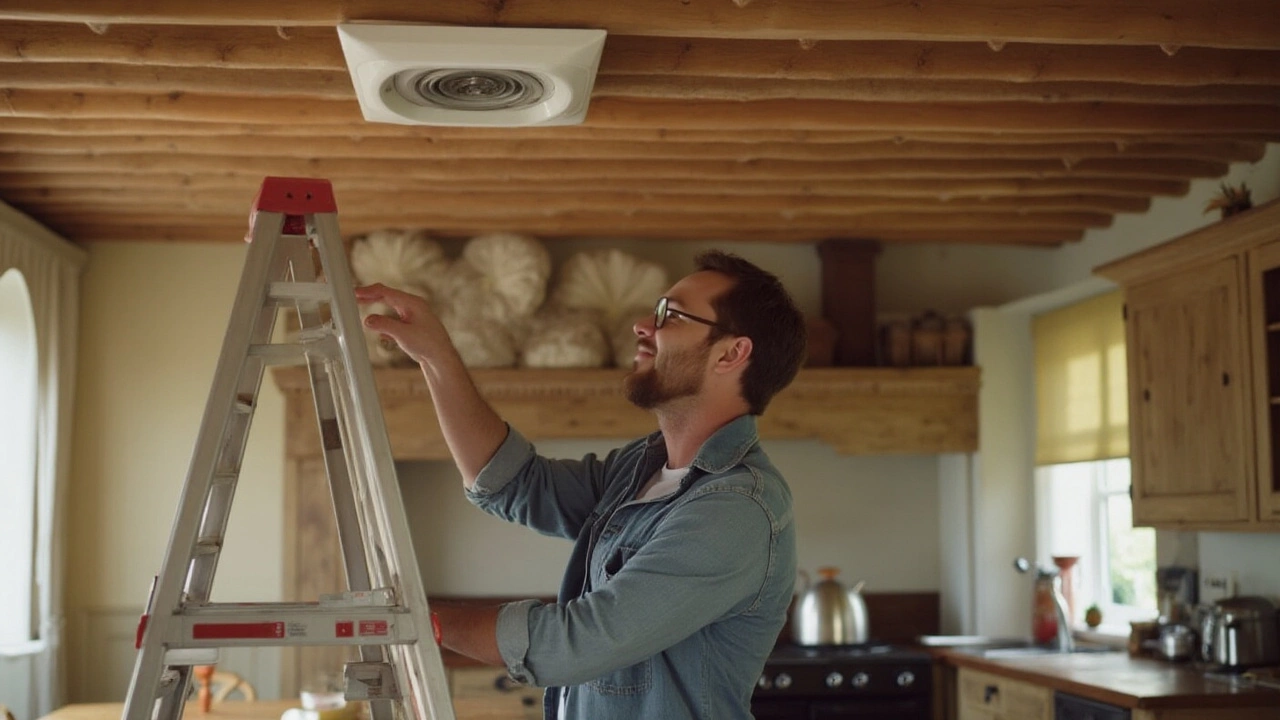
Got a kitchen extractor fan that's not doing its job? It’s likely blocked and needs a little TLC. But don’t worry, unblocking it doesn’t require a degree in engineering. First, let’s figure out where the blockage might be. Extractor fans can get clogged up with grease, dust, and all kinds of kitchen debris. This blocks airflow, meaning smells linger longer than they should.
Imagine you’re making breakfast, and the smell of bacon just hangs around all day. Annoying, right? Finding and fixing the block isn’t just about getting rid of smells; it's also about keeping your fan in good shape for longer. So, let’s get hands-on and see what tools you need to sort it out.
- Identifying Blockages
- Tools You’ll Need
- Step-by-Step Unblocking Guide
- Maintaining Your Extractor Fan
Identifying Blockages
Before you start unblocking, it’s crucial to know where exactly the problem is. Most common extractor fan blockages happen in obvious areas. Let’s explore those so you can pin down what's stopping your fan from working properly.
Most Common Clog Spots
The first place you should check is the kitchen fan filter. Grease and dust tend to pile up here quickly, reducing airflow and causing stress on the fan motor. Simply remove it and hold it up to the light. If you can barely see through it, that's a good sign it’s clogged.
After the filter, move onto the fan blades. You might find them covered in a grime of grease and dust—yuck, right? The build-up on blades isn’t just a performance issue; it can also lead to unpleasant odors spreading through your kitchen. Regular cleaning can prevent this from causing larger issues down the line.
Air Ducts and Vents
Don't forget to look at the air ducts, especially if you have a vented system. Sometimes, something as simple as birds' nests can sneak into the ducts, causing complete blockages. Not as common, but worth a check—you might even find a rogue sock in there!
Checking the Motor
If everything else looks okay, and the fan still doesn’t work, it's time to check if the motor is overheated or damaged. Given that motors aren’t as visible as other parts, people often overlook them, but they’re an essential part of the extractor fan. An unusual noise or a complete stop could mean your motor’s just had enough.
Quick Stats on Fan Dirt
Here's a quick glance at what sneaking dirt and grease can look like over an average period:
| Part | Weekly Grime Increment |
|---|---|
| Filter | 15% |
| Blades | 10% |
| Ducts | 5% |
Consider these insights your currency the next time something smells fishy, and it isn't your dinner.
Tools You’ll Need
Before you jump in, let's gather the essential gear you'll need to unblock your kitchen extractor fan. No worries, you probably have some of this stuff lying around your home already. Ready to check off your list?
Basic Cleaning Gear
- Screwdriver: Needed to open up the fan cover and access those pesky blockages.
- Cleaning Cloths: Get an old rag or some microfiber cloths to wipe away the grease and dust.
- Brush: A small brush, something like an old toothbrush, works great for scrubbing tricky spots.
- Bucket of Soapy Water: Mild dish soap and warm water do wonders in cutting grease.
Advanced Tools
- Vacuum Cleaner with Hose Attachment: Perfect for sucking up loose debris without making a huge mess.
- Degreaser: If soap isn't cutting it, a commercial degreaser can help break down tough grease.
- Gloves: Kitchen grease can turn into a sticky nightmare, so protect your hands.
And hey, if you're feeling fancy, you can use an air compressor to blow out stubborn dust. Hardly necessary, but nice if you’ve got one around.
Step-by-Step Unblocking Guide
So, you're ready to unclog that kitchen extractor fan and get it back to peak performance? Let’s break it down into easy-to-follow steps that will have your fan running smoothly in no time.
Step 1: Safety First
Before you even think about getting started, make sure your fan is switched off and unplugged. This might seem obvious, but it’s a crucial first step for avoiding any electrical mishaps.
Step 2: Remove the Filter
- Most extractor fans have a grease filter. Start by removing it—you’ll likely find it held in place by simple clips or screws.
- If it’s a metal filter, it can usually be washed in warm soapy water. For carbon filters, it’s best to replace them if they’re clogged.
Step 3: Clean the Fan Blades
Once the filter is out, you’ll have a clear view of the fan blades. These can collect a surprising amount of grime over time.
- Use a soft cloth and a gentle cleaner to wipe down each blade.
- Take care not to bend them out of shape.
Step 4: Clear the Air Duct
The air duct is another common blockage point. Dust and grease can accumulate here, restricting airflow.
- Check out the duct for any dirt buildup.
- If accessible, use a vacuum with a hose attachment to suck out debris.
Step 5: Reassemble and Test
With everything cleaned, it’s time to put your fan back together.
- Simply reverse your steps to reattach the filter and any other parts you removed.
- Plug your fan back in and fire it up to test the airflow.
If you’ve followed these steps and your fan still isn’t working right, you might have a more serious issue and should consult a professional.
Useful Tip
Make it a habit to check your fan and filter every few months. This not only ensures optimum performance but also longevity of your kitchen equipment. A little maintenance can prevent big problems down the road.
Maintaining Your Extractor Fan
Keeping your extractor fan in tip-top condition isn't just about immediate functionality; it’s an investment in your kitchen’s air quality. Let’s go through some basic maintenance tips that can make a world of difference.
Regular Cleaning
Cleaning is the number one thing you can do for your fan. Aim to clean the filters and the fan itself every three months. Use warm soapy water to get rid of grease and grime. Don’t skip this step, as clogged filters are the main reason for those annoying blockages.
Replacing Filters
Even with cleaning, filters have a lifespan. Replace them every 6 to 12 months depending on your cooking habits. If you're frying a lot, go for the six-month mark to ensure efficiency.
Visual Inspections
Once a month, give your kitchen fan a quick look. Check for visible dust, grease, or any odd sounds it might be making. Catching things early can save you a headache later on.
Table: Maintenance Schedule
| Task | Frequency |
|---|---|
| Cleaning Filters | Every 3 months |
| Replacing Filters | Every 6-12 months |
| Visual Inspections | Monthly |
These simple steps help keep odors at bay and extend the life of your fan. Proper maintenance also means fewer repair bills down the road. A well-cared-for fan can last up to 10 years, maybe more, keeping your kitchen fresh and clean for the long haul.