Thinking about replacing your electric oven by yourself? It's definitely possible, but you'll need to get your ducks in a row first. There are a few things you should be aware of before diving into this project.
First off, know that dealing with electrical appliances isn't all fun and games; safety should be your number one priority. Make sure you've got the right tools, like a good screwdriver set and a voltage tester. Plus, have a look at your oven's manual—those things can be lifesavers.
You'll also want a clear understanding of your home's wiring. If sockets and breaker boxes are more confusing than your teen's math homework, you might want to call in a pro. But if you're comfortable with it, follow along to see if this is a project you can handle on your own.
- Know Your Oven
- Essential Tools and Safety
- Steps to Replace an Electric Oven
- Common Pitfalls
- When to Call a Professional
Know Your Oven
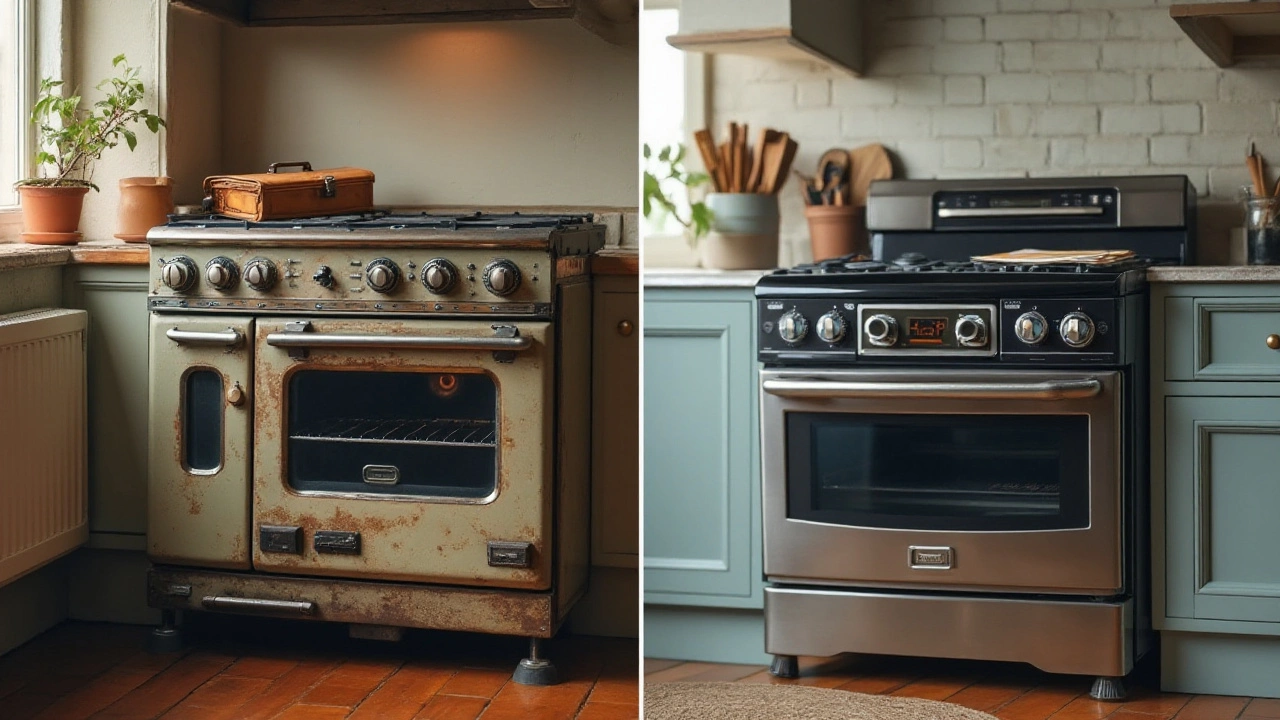
Before you even think about yanking your electric oven out of its spot, you need to get to know it a little better. Trust me, understanding your oven is like reading the manual before putting together flat-pack furniture—it's a lifesaver.
Oven Types
First, figure out what type of oven you have. Most household ovens are either built-in or freestanding. Built-ins are integrated into your kitchen cabinetry, while freestanding ones can be moved around if needed. Knowing this will help you understand the installation requirements and logistics.
Electrical Requirements
Next, consider the electrical needs. Electric ovens aren't one-size-fits-all when it comes to power. Check the voltage requirements on the oven's rating plate, usually found inside the door frame or at the back. This ensures you're plugging into the right circuit.
Dimensions and Space
Measure twice, cut once, right? The same applies here. Measure your current oven's dimensions to make sure any replacement fits well in the same spot. You don't want to discover that the new unit is too big—or too small—after it's been delivered.
Special Features
Is your oven just a basic model, or does it have fancy features like smart tech, convection settings, or self-cleaning modes? These could impact the replacement process. A high-tech oven might need different installation instructions than a standard model.
Model and Serial Number
Last but not least, jot down the model and serial number. This info comes in handy for looking up manuals, spare parts, and even potential recalls that might affect your replacement decision.
Ovens by Type
| Type | Features |
|---|---|
| Built-in | Integrated into cabinetry, sleek look |
| Freestanding | Flexible placement, often more budget-friendly |
Essential Tools and Safety
Diving into a DIY project like replacing an electric oven requires more than just enthusiasm. You've got to assemble the right set of tools and ensure safety's at the forefront of your mind. Let's break down what you'll need and what you should keep in mind to avoid any mishaps.
Tools of the Trade
Before you start unscrewing bolts, make sure you have these essentials:
- Screwdriver Set: Doesn't have to be high-end, but it should include a variety of heads like Phillips and flathead. Trust me, you'll need both.
- Voltage Tester: This little gadget will help you check if wires are still live. Assume anything with wires is dangerous until proven otherwise.
- Multimeter: For those who want to be extra sure about voltage and continuity, this tool gives you all the deets.
- Pliers and Wire Nut Connectors: You'll likely encounter wires that may need tightening or securing. These are a must.
- Drill: Helps a ton when you're trying to speed things up and need to remove or install screws efficiently.
Safety First—Always
Now, let's talk safety. Handling electrical appliances isn't risk-free, so stick to these safety tips:
- Power Off: Absolutely non-negotiable. Turn off the circuit breaker to your oven before you even think about touching it.
- No Wet Hands: Seems obvious, but you'd be surprised. Water and electricity are not friends.
- Read the Manual: Your oven's manual isn't just a suggestion. It provides specific instructions you should follow.
- Avoid Metal Jewelry: Rings, bracelets, necklaces—they all conduct electricity. Best to store them away while working.
If DIY feels like a puzzle box you can't crack, remember, there's no shame in calling a professional. You want that oven to heat up your food, not fry your nerves.
For a little data nugget, did you know that around 30% of DIY attempts to replace major home appliances end up calling for professional help? Sometimes, it's better to play it safe.

Steps to Replace an Electric Oven
Replacing an electric oven might sound like a complicated task, but if you're prepared, it can be much easier than you'd think. Here's a step-by-step guide to help you get started.
Step 1: Safety First
Before you kick things off, make sure the power to your oven is completely shut off. Go to your breaker box and flip the correct switch to avoid any nasty surprises during the installation.
Step 2: Gather Your Tools
You'll need a few basic tools, such as a screwdriver, wire cutters, and a voltage tester. Having everything within reach will save you from unnecessary frustration.
Step 3: Remove the Old Oven
Start by carefully removing any screws or fasteners securing the oven. Once it's loose, gently slide it out from the wall, being mindful of the power cables connected to the back. Disconnect these wires, making notes of the connections if needed.
According to Appliance magazine, "Most electric ovens are designed for easy installation, provided safety measures are followed meticulously."
Step 4: Check the Wiring
Before installing the new oven, inspect the wiring to ensure it's in good condition. This could be the perfect time to upgrade outdated cables or connectors, which could improve efficiency and safety. A voltage tester should confirm all is well.
Step 5: Install the New Oven
- Position the new oven near its niche, allowing easy access to the back.
- Connect the power wires—typically black to black, red to red, and white to white. Make sure the ground wire is firmly attached, ensuring a safe installation.
- Gently slide the oven into place, securing it with any necessary fasteners.
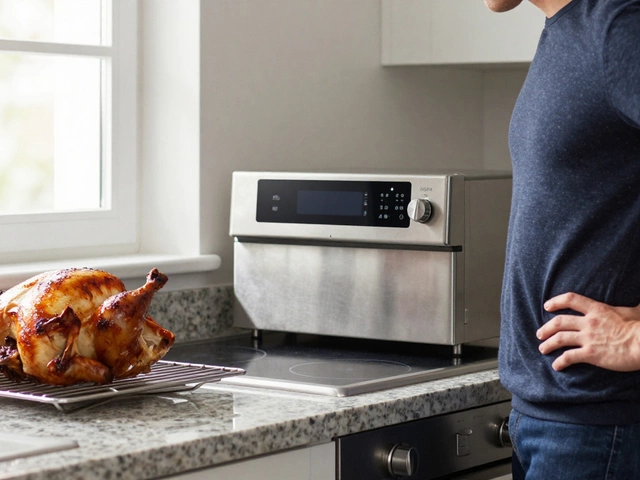
- Turn the power back on and give your new appliance a test run.
This straightforward process could get you cooking up a storm in no time. But remember, if any of these steps seem daunting, it's wiser to call a professional.
Common Pitfalls
Tackling an electric oven replacement on your own can save you a few bucks, but it also comes with its share of hiccups. Let's chat about some common mistakes folks run into.
Ignoring Safety First
One of the biggest blunders is skipping the safety checks. Before you even think about poking around behind an electric oven, make sure the power is off. Use a voltage tester to double-check that there’s no electricity running to the oven. Trust me; you don't want a shocking surprise.
Mismatched Sizes and Specs
People often forget to measure the old and new ovens properly. Double-check the dimensions of your existing oven space—an inch off can derail your entire project. Also, make sure your new oven's amperage matches your home’s circuit capacity, which could save you from a blown fuse or breaker.
Ignoring Manufacturer Instructions
It might be tempting to toss aside those dry instruction manuals, but they can really guide you through the specifics. Ignoring manufacturer instructions often leads to installation errors, which can affect the oven's efficiency.
Improper Handling
Electric ovens aren't feather-light, and trying to do this solo can lead to drops and cracks—in both the oven and your flooring. Have someone lend a hand to avoid these mishaps.
Forgetting to Test
Once you've managed to replace your oven, don't just assume everything's working. Forgetting to test the electric oven is more common than you might think. Fire it up and make sure it heats properly.
Avoid these pitfalls, and you'll be much more likely to succeed in your DIY oven project!
| Mistake | Consequence |
|---|---|
| Skipping Safety Checks | Risk of electrocution |
| Mismatched Size | Installation delays |
| Ignoring Instructions | Potential inefficiency |
| Improper Handling | Damage to appliance or house |
| Forgetting to Test | Overlooked functionality issues |

When to Call a Professional
Not every DIY project suits everyone, and when it comes to replacing an electric oven, there's no shame in waving the white flag and ringing a pro. You might save yourself from a lot of headaches—and possibly some smoke alarm alerts.
Here are some scenarios where it's a smart move to call in the experts:
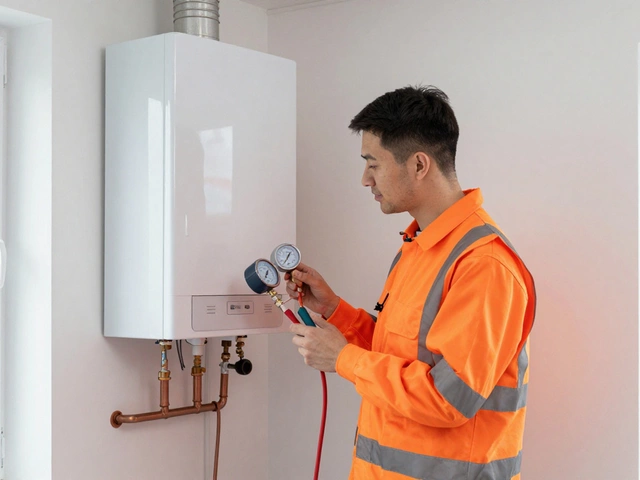
Complex Wiring
If your oven's wiring is a jumbled mess or feels more overwhelming than a 1000-piece puzzle, it’s time to think about hiring a professional electrician. Safety regulations for electric appliances are quite strict, and messing up the wiring can be plain dangerous.
Outdated Electrical Systems
Older homes often have electrical systems that are as vintage as their decor. If your home falls into this category, ensuring that your new oven is compatible with the existing system can be tricky. A professional can assess the situation effectively and make the necessary upgrades.
Lack of Tools or Experience
Don’t have the right tools? Unsure about how a voltage tester works? If there’s any doubt in your mind about what you’re doing, calling in a professional could save you time—and a visit to the hospital.
Permits and Regulations
Depending on where you live, local laws might require a permit for changing electrical connections, and having a licensed professional do the work can ensure you're not breaking any rules. Here's a quick look:
| Location | Permit Needed for Oven Installation? |
|---|---|
| New York | Yes |
| California | No |
| Texas | Yes |
Guarantee and Warranty
Professionals often provide guarantees for their work, which means if something goes wrong, they’ll come back to fix it. Plus, some new ovens have warranties that get voided if not installed by a professional.
Remember, your safety is key. If any of these situations sound familiar, picking up the phone for help could be the best decision you'll make all day.