You might think replacing an electric oven is as easy as unplug, swap, and bake. Not quite. Electric ovens run on high voltage—usually 240 volts—which is a whole different beast than your standard outlets. Messing with those wires can get risky fast, especially if you’re not sure what you’re doing.
Some folks near you might say they just unscrewed a few panels and did it themselves. But what you don’t see are the hidden dangers: mismatched wires, loose connections, and code violations waiting to happen. One wrong move, and you could trip your breaker, wreck the new oven, or, worst case, start a fire.
The key question: are you just swapping the oven with a new one of the same size and electrical setup, or are there differences in wiring, amperage, or oven type? Even if the plug looks the same, oven models and home wiring aren’t always consistent. That’s when things get tricky and professional help matters.
If you’re renting, your landlord or local laws might actually require a licensed electrician for any electrical appliance swap. Skipping the pro could void warranties or mess with insurance if something goes wrong. So, before grabbing a screwdriver, it’s worth knowing exactly when you can DIY—and when you’d better get an expert.
- Knowing When to Call an Electrician
- What’s Actually Involved in a Safe Oven Swap
- Common Mistakes That Can Cost You
- Tips That Make the Job Smoother and Safer
Knowing When to Call an Electrician
Wondering if you need a pro for that electric oven replacement? Here’s the nitty-gritty. Most new ovens are wired for 240 volts, not your standard 120V outlet. Even a 'plug and play' model needs a circuit big enough to handle it—usually a dedicated line.
If your old oven is hardwired (no plug, just wires straight from the wall), that’s already a good sign you’ll want a electrician. Swapping one hardwired oven for another means turning off the breaker, disconnecting old wiring, and matching up new wires: black to black, white to white, ground to ground. Simple enough in theory, but a single mistake can fry boards or trip breakers in your entire kitchen.
You should call an electrician if:
- Your oven is hardwired and you don’t have experience working with 240V wiring.
- The new oven’s power needs (amps or volts) are different from your old setup.
- You see any frayed wires, odd colors, burnt marks, or past DIY 'repairs' that look sketchy.
- The plug doesn’t fit your outlet, or you have to swap cords or cut into drywall.
- Local building codes or your landlord require it—some areas legally demand a licensed pro for any DIY oven install.
Think about warranties, too. Many brands insist a qualified electrician does the oven install—if not, they might shrug if something fails later. According to the National Fire Protection Association, electrical fires cause over 44,000 home fires a year in the US, and appliances like stoves are common triggers. That’s not a risk you want in your kitchen.
So, if you’re unsure or uncomfortable working behind that heavy oven where the wires live, or if the wiring looks the slightest bit off, bring in a professional. Your family—and your food—will thank you.
What’s Actually Involved in a Safe Oven Swap
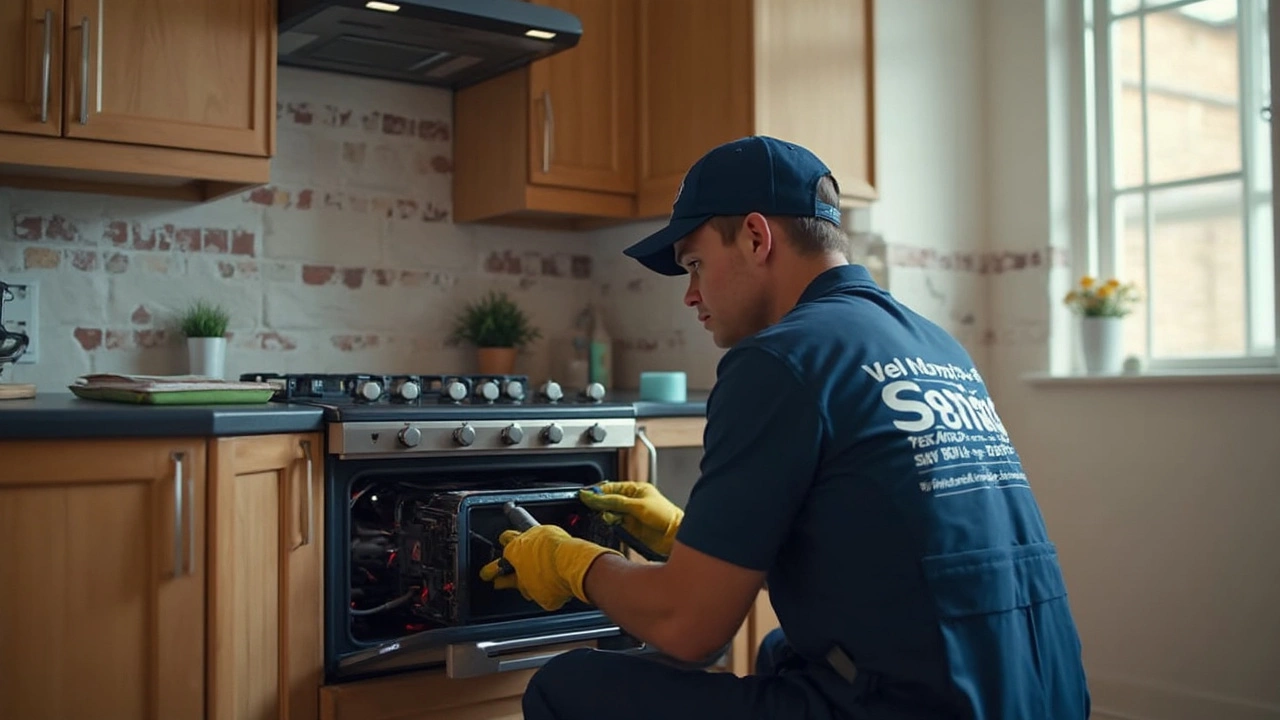
Before you start pulling your old oven out of its spot, think about safety and what’s really going on behind the scene. Electric oven replacement isn’t just a plug-and-play project. Most electric ovens are hardwired right into your house’s electrical panel because they need a steady 240 volts. One little mistake and you’re risking blown circuits or something worse.
Let’s break down the typical steps pros follow to swap an electric oven safely:
- Turn Off the Power: First, you trip the right breaker at your panel—double check there’s no power at the oven hookup with a voltage tester. Don’t assume “it seems off” is good enough.
- Disconnect the Old Oven: Pull the oven out slowly. These things are heavy (some models weigh over 150 pounds), so grab a friend if you need help. Remove the panel at the back or underneath to get to the wiring junction box.
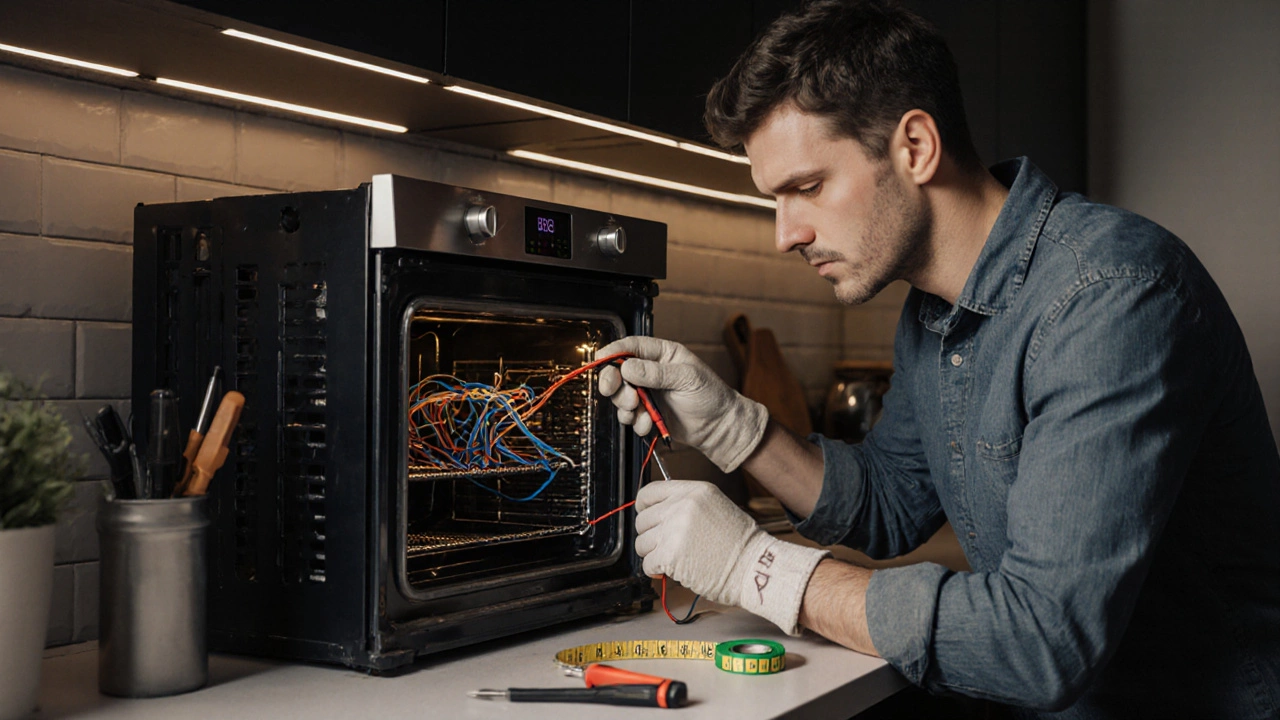
- Unwire Carefully: Loosen the wire nuts and detach the oven wiring. It’s usually three wires—black (hot), red (hot), and white (neutral), plus a ground. Take a photo first, so you know what connects where. You’ll need to match these for the new oven.
- Check the Circuit and Power: Compare the label on your new oven (amps and voltage) with your circuit breaker. Most modern oven units need 40 to 50 amp circuits. If your breaker can’t handle the new load, stop and call a electrician needed.
- Connect the New Oven: Connect black to black, red to red, white to white, and ground to ground. Tighten the wire nuts fully and tuck everything back into the box. Avoid loose connections—those cause more kitchen fires than you’d think.
- Test Before You Slide It In: Once you connect everything, turn the breaker back on and test the oven functions. Better to catch issues now than have to pull a heavy oven out again.
- Final Install: Once you know it works, gently push the oven back into place and screw in any mounting hardware.
If you skip any step or get wires crossed, you can run into big problems. According to the U.S. Fire Administration, about half of all kitchen fires start with faulty cooking equipment—often from questionable DIY installs.
| Step | Why It Matters |
|---|---|
| Power Off | Prevents shocks or injury |
| Photo Before Removal | Helps match wires for new oven |
| Label Check | Avoids overloading the circuit |
| Wire Match | Prevents short circuits and fire |
| Test Before Final Install | Saves time if something’s wrong |
If anything seems off—wires look damaged, your breaker trips immediately, or nothing fits the way it should—it’s time for a pro. The money you spend on a good electrician might save you a lot of grief later.
Common Mistakes That Can Cost You
Jumping into a electric oven replacement without thinking through all the steps? That’s a classic way to spend more money than you planned or create a bigger mess than you started with. Some mistakes happen so often it’s almost like a rite of passage for first-timers, but trust me, you don’t want to be in that club.
- Wiring mix-ups. People get wires crossed—literally. If you connect the wrong wires or install the oven to an undersized breaker, you’re flirting with a serious safety risk or might make your kitchen go dark the second you flip the oven on.
- Skipping the power check. Not turning off the right breaker is a shock hazard. And don’t just rely on guessing—always test the wires with a voltage tester before touching anything.
- Ignoring circuit requirements. Most ovens need a dedicated 240-volt circuit. If you try to run the new oven off an old line shared with other appliances, you’ll overload the circuit. Burnouts and breaker trips follow fast.
- Not matching amperage. Homeowners sometimes assume all ovens are made the same. Some pull 20 amps, others take 40 or even 50. If you slap a 40-amp oven onto a 30-amp breaker, you’ll overload the system, which is a real fire hazard.
- Loose connections. Tightening the terminal screws is not optional. Loose wires can heat up and spark, and that’s how electrical fires get started.
- Forgetting codes and permits. Electrical codes exist for your protection, but ignoring them can lead to fines or insurance headaches. Some areas require a permit, even for straightforward DIY oven install.
Just to give you an idea, the U.S. Fire Administration finds that cooking appliances cause the most home electrical fires—with electrical distribution and appliance wiring mistakes among the top culprits. Check out this table showing the leading causes:
| Cause | Percentage of Home Electrical Fires |
|---|---|
| Cooking Appliances | 63% |
| Faulty Wiring & Outlets | 15% |
| Overloaded Circuits | 7% |
| Other Appliances | 5% |
Trying to save a buck by skipping a pro might cost you the price of a new oven—or worse, a lot more if your insurance won’t cover a DIY job gone sideways. When in doubt, bring in a qualified electrician. Better safe than calling the fire department.
Tips That Make the Job Smoother and Safer
Getting ready for a electric oven replacement? A little prep work up front can save you big headaches. Here’s what you want to keep in mind to make sure things go smoothly—and safely.
- Cut the power completely. Shut off the breaker that powers the oven, not just the oven itself. Double-check with a voltage tester before you touch anything. High voltage doesn’t forgive mistakes.
- Snap a photo of the wiring. Even if you think you’ll remember how it all lines up, take a clear picture with your phone before disconnecting anything. This is especially helpful if your new oven has slightly different wire colors or placements.
- Match voltage and amps. Your new oven should have a sticker somewhere (often near the door or on the back) listing the voltage and amperage—usually 240V and 30-50A. Make sure these numbers match your current setup. If they don’t, stop and call a electrician.
- Check your outlet and cord. Old ovens sometimes use a three-prong cord, but most new ones use four. If your plug or outlet doesn’t match, you’ll need an upgrade—don’t just try to rig it. That’s a fire risk and a code violation.
- Level the oven. Sounds minor, but an unlevel oven can cook unevenly, shake during use, and stress the connections. Use a basic bubble level when sliding in your new oven.
If you’re curious how long these tasks usually take, here’s a rough breakdown:
| Task | Average Time Needed |
|---|---|
| Shutting off breaker and testing | 10 minutes |
| Swapping wiring & plugging in | 20-30 minutes |
| Leveling and final checks | 10 minutes |
Adding it up, a straightforward DIY oven install takes about an hour. If anything feels off at any step, hit pause and call in a pro. Saving a bit on labor isn’t worth a melted wire—or a trip to the ER.
