Extractor Fan Repair Time & Cost Estimator
Select the issue that best matches your extractor fan's symptoms to see estimated repair times and costs.
Loud Grinding Noise
Fan spins but makes noise. Likely needs lubrication.
Sudden Stop
Stopped working suddenly. Possible loose connection.
Humming, No Spin
Blades don't move but you hear a hum. Failed capacitor.
Motor Failure
Overheating or complete stoppage. Worn-out motor.
Control Issues
Buttons/remote unresponsive. Electronic control board fault.
Poor Airflow
Weak suction. Blocked or dirty ductwork.
Full Replacement
Corroded housing or obsolete unit. Needs new installation.
Select an issue above to see estimates.
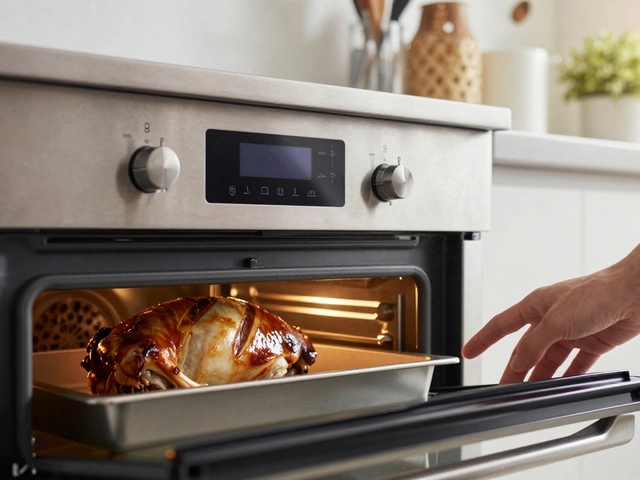
There is nothing worse than standing in a steam-filled bathroom or a grease-heavy kitchen, watching your extractor fan struggle to pull the air through. You call for help, and the technician asks if you can leave the house for a few hours. But how many hours exactly? The answer isn't always straightforward because it depends entirely on what’s wrong with the unit. Generally, a simple fix takes about 30 minutes to 1 hour, while a full replacement or complex electrical issue can stretch into 2 to 4 hours. Understanding these timelines helps you plan your day and avoid unnecessary stress.
The Quick Fixes: When It Takes Less Than an Hour
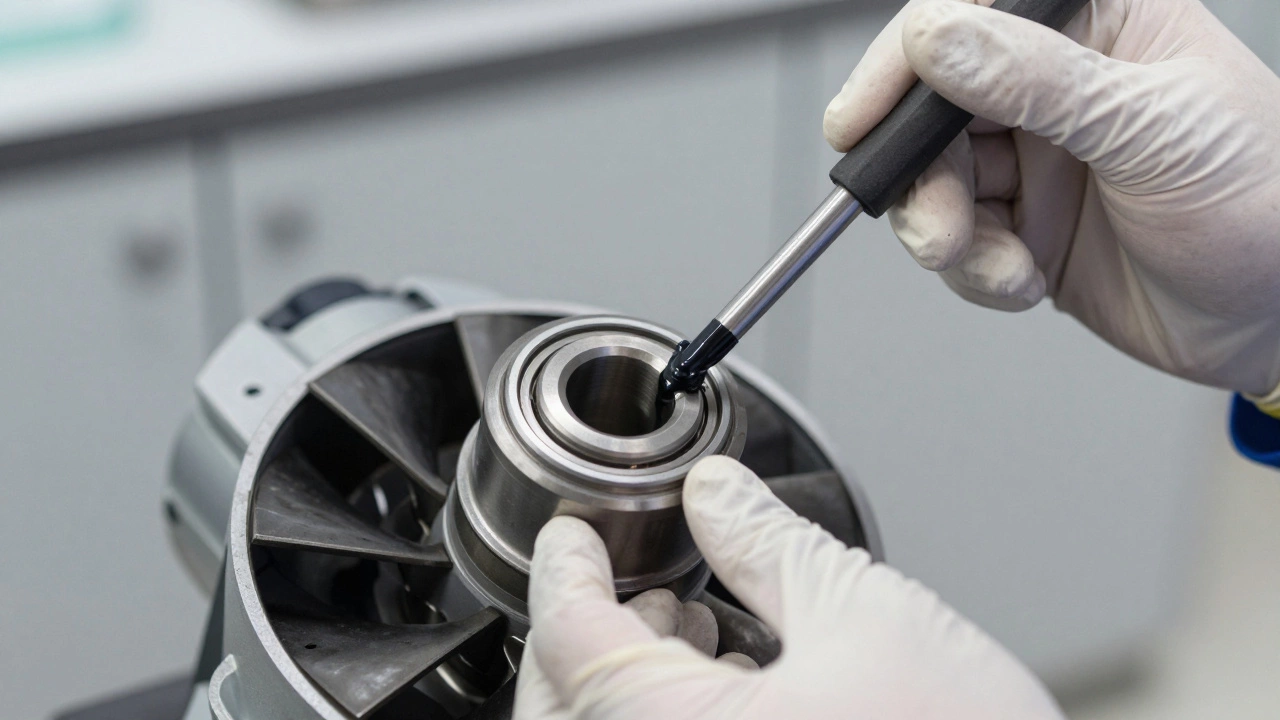
Sometimes, the problem is obvious and easy to resolve. If your kitchen range hood is making a loud grinding noise but still spinning, it might just need lubrication. This is one of the fastest repairs possible. A technician will remove the cover, apply high-temperature grease to the motor bearings, and reassemble the unit. This process typically takes 20 to 30 minutes.
Another common quick fix involves the wiring. If the fan stops working suddenly, it could be a loose connection inside the junction box. An electrician or repair specialist will check the terminals, tighten any loose screws, and test the circuit. This diagnostic and repair step usually wraps up within 45 minutes. These scenarios are rare for older units but happen more often with newer installations where vibration has loosened components over time.
- Lubricating bearings: ~30 minutes
- Tightening loose wires: ~45 minutes
- Replacing a faulty capacitor: ~1 hour
If you hear a humming sound but the blades don’t move, the capacitor might have failed. Capacitors store energy to help start the motor. Replacing this small component is straightforward. The technician removes the old capacitor, matches the microfarad rating, installs the new one, and tests the system. This task rarely exceeds one hour from arrival to completion.
Standard Repairs: The One-to-Two Hour Window
Most extractor fan issues fall into this category. The most frequent culprit is a worn-out motor. Motors in bathroom exhaust fans and kitchen hoods endure constant heat, moisture, and grease. Over time, the internal windings degrade, causing the motor to overheat or stop completely. Replacing the motor requires disconnecting power, removing the housing, unbolting the old motor, installing the new one, and reconnecting the ductwork. This process typically takes 1.5 to 2 hours.
Why does it take this long? Because precision matters. If the motor isn’t aligned correctly with the fan blade shaft, it will vibrate excessively, leading to premature failure again. Technicians also need to ensure the electrical connections are secure and that the grounding is correct. Safety checks add another 15 to 20 minutes to the job.
| Repair Type | Average Duration | Complexity Level |
|---|---|---|
| Motor Replacement | 1.5 - 2 hours | Medium |
| Fan Blade Replacement | 1 - 1.5 hours | Low |
| Control Board Swap | 1 - 2 hours | Medium |
| Ductwork Cleaning | 2 - 3 hours | High |
Another standard repair is replacing the control board. Modern ducted range hoods often use electronic controls rather than simple mechanical switches. If the board fails, the fan won’t respond to buttons or remote commands. Swapping out the board involves diagnosing the error code, ordering the specific part (if not carried in stock), and installing it. If the part is available, the installation itself takes about one hour. However, if the technician needs to source the part, the timeline extends significantly.
Complex Issues: Two Hours and Beyond
Some problems require more extensive work. Ductwork issues are a prime example. If the duct connecting your fan to the outside wall is blocked by bird nests, debris, or collapsed sections, clearing it can be labor-intensive. Technicians may need to access the roof space or exterior walls. In Auckland’s older homes, accessing tight cavities behind plasterboard can turn a simple cleaning job into a multi-hour ordeal. Expect this to take 2 to 4 hours, depending on accessibility.
Full unit replacements also fall into this category. If the fan housing is corroded due to salt air exposure-a common issue in coastal areas like Auckland-the entire unit must be removed and replaced. This involves cutting out the old frame, fitting the new one, sealing gaps to prevent drafts, and reconnecting all electrical and ductwork components. A professional team can complete this in 3 to 4 hours. DIY attempts often take longer due to lack of specialized tools and experience with building codes.
Electrical faults beyond the fan itself can also extend repair times. If the issue lies in the home’s main distribution board or if there’s a fault in the dedicated circuit for the fan, an electrician must troubleshoot the broader system. This adds complexity and safety considerations, pushing the timeline to half a day or more.
Factors That Influence Repair Time
Several variables affect how long your ventilation fan repair will take. First, the type of fan matters. Ceiling-mounted bathroom fans are generally quicker to access than under-cabinet kitchen hoods, which may require removing cabinets or countertops. Second, the age of the unit plays a role. Older models often have obsolete parts that aren’t readily available. Technicians may need to order custom components, delaying the repair by days or weeks.
Third, accessibility is key. Is the fan located in a cramped attic space or behind a heavy island bench? Difficult access slows down disassembly and reassembly. Fourth, the skill level of the technician matters. Experienced professionals diagnose issues faster and perform repairs more efficiently. They also carry common parts in their vans, reducing wait times for replacements.
Finally, unexpected complications can arise. Once the unit is opened, technicians might discover hidden damage, such as water leaks affecting the motor or rodent chewing on wires. These surprises add time to the estimate. Always ask for a preliminary assessment before committing to a full repair to get a more accurate timeframe.
When to Replace Instead of Repair
Knowing when to walk away from a repair job saves money and frustration. If your extractor fan is over 10 years old, frequent breakdowns are likely. Investing in repeated repairs often costs more than buying a new, energy-efficient model. Newer units offer better suction power, quieter operation, and improved filtration systems.
Consider replacement if:
- The motor has burned out twice.
- The housing is severely corroded or damaged.
- Parts are no longer manufactured.
- The repair cost exceeds 50% of a new unit’s price.
In these cases, spending 3-4 hours on a replacement installation is a smarter long-term investment. Modern silent extractor fans can reduce noise levels by up to 50%, improving your living environment significantly.
Preparing for the Repair: Tips to Speed Things Up
You can help the technician work faster by preparing your space. Clear the area around the fan. Remove dishes, utensils, or toiletries that might obstruct access. If it’s a kitchen hood, clean the grease filters beforehand so the technician doesn’t have to spend time scrubbing them. Ensure the power to the fan is switched off at the circuit breaker for safety.
Also, have the make and model information ready. This helps the technician identify compatible parts quickly. If you’ve noticed specific symptoms-like intermittent stopping, unusual smells, or specific noises-note them down. Detailed descriptions aid faster diagnosis.
Lastly, confirm the technician’s availability window. Some companies offer same-day service for urgent issues. Booking during off-peak hours, like mid-morning on weekdays, can sometimes result in shorter wait times and more focused attention.
How much does it cost to fix an extractor fan?
Costs vary based on the issue. Simple fixes like lubrication or wire tightening cost between $80 and $150. Motor replacements range from $200 to $400, including parts. Full unit replacements can exceed $600. Always request a detailed quote before work begins.
Can I fix my extractor fan myself?
Minor tasks like cleaning filters or tightening screws are safe for DIY. However, electrical work, motor replacements, and ductwork modifications should be left to licensed professionals. Incorrect handling can void warranties or create fire hazards.
What causes an extractor fan to stop working?
Common causes include burnt-out motors, tripped circuit breakers, jammed bearings, broken capacitors, or blocked ductwork. Regular maintenance can prevent many of these issues.
Is it worth repairing an old extractor fan?
If the unit is less than 7 years old and the repair cost is reasonable, yes. For older units, replacement is often more cost-effective due to improved efficiency and reliability in modern models.
How often should I maintain my extractor fan?
Clean filters every month and inspect the motor and ductwork annually. Professional servicing every two years ensures optimal performance and longevity.