Extractor Fan Problem Diagnostic Tool
What's the main problem with your extractor fan?
Select the symptom that best describes the issue
Diagnosis Complete
Based on your answers, here's what we recommend
Recommended Actions:
Maintenance Schedule:
There is nothing quite as annoying as a kitchen that smells like last night’s fried fish long after you’ve finished cooking. You reach up, hit the switch, and instead of a powerful whoosh of air being pulled away from your stove, you hear a high-pitched whine or a rattling noise that sounds like a bag of marbles in a blender. Your extractor fan is a ventilation device installed above cooking surfaces to remove smoke, steam, and odors isn’t doing its job. Before you call out a technician or spend money on a replacement unit, there is a very high chance the issue isn’t a broken part-it’s just dirty.
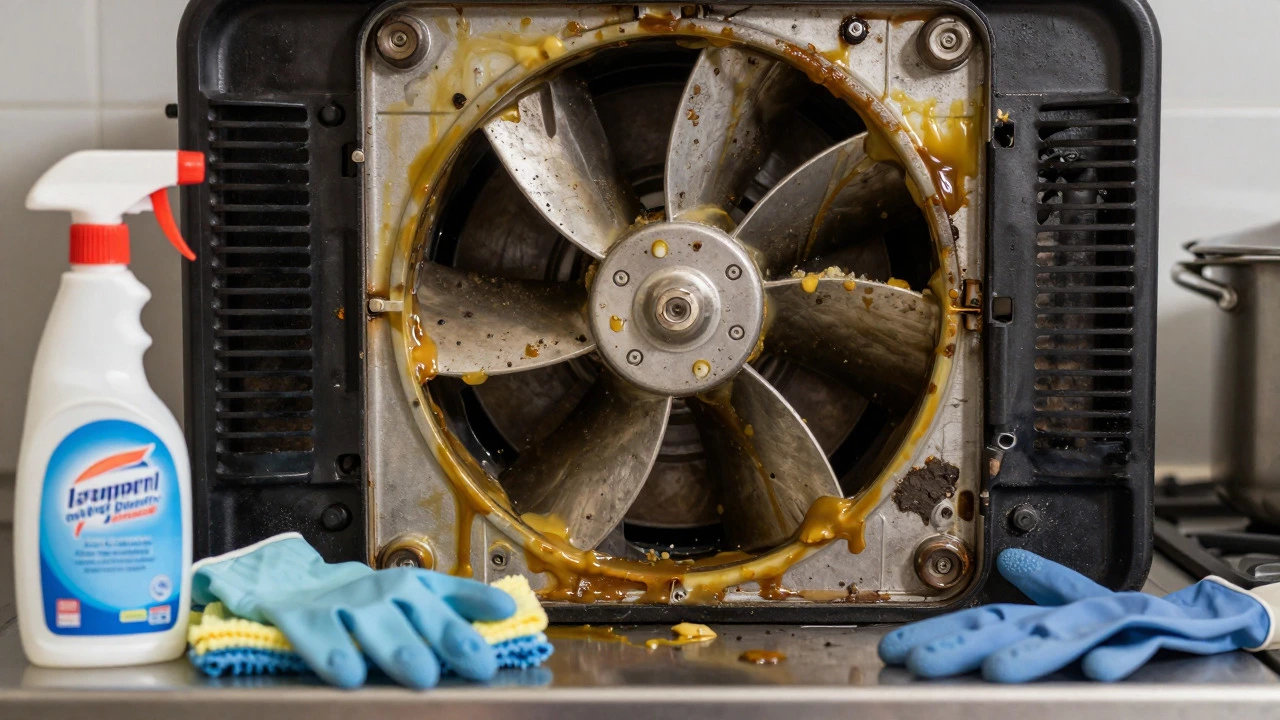
Most people think cleaning the filter is enough. It’s not. The real culprit is usually the motor housing and the blades behind it, caked in layers of hardened grease and dust. This buildup acts like a brake on the motor, forcing it to work harder, overheat, and eventually fail. Cleaning the motor doesn’t require an engineering degree, but it does require patience and the right approach to avoid damaging the electrical components.
Gather Your Tools and Safety Gear
Before you start taking things apart, make sure you have everything you need within reach. You don’t want to be standing on a ladder with one hand holding a screwdriver and the other reaching for a rag. Here is what you will need:
- Safety gloves: Kitchen grease is nasty stuff. It gets under your fingernails and stays there. Wear rubber or latex gloves to protect your hands.
- Microfiber cloths: These are better than paper towels because they don’t leave lint behind and absorb oil effectively.
- A small brush: An old toothbrush or a dedicated detailing brush works perfectly for getting into tight spaces around the motor shaft.
- Isopropyl alcohol (rubbing alcohol): This is your best friend for degreasing electronics. It evaporates quickly and doesn’t leave residue like water might.
- A mild detergent solution: Mix warm water with a few drops of dish soap for general cleaning of non-electrical parts.
- A soft-bristled vacuum attachment: To suck up loose dust before you start wiping.
Safety first. Always turn off the power at the circuit breaker, not just the wall switch. If your extractor fan is hardwired, this is non-negotiable. You don’t want any surprises when you’re poking around inside the housing.
Disassemble the Unit Carefully
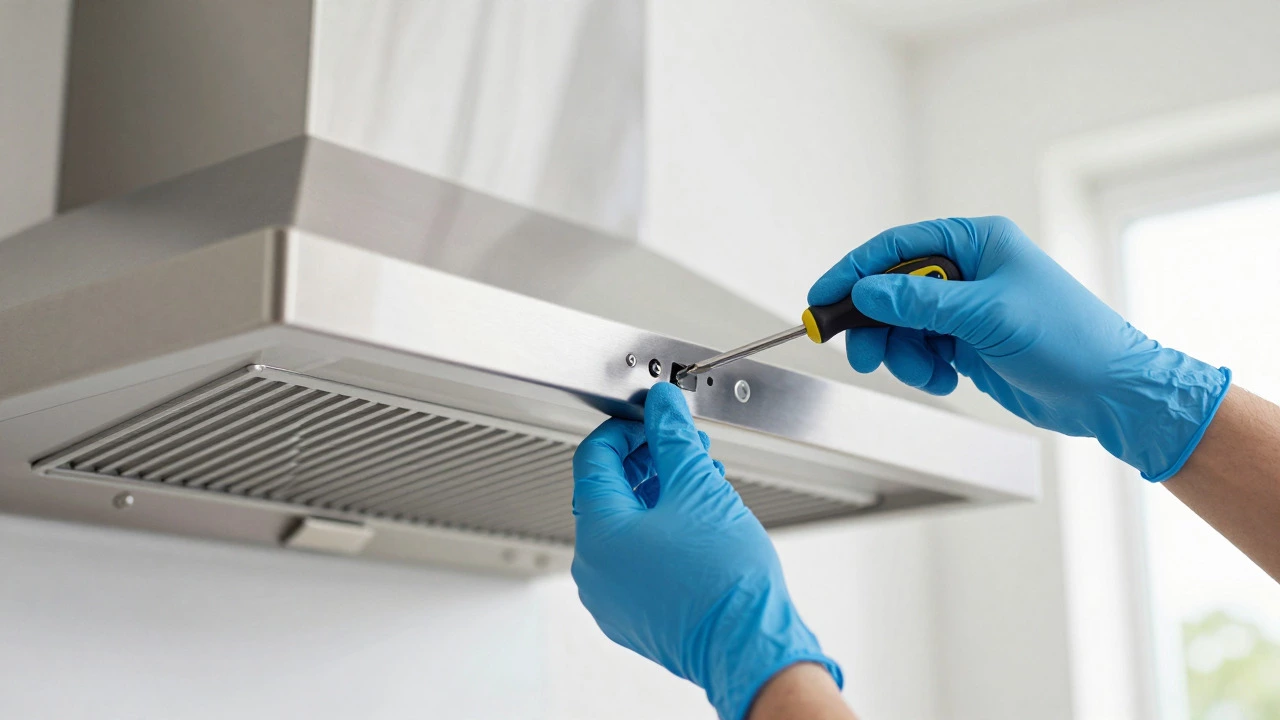
The exact steps depend on whether you have a ducted range hood or a portable island model, but the principle is the same. Start by removing the grease filters. Most slide out or unscrew easily. Soak these in hot soapy water while you work on the rest of the unit. Next, look for screws holding the front grille or cover panel in place. Some models use hidden clips; if you can’t see screws, check the corners for small tabs you can gently pry open with a flathead screwdriver wrapped in tape to prevent scratches.
Once the cover is off, you’ll see the impeller-the fan blades-and the motor behind them. In many modern units, the impeller is held on by a nut. Note the direction of the threads. Counter-clockwise usually loosens standard threads, but some fans have reverse threads to prevent vibration from loosening the nut during operation. If you’re unsure, take a photo before you start unscrewing anything so you remember how it went back together.
Cleaning the Impeller and Blades
The impeller collects the most grease because it spins directly through the air stream coming off your cooktop. If it’s coated in thick grime, it becomes unbalanced. This imbalance causes vibration, which leads to noise and premature bearing failure.
If the impeller comes off easily, take it to the sink. Wash it with warm soapy water and scrub with a sponge. For stubborn, baked-on grease, let it soak for 15 minutes. Rinse thoroughly and let it air dry completely. Moisture trapped in the blades can cause rust or electrical shorts later.
If the impeller is fixed to the motor shaft and hard to remove, clean it in place. Use your microfiber cloth dampened with isopropyl alcohol to wipe down each blade. Be careful not to drip liquid into the motor housing. Wipe both sides of each blade. Even a thin layer of grease adds weight and drag. Once clean, the blades should look shiny and light-colored again.
Treating the Motor Housing
This is the delicate part. The electric motor converts electrical energy into mechanical energy to spin the fan blades contains windings and bearings that hate moisture. Do not spray cleaner directly onto the motor. Instead, apply a small amount of isopropyl alcohol to a cloth or cotton swab and gently wipe the exterior casing. Focus on the vents where dust accumulates. Dust acts as insulation, trapping heat inside the motor. Overheating is the number one killer of electric motors.
Use the small brush to sweep out dust from the crevices around the shaft. If you see black, gritty residue near the bearings, that’s worn lubricant mixed with dirt. Don’t try to force new oil in unless the manual specifically says there are oil ports. Most modern extractor fan motors have sealed bearings. Adding oil to a sealed bearing can actually wash away the factory grease and cause more damage.
Drying and Reassembly
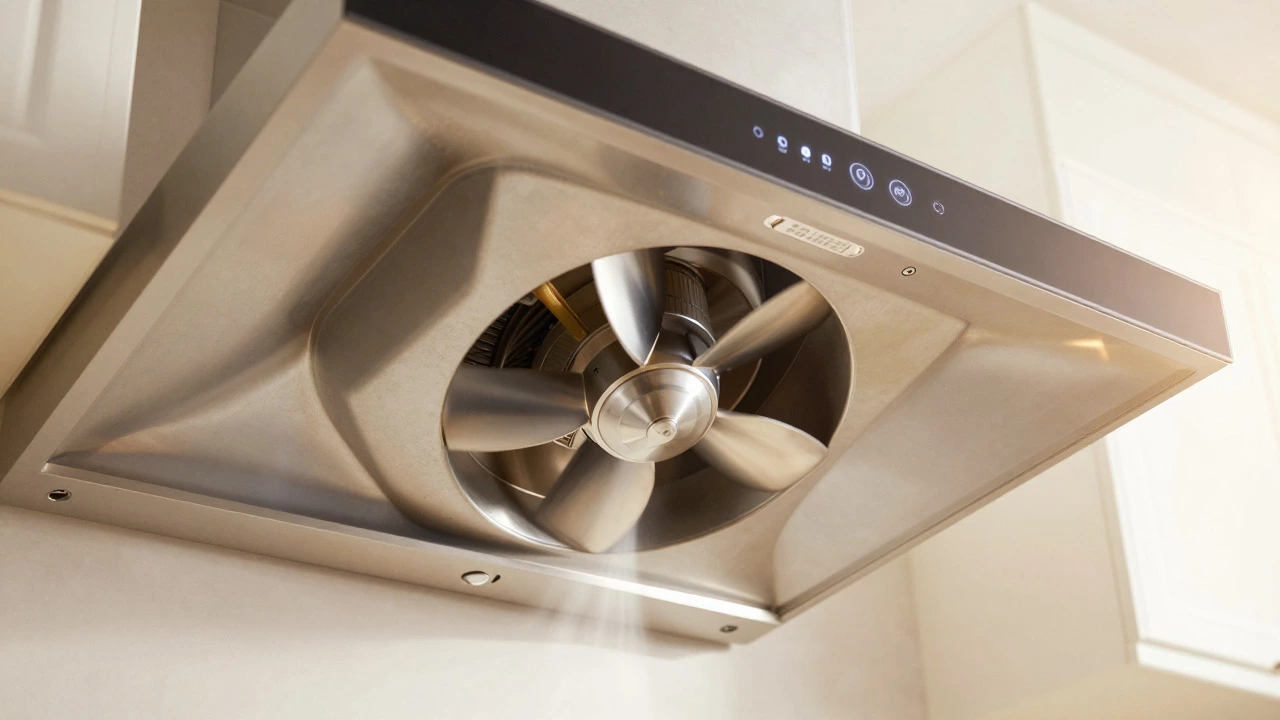
Patience pays off here. Let every component dry completely. Give it at least an hour, or use a hairdryer on a cool setting to speed up the process for the impeller. Ensure no water droplets are hiding in the folds of the blades or inside the housing. Reattach the impeller securely. Tighten the nut firmly but don’t overtighten, as this can strip the threads. Put the cover panel back on and secure the screws. Finally, snap the grease filters back into place once they are dry.
Turn the power back on at the circuit breaker. Switch on the fan. Listen closely. It should run smoothly and quietly. If you still hear grinding or rattling, stop immediately. This indicates internal bearing failure, which cleaning won’t fix. At that point, you’ll need to replace the motor or the entire fan unit.
| Issue | Cleaning Fixes It? | Action Required |
|---|---|---|
| Loud humming or whining | Yes | Clean impeller and motor housing |
| Weak suction despite clean filters | Yes | Check ductwork for blockages |
| Burning smell | No | Turn off immediately; likely motor overload |
| Grinding noise | No | Replace motor or fan unit |
| Flickering lights | No | Check wiring or replace bulb |
Maintenance Tips to Keep It Running Smoothly
Cleaning the motor is a deep clean, but you don’t need to do it every month. However, regular maintenance prevents the heavy buildup that makes this task difficult. Clean the grease filters every two weeks. If you cook a lot of oily foods, do it weekly. Check the exterior surface of the hood monthly and wipe it down to prevent grease from dripping into the fan area. Every six months, give the impeller a quick visual inspection. If you see a gray film forming, do a light wipe-down before it hardens into cement-like grime.
Also, check your ductwork if you have a ducted system. Birds, rodents, or even a collapsed section of flexible duct can restrict airflow, making the motor work harder than necessary. Clear airflow means less strain on the motor and longer life for your appliance.
Can I use WD-40 to clean my extractor fan motor?
Generally, no. WD-40 is a solvent and lubricant, but it leaves an oily residue that attracts more dust over time. It can also degrade certain plastics and rubber seals in your fan. Stick to isopropyl alcohol for degreasing electronic components, as it evaporates cleanly without leaving a film.
How often should I clean the extractor fan motor?
For most households, a deep clean of the motor and impeller once or twice a year is sufficient. If you cook heavily with oils or fry food frequently, consider doing it every three to four months. Regular filter cleaning every two weeks reduces the frequency of deep cleans needed.
What if the fan still doesn't work after cleaning?
If the fan is clean but won’t turn on, check the power supply and fuses first. If it powers on but the blades don’t spin, the capacitor may be faulty. Capacitors help start the motor and wear out over time. If the motor hums but doesn’t spin, it could be a seized bearing. These issues usually require professional repair or part replacement.
Is it safe to spray cleaner directly on the fan blades?
It depends on the cleaner. Avoid aerosol sprays that contain flammable propellants near electrical components. If you must spray, aim away from the motor housing and ensure the unit is unplugged. Dampening a cloth with cleaner is safer and gives you more control over where the liquid goes.
Can I put the extractor fan parts in the dishwasher?
Only if the manufacturer explicitly states they are dishwasher safe. High heat and harsh detergents can warp plastic impellers or damage metal finishes. Hand washing with warm soapy water is safer and preserves the integrity of the parts longer.