It's always a bit of a headache when your microwave decides to quit on you without warning. But before you rush off to buy a replacement or call in an expensive repair service, let's tackle a common problem first—the microwave fuse. It's possible it's just a blown fuse causing the whole ruckus.
You might be wondering, how do you even know if the fuse is blown? Good question! First off, if your microwave remains silent after you press the start button or the display stays mysteriously black despite the power being turned on, you've got a hint there.
But wait, don't just yank it open. There's a safe way to go about this.
- Recognizing the Signs
- Finding the Fuse
- Necessary Tools
- Checking the Fuse
- Replacing the Fuse
- Preventive Measures
Recognizing the Signs
Before diving into fixes, it’s key to know if the problem is truly a blown fuse. The most obvious clue is when everything on your microwave goes dark. No lights, no sounds, just a stubborn lifeless box. But there’s more to it than just a moment of silence.
When a microwave fuse blows, it interrupts the electrical flow. This usually happens for a reason—perhaps a power surge or an interior malfunction. So, keep an eye out for these tell-tale signs:
- The microwave suddenly loses power during use and doesn't restart.
- No response from the control panel, as if it’s taken an extended nap.
- Lights are off and remain off even when the door is opened.
- The circuit breaker or GFCI outlet it's plugged into remains on, ruling out a tripped breaker or faulty plug.
One quick tip: Just because there’s no external power indicator doesn’t always mean the fuse is blown. Sometimes, issues with kitchen appliances are sneakier, like a twisted door switch or a fried magnetron. To be extra sure, it’s worth reaching out to a multimeter—a trusty gadget that checks if the fuse is working with a simple continuity test. Use it safely by turning off the power supply first!
| Sign | Possible Cause |
|---|---|
| No Power | Blown Fuse |
| No Light When Open | Door Switch Malfunction |
A blown microwave fuse is a common culprit behind malfunctioning kitchen appliances. Before you decide on any drastic measures, recognizing these signs can save both time and money—or at least spare you from buying a new microwave unnecessarily.
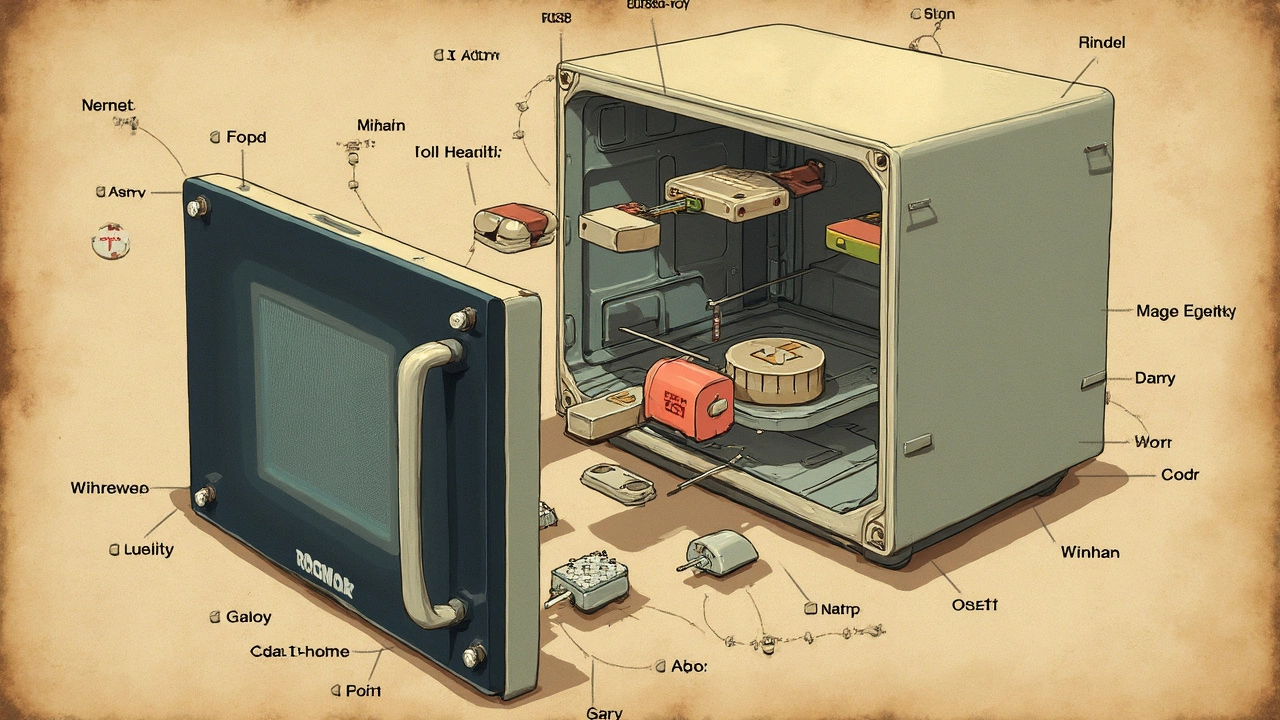
Finding the Fuse
Alright, so you've got a hunch that your microwave fuse might be to blame for the sudden silence. Now, it's time to play detective and locate that pesky component hidden inside your kitchen appliance.
First off, don't forget that safety is key here. Unplug your microwave before you do anything else. The last thing you want is a shocker of a surprise while poking around inside.
Microwaves, despite their variety, usually have fuses tucked away in a similar fashion. Most microwaves have an internal fuse located at the back, behind a panel. Here's what you typically need to do to find it:
- Remove the Microwave Casing: Use a screwdriver to take off the screws securing the microwave's outer shell. Usually, you'll find these at the back of the unit. Once removed, you can slide the casing off, revealing the guts of the appliance.
- Locate the Fuse Holder: The fuse rests in a small plastic holder. It looks like a little white or black cylinder depending on your model. You'll likely spot it near where the power cord enters the unit, but double-check your model's manual if you have trouble finding it.
Finding the fuse can be a bit of a treasure hunt, but remember, you're looking for something that resembles a tiny stick or cylinder snug in its holder.
Did you know that blown fuses are one of the most common issues in appliance repair? According to recent surveys, nearly 25% of kitchen appliance repairs involve replacing fuses.
Once you've found the fuse, resist the urge to fix things straight away. First, confirm it's blown, which we’ll dive into next.
Necessary Tools
Before you try to fix anything in your microwave, you've got to make sure you have the right tools in hand. Remember, we're dealing with electrical stuff here, so safety first! And yes, if you're aiming to check if that darn microwave fuse is blown, you're gonna need a few things. Let's dive in.
Gather Your Tools
Here's a quick list of what you'll need:
- Multimeter: This is probably the most crucial tool for checking a blown fuse. It measures electrical voltage, current, and resistance.
- Screwdrivers: You'll need both a Phillips and a flathead to help open your microwave's casing.
- Pliers: Trusty pliers will assist in removing the fuse.
- Replacement Fuse: Have a new fuse ready that fits your microwave model. Check the manual for specifications.
Safety Gear
Before you jump in, make sure you've got the right protection, too:
- Insulated Gloves: Always a good idea when working with electronics.
- Safety Glasses: Protect your eyes from any possible sparks.
Removing the Microwave Casing
Once you have your tools, it's time to pop open the microwave. Always unplug the microwave first to avoid any risk of electric shock. Use your screwdrivers to carefully remove the screws around the casing. Once off, you'll have a clearer view of where the microwave fuse hides.
Did you know? A basic multimeter can be bought for as little as $10, and it can save you a ton of money on repairs. That's a little nugget for your wallet!
| Tool | Purpose |
|---|---|
| Multimeter | Check the electrical functionality of the fuse |
| Screwdrivers | Open microwave casing |
| Pliers | Remove and replace fuse |
| Replacement Fuse | Replace the blown fuse |
Now that you've got the basics sorted out, you're ready to troubleshoot like a pro. Armed with these tools, you'll be one step closer to tackling that microwave repair with confidence.
Checking the Fuse
Alright, you've got the symptoms pointing to a possible blown fuse, now comes the fun part—actually checking it. Start by making sure the microwave is completely disconnected from the power source. Safety first, right? We're dealing with electricity here, so it's a no-brainer to unplug it.
Now, you'll need to pop open the outer casing. To get to the microwave fuse, you'll usually need a screwdriver. Be sure to remove the screws carefully and keep them in one place—trust me, losing these can be annoying.
Locating the Fuse
Once the cover's off, you'll generally find the fuse near the power cord entry or behind the control panel. It looks kind of like a small glass cylinder, often white or clear. Sometimes, there might be more than one fuse, so check all of them.
Inspecting the Fuse
A visual check might do the trick. If the fuse is clear, look for a broken wire or dark burn marks inside the glass. These are telltale signs of a blown fuse. If it’s not obvious, you can use a multimeter to test for continuity.
Testing with a Multimeter
- Set your multimeter to the lowest ohm setting.
- Place one probe on each end of the fuse.
- If the multimeter reads 0 or close to it, the fuse is fine. A high reading means it's blown.
Being thorough here can really save you time and effort.
If you find out the fuse is indeed blown, don't worry—it’s totally fixable by replacing it. Just be sure to get the exact same type of fuse, matching both the voltage and amperage ratings. That's important. In most cases, your local hardware store should carry what you need.
Replacing the Fuse
So, you’ve figured out that the microwave fuse is indeed blown. Now comes the crucial part—replacing it. It's simpler than you might think, and you'll save a good chunk of change if you do it yourself.
Before You Start
First things first, make sure your microwave is unplugged. Safety is the name of the game here. You don't want to be fiddling around with anything electrical while there's power running through it.
Get the Right Replacement
Now, let's talk about the replacement fuse. You'll want to get a fuse with the exact same rating, usually found on the original fuse. Using a different rating could damage your microwave or worse. Check the manual or the label inside the microwave for specifics on fuse type.
Steps to Replace the Fuse
- Start by removing the screws from the microwave's outer casing. This usually requires a screwdriver.
- Once you have access to the inside, locate the fuse. In most microwaves, it’ll be near where the power cord enters the unit.
- Carefully take out the blown fuse. You might need to use a fuse puller or tweezers if it's in a tight spot.
- Replace it with the new fuse. Make sure it sits snugly in its place.
- Reassemble the outer casing and screw it back securely.
And voilà, you're done! Plug your microwave back in and test it to see if it powers up like it should. If it does, you’ve nailed it!
Special Considerations
If your microwave still isn't working after replacing the blown fuse, it might be a good idea to call in a professional. There could be a deeper issue at play, like a faulty door switch or a more serious electrical problem.
Why This Matters
Replacing the microwave fuse on your own can not only save you money but also give you a little confidence boost in handling minor appliance repairs at home. Plus, nobody likes waiting for a repair tech to show up when they could be zapping their leftovers themselves!
Preventive Measures
Keeping your microwave in top shape doesn't have to be a hassle. With a few simple habits, you can prevent common issues like a blown microwave fuse from happening in the first place. Let's break it down.
Keep It Clean
Yep, it's that simple. A clean microwave runs more efficiently and lasts longer. Food splatters can lead to overheating, which isn’t great for the fuses. Make it a regular part of your kitchen cleaning routine to wipe down spills and splatters after use.
Avoid Overloading
Be mindful of what you put inside. Heavy containers or too much food can cause strain on the motor, leading to potential fuse problems. Stick to moderate amounts, and don't use your microwave as a secondary oven for large roasts.
Use the Right Containers
Glass, ceramic, and microwave-safe plastics are your friends here. Avoid using metal or containers with metallic paint or trim as they can create sparks and potentially cause a fuse to blow.
Regular Check-Ups
Conduct periodic checks on your microwave's internal components. Look for any visible wear and tear on cords and plugs. If your microwave seems to be running hot or acting unusual, check it out sooner rather than later. Catching a small issue before it becomes a big one can save you a lot of headaches.
Proper Ventilation
Ensure your microwave has enough space for air circulation. Overheating from poor ventilation is a common cause of a blown fuse. Keep at least a few inches of space on all sides of the microwave.
Following these straightforward tips can help you steer clear of unnecessary repairs. Just a bit of TLC can keep your kitchen buddy running smoothly.