Electric ovens are a staple in many homes, yet they often seem like complex beasts when something goes awry. You don't need to be an expert to handle some of the frequent issues that might crop up. A little detective work and some handy tips can save you both time and money.
In this article, we'll explore the typical problems you might encounter with your electric oven and guide you through easy fixes that don't always require professional help. Armed with the right tools and a bit of know-how, you'll feel more prepared to tackle those unexpected oven challenges.
- Understanding Common Oven Issues
- Essential Tools for Oven Repair
- Safety Precautions to Consider
- Troubleshooting Tips for DIY Repairs
- When to Call a Professional
- Maintaining Your Oven for Longevity
Understanding Common Oven Issues
At some point, most of us have faced the frustration of an electric oven acting up when we least expect it. The good news is, many of these problems are quite common and can be easily identified. By understanding these issues, you can often save yourself a call to the repairman. Let's break down some of the most frequent culprits that cause headaches for homeowners.
Uneven Cooking and Heating
Is your roast chicken beautifully golden on one side yet starkly pale on the other? Uneven heating is a frequent issue many oven users encounter. This problem can stem from something as simple as a faulty temperature sensor or a malfunctioning heating element that requires replacement. Moreover, accumulating residue and grease over time can also affect the heat distribution, causing food to cook unevenly, which is why regular cleaning is essential. According to Consumer Reports, a simple recalibration might suffice if your thermostat is off by a few degrees. This adjustment can often be done without any professional assistance, saving both time and money.
Oven Not Heating
Imagine preparing a meal for a special occasion only to find that your oven won't heat up at all. Panic ensues as you frantically check the settings. Often, the issue might not be as dire as suspected. A blown fuse or a tripped circuit breaker could be at fault, easily fixed by replacing the fuse or resetting the breaker. If these steps don't resolve the issue, the heating element itself might need checking. Testing with a multimeter can determine if it needs replacing. With a bit of patience, you'll find the solution isn't as daunting as it seems. In an interview with Appliance Journal, experts suggest regularly checking electrical connections to prevent this problem from arising.
Strange Noises
Is your oven suddenly making odd sounds that make you ponder if it's about to launch into outer space? Strange noises could signal several issues. A faulty fan that needs a simple lubricating or possible replacement is often the cause. Another possibility is that parts have become loose over time, which might require tightening. Continuous scrapping or rattling could indicate debris in the fan blades, something a thorough cleaning can rectify. "A well-maintained oven should run quietly," notes the National Institute of Kitchen Appliance Manufacturing. Paying attention to these sounds and addressing them promptly can prevent more severe problems in the future.
Door Not Closing Properly
An oven door that doesn’t close properly can allow heat to escape, leading to undercooked meals and increased energy consumption. This problem may arise from a worn-out door seal or gasket, parts that can be easily replaced with the right guidance. Checking for debris or obstructions that might prevent the door from sealing tightly is another simple fix. The door hinges could also be at fault, sagging with age. Often, tightening screws can rectify the issue. "Addressing door issues immediately can prevent bigger energy bill headaches," according to energy conservation studies.
The Light Won't Work
A light bulb that illuminates your culinary creations not working is more of an inconvenience than a disaster, but it’s a problem easily overlooked. Often, the solution is a simple one: replacing the bulb. However, if changing the bulb doesn't resolve the issue, you might need to check the socket and wiring for any signs of damage or malfunction. Generally, this tends to be an easier fix compared to other complexities, allowing you to brighten up your oven again with minimal fuss.
Essential Tools for Oven Repair
Fixing an electric oven might seem daunting, but with the right tools, the task becomes much more manageable. Having the proper tools not only saves time but also ensures safety as you embark on your DIY repair journey. Many common electric oven repair tasks require just a few basic tools found in most toolboxes, while others might call for something a bit more specific. Understanding what you'll need before diving into repairs can help you plan and execute your fix effectively without unnecessary interruptions to your workflow.
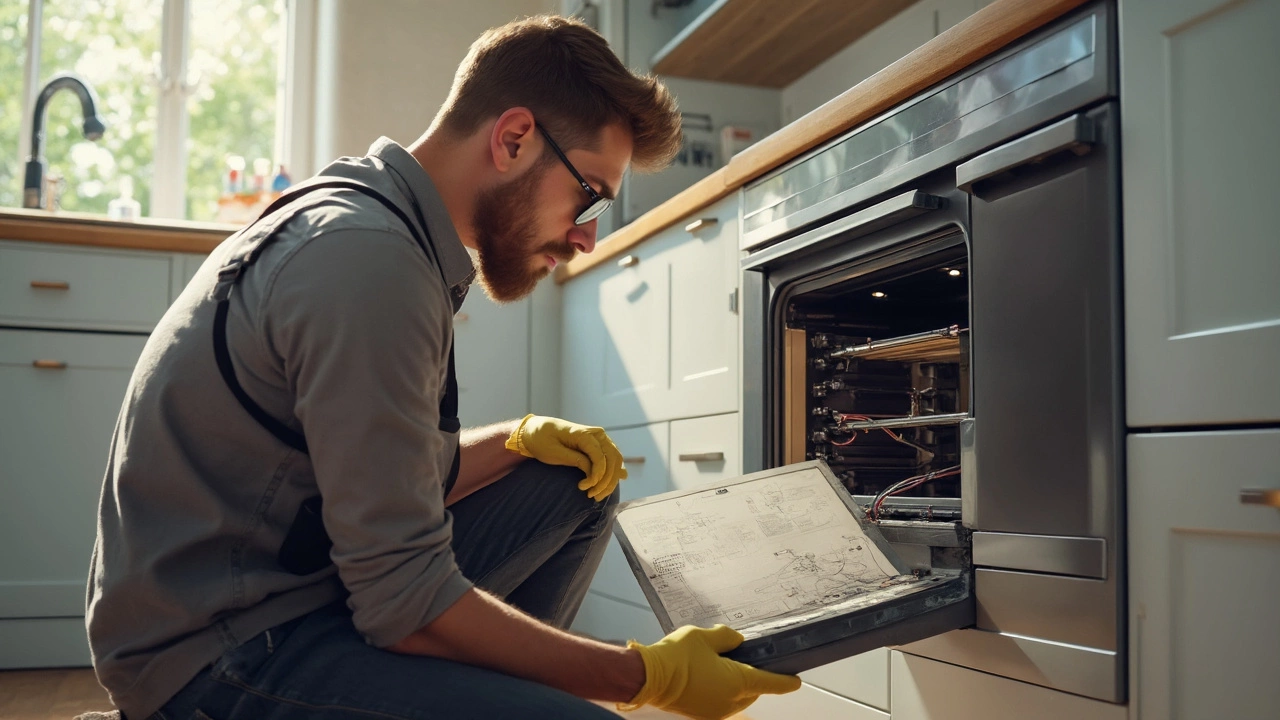
A sturdy screwdriver is quite possibly your most essential companion. Since many stove faults involve accessing electrical components or replacing parts, a set of both Phillips and flathead screwdrivers is indispensable. They will help you safely remove back panels or door components without damaging the oven casing. Also, knowing the voltage at certain points is critical hence a multimeter is another tool you shouldn't overlook. This device allows you to check the electrical current and ensures you're working with a safe appliance. By diagnosing the power flow issues, you can pinpoint the problem, saving both time and stress.
Wire cutters and strippers are necessary for dealing with any burned wires or faulty connections. These situations are common, especially in older ovens where wires may need replacing. Coupled with the cutters, having some electrical tape on hand can temporarily safeguard any cut wires while you work on resolving the issue. Another helpful tool is a nutdriver or socket wrench set, as it aids with dealing with bolts that may secure internal components like heating elements or the thermostat. Often, these components require firm securing, making an adjustable wrench essential for any stubborn screws.
"The right tool for the job is essential when working with appliances, as noted by appliance expert Sylvie Perry in her renowned guide on DIY repairs,"
"Having the appropriate tools on hand before you start the repair not only provides peace of mind but also significantly reduces the risk of error or injury,"Another aspect to consider is lighting, especially when working in tight or dimly lit areas. A good flashlight or a headlamp will ensure pinpoint accuracy, allowing you to see and work on intricate tasks within the oven's interior. It might not seem essential until you're stuck peering into dark crevices trying to discern what wire goes where.
If you're dealing with any components related to the oven's gas connections, a handy gas leak detector would be wise to have. However, it’s crucial to note that any serious issues involving gas connections should only be tackled by certified professionals to avoid hazards. Every DIY enthusiast should appreciate the importance of organization too. A sectioned tackle box or magnetic strip to hold your screws and minor components can be invaluable. It prevents any parts from going astray, allowing for a smooth and uninterrupted repair experience.
| Tool | Purpose |
|---|---|
| Screwdrivers (Phillips and Flathead) | Disassembling components |
| Multimeter | Checking electrical flow |
| Wire Cutters and Strippers | Removing damaged wires |
| Electrical Tape | Securing wires temporarily |
| Nutdriver or Socket Wrench | Securing bolts and screws |
Equipping yourself with these oven troubleshooting tools enables you to address many common appliance problems without delay. Before starting any repair, ensure you double-check your toolkit against a minor checklist. This preparation sets the stage for an efficient repair session, allowing you to focus more on the task at hand rather than scrambling for missing tools mid-repair. Ultimately, the idea of managing minor oven woes on your own starts with simply having the right toolkit.
Safety Precautions to Consider
When diving into electric oven repair, safety should be your top priority. An electric oven is a powerful appliance that requires handling with care due to the involvement of high voltage electricity and significant heat. The complexity can vary depending on the issue at hand, yet some common precautions are essential no matter the problem. Before you begin, always ensure that the oven is completely unplugged from the power source. This simple step can prevent potentially fatal electric shocks or accidents while working on your DIY oven fixes. Keep a reliable multimeter handy to test electrical components safely, making sure electricity is truly off before probing deeper.
Personal safety gear is critical while undertaking oven troubleshooting. Wear gloves to protect your hands from sharp edges and potential hot spots, and safety glasses to shield your eyes from debris. Even if you think an area is cool, be cautious - parts of the oven can remain scalding for longer periods than expected. It's also wise to have a fire extinguisher nearby; knowing its location and proper operation can be life-saving in emergencies. Consider your workspace too – ensuring it's well-lit and organized can prevent tripping over tools or components during the process.
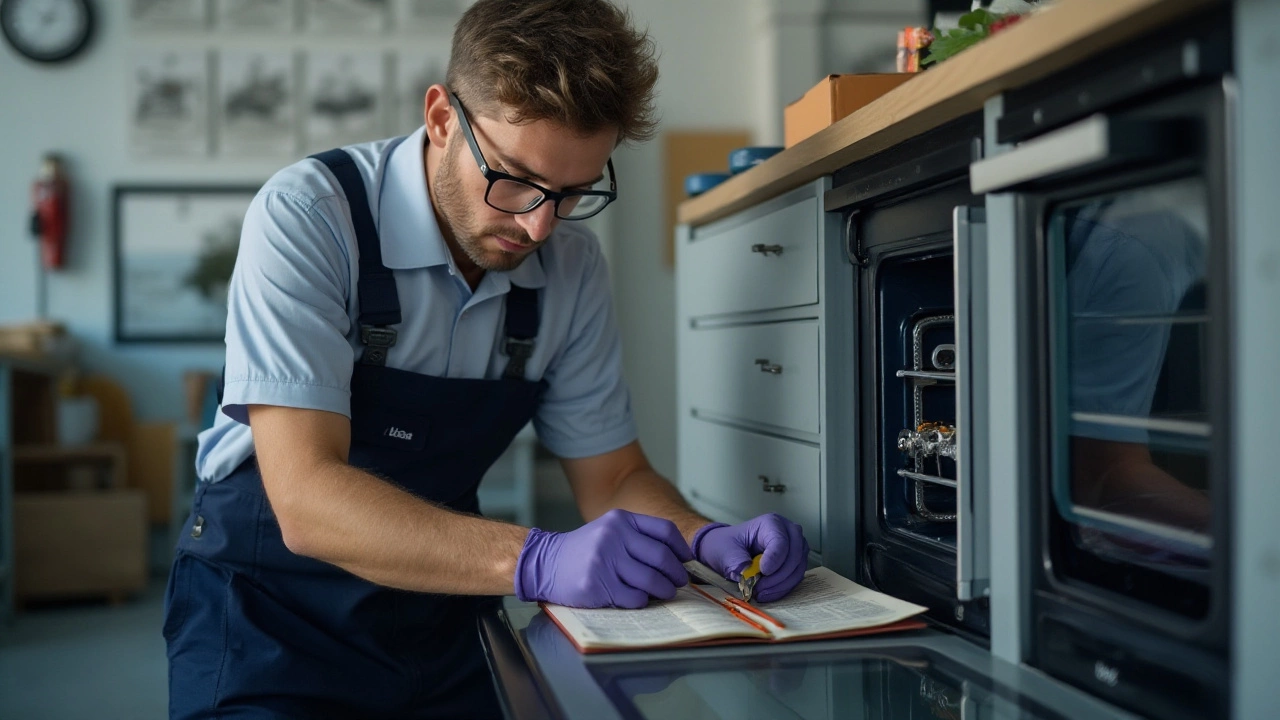
Another crucial aspect is understanding the oven's manual, which is often overlooked. It can offer tailored safety advice and troubleshooting tips unique to your model, which can make the fixing ovens task simpler and safer. Should you encounter issues beyond your expertise or comfort level, do not hesitate to call a professional. Attempting repairs without the necessary skills could exacerbate the problem or create new hazards. As the eminent safety advocate A.N. Palmer once noted,
"The absence of accidents does not mean the presence of safety."Recognizing your limits is a profound measure of precaution.
To add, it is beneficial to familiarize yourself with the symptoms and solutions of common oven malfunctions. Understanding when it’s a matter of a worn-out heating element or an intricate wiring issue can change your approach and preparedness. In some cases, statistics show that about 25% of home fires originate in the kitchen, often from faulty or improperly repaired appliances. Utilizing this knowledge can give you a clear perspective on why attention to safety cannot be overstated in the realm of home appliances repair.
Troubleshooting Tips for DIY Repairs
Tackling an electric oven repair project might seem like entering uncharted territory, but with a straightforward approach, it becomes manageable. Before you start fiddling with anything, ensure that the oven is unplugged to avoid any mishaps. This basic yet often overlooked step is crucial for your safety. Next, begin by identifying the exact problem. Is it not heating evenly? Or perhaps it's not turning on at all? Figuring out what needs attention is half the battle won.
For ovens that refuse to heat, consider the heating element as the usual suspect. Check for visible damage or discoloration. An element that's not glowing red might need replacing. This is where a multimeter can be your best friend. By testing for continuity, you can confirm whether the element is functional or needs replacement. When it comes to uneven cooking, the temperature sensor could be the culprit. Ensuring it's not touching the oven wall and testing it with a multimeter can save you from an expensive call to a technician.
Another frequent and easily fixable issue is an oven door that won't seal properly. Over time, door gasket wear out, making it hard for your oven to maintain its temperature. A quick test involves slipping a piece of paper between the door and the seal; if you can pull it through, it's time for a new gasket. Make sure to buy a model-specific replacement to avoid any fitting problems. On fixing this, improved energy efficiency and better cooking results will follow.
DIY oven fixes also often include issues with the control panel. Sometimes, all it needs is a thorough cleaning or a simple reset. Disconnect the wires carefully, clean the connectors and monitor for any corrosion or loose attachments. Reconnect them securely and check if that resolves the issue. If your oven has a digital display that's malfunctioning or not responding, resetting the breaker or examining the connection wire might do the trick. If you’re feeling adventurous, carefully consulting your oven’s manual can offer additional problem-specific insights.
As kitchen appliance expert Melissa Androulis advises, "Always tackle what you're comfortable with, and know when to leave it to the professionals for more complex electronic issues."
An intriguing yet helpful tip is knowing that resetting the oven can solve some software-related glitches. Flip the circuit breaker for your oven off, wait a couple of minutes, and turn it back on to effectively 'reboot' the system. Simple as it may sound, it can sometimes reset the oven computer and solve multiple issues in one go. Trying this before more invasive methods could save not just time but also hassle.

When to Call a Professional
While doing your own electric oven repair can be rewarding, there are situations when it’s wise to seek professional intervention. One of the tell-tale signs is when your oven stops heating consistently or fails to reach the desired temperature altogether. This might indicate an issue with the heating element or more serious electrical complications involving the thermostat or wiring, potentially posing safety risks.DIY oven fixes, admirable as they might be, aren't always suitable for these intricate problems.
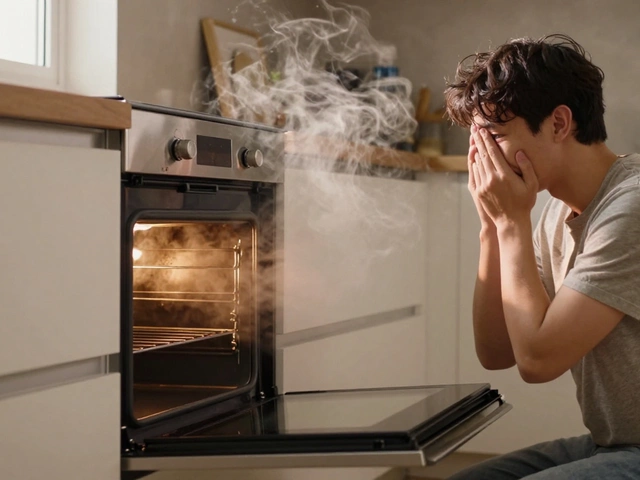
Another situation that screams for professional help is when there are visible sparks or a consistent abnormal smell like burning wires. Such occurrences suggest problems with the electrical components, which could lead to significant risks, including fire hazards. In such instances, engaging with a licensed electrician or a specialized appliance technician ensures that the problem is handled with safety and efficiency in mind. As sensible as it sounds, always remember, especially with appliances that involve electricity, that knowing your limits is part of prudent oven troubleshooting.
If your oven exhibits a malfunctioning digital display or control board, it's often beyond what someone without specialized knowledge can handle. These components control numerous elements of the oven’s operations, from setting temperatures to modes of cooking. Attempting a solo repair might void warranties or even exacerbate the problem. In line with this, many manufacturer's warranties specify component failures are best left to certified professionals. Renee Branson, a seasoned appliance repair expert, once quipped,
"It's not just about fixing a machine; it's about ensuring the heart of the kitchen beats safely and efficiently."
It's easy to overlook a faulty door seal, yet its implications on cooking efficiency and safety are noteworthy. A compromised seal can lead to heat escaping, potentially triggering a mishap or simply impacting the energy efficiency of your oven over time. Moreover, such issues with the structural parts of an oven might affect the cooking results or, worse, escalate the chances of accidents. Whereas adjusting or replacing such parts might seem plausible, achieving a precise fit and seal might best be guaranteed by professionals who have the tools and experience necessary.
Assessing Cost vs. Benefit
Deciding when to call a professional isn't merely about fixing what’s visibly broken; sometimes, it’s about extending the longevity of your appliance. Consider having regular maintenance checks rather than waiting for something to break. This proactive approach can sometimes reveal hidden issues early on. However, keep in mind that costs can vary significantly based on the service provider and the complexity of repairs needed, often contrasting the sometimes-controller costs of DIY solutions.
If repair costs exceed or approach the price of a new oven, it might be worth considering replacing the unit altogether. Nonetheless, a qualified professional should provide a clear estimate and, importantly, a breakdown of the intended repairs and their rationale, giving you a clear picture to decide your next steps.
Maintaining Your Oven for Longevity
Keeping your electric oven in top shape isn’t just about avoiding breakdowns. Regular maintenance can extend its lifespan, making sure you get the most out of your investment. Surprisingly, simple habits like wiping down the interior after cooking can go a long way in preventing grease buildup, which can lead to unpleasant odors and even fire hazards. It's essential to clean spills promptly; dried food splatters can affect heating efficiency and even lead to element damage if ignored over time.
One of the key components to maintain is the door seal. Over time, the rubber gasket sealing your oven door can wear out or become caked with debris. A poor seal allows heat to escape, leading not only to longer cooking times but also higher energy bills. Checking the seal regularly for tears or signs of wear can save both energy and frustration. Cleaning it with a gentle dish soap and water mix should suffice, but always ensure it's thoroughly dried afterward.
Periodic inspection of the heating elements is another crucial step. Over time, elements can show signs of wear, including blisters or burns, which indicate they may need replacing. A malfunctioning element could lead to uneven cooking, affecting everything from your soufflés to a simple batch of cookies. If you notice that some foods are not cooking as they should, the elements might not be functioning correctly. Always remember safety first; ensure your oven is completely switched off before inspecting these parts.
Regular tweaking of the oven’s calibration is an often overlooked aspect of oven troubleshooting. Many times, an oven might run hotter or cooler than the displayed temperature, which can be corrected through manual calibration. You can verify this using an oven thermometer and adjusting the temperature settings accordingly. Most modern ovens offer a simple guide through the manual on how to recalibrate them, which can be easier than one might expect.
"The simplest maintenance task is often the most effective one," advises renowned home appliance expert John Smith. "Regular wet cleaning and element inspection are key to keeping ovens running efficiently."
Don't forget about the exterior of your oven. Regularly cleaning and checking knobs, handles, and buttons can prevent them from sticking or malfunctioning. Grease and grime can easily accumulate in these nooks and crannies, leading to mechanical issues. A non-abrasive cleaner works wonders in maintaining their functionality and aesthetic appeal.
Finally, running a self-cleaning cycle, if your oven supports it, can be beneficial. However, use it sparingly, since it places strain on the appliance by running at very high temperatures. Instead, opt for manual cleaning every few months and reserve the self-clean option for particularly stubborn grime. By following these tips, you longevity of your oven increases, ensuring you continue to bake your favorite treats with ease and efficiency.