Microwave Magnetron Replacement: Everything You Need to Know
When tackling microwave magnetron replacement, the process of swapping out a failed magnetron in a microwave oven. Also known as magnetron swap, it mixes electrical know‑how with a bit of handyman spirit. Understanding this task saves you money and keeps your kitchen humming. Below you’ll see why it matters, what else you’ll run into, and how Warwick Appliance Fixers can help if you hit a wall.
Why the Magnetron Matters and What Else Is Involved
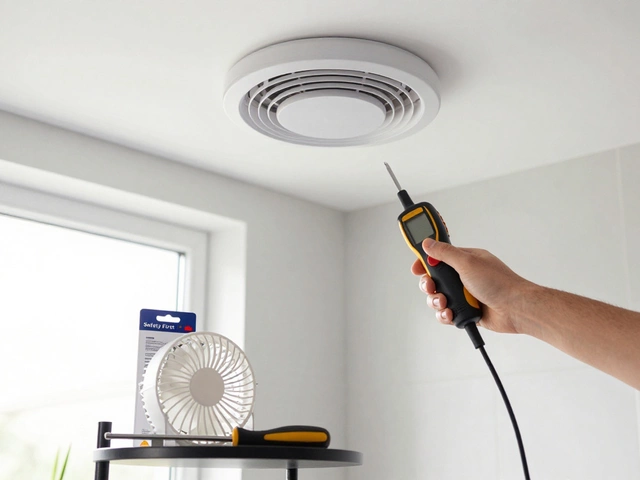
The magnetron, the high‑frequency power tube that creates the microwaves that heat food is the heart of any microwave oven. Without it, the oven is just a box with a light. Microwave oven, a common kitchen appliance used for quick cooking also relies on a sealed cavity, a turntable motor, and a control board. When the magnetron fails, you’ll notice uneven heating, strange noises, or the unit simply won’t run. That’s where appliance repair, the service of diagnosing and fixing household devices skills become essential. A technician must check the high‑voltage transformer, verify the door interlock, and ensure the waveguide is clear before pulling the magnetron.
Safety is the first rule. High voltage capacitors can hold a charge long after the microwave is unplugged, so you need insulated gloves, a multimeter, and a clear work area. The repair also involves sourcing the right replacement part – OEM vs. aftermarket – and confirming the wattage matches your model. Knowing the part number saves time and prevents mismatched fittings. If you’re not comfortable working with live circuits, calling a qualified pro is the smart move.
Cost considerations vary. A new magnetron can run from £30 to £120 depending on brand and power rating. Labor rates in Warwick typically start at £45 per hour. Some shops charge a diagnostic fee that’s waived if you proceed with the fix. Adding a new waveguide cover or door seal might be necessary, bumping the total up a bit, but the overall expense is usually far less than buying a brand‑new microwave.
When planning the swap, think about the age of the appliance. If the oven is over 10‑12 years old, you might face multiple failing components, making replacement a better long‑term choice. However, if the rest of the unit is in good shape, a magnetron change can extend its life by several more years. This decision often hinges on energy efficiency; newer models use less power and cook more evenly.
Techniques differ by model. Some microwaves have a rear panel that slides off, exposing the magnetron directly. Others require you to remove the outer shell and unscrew mounting brackets. The steps always include: disconnect power, discharge capacitors, remove the waveguide cover, detach the mounting screws, pull out the old magnetron, install the new one, re‑assemble, and finally run a test run with a cup of water. A quick check for leaks with a coil tester ensures the seal is tight.
What you’ll discover in the articles below is a mix of DIY guides, cost breakdowns, safety checklists, and professional advice tailored for Warwick residents. Whether you’re a seasoned handyman or a curious homeowner, the collection gives you clear next steps, common pitfalls to avoid, and signs that indicate you should call in Warwick Appliance Fixers for a hassle‑free fix.