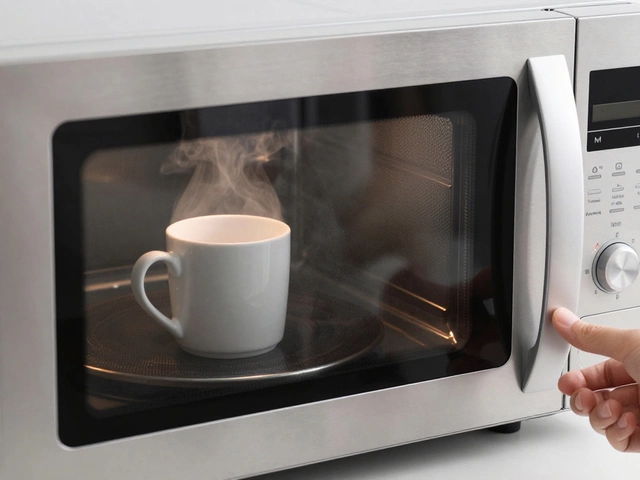
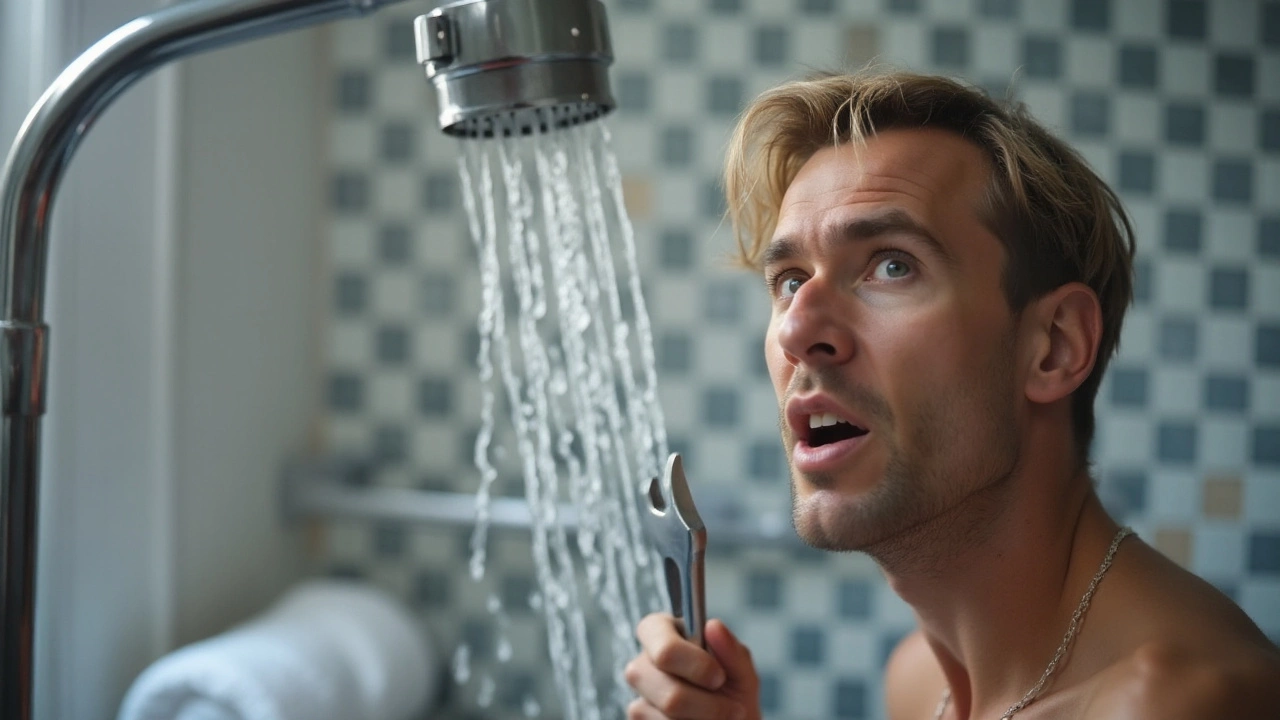
There's nothing quite as jarring as stepping into the shower and finding the hot water has decided to take a break. Many of us have been there, wondering what mystery lies behind the missing warmth. The answer is not always straightforward, but it's often one of a few usual suspects.
Understanding why your hot water might suddenly stop flowing is the first step in addressing the issue. Whether it's a pilot light that's gone out, a circuit breaker issue, or your unit needing maintenance, getting a handle on these scenarios can help you determine whether it's a DIY fix or time to ring up a pro.
This article takes you through some of the more common causes of hot water outages, provides a few repair suggestions for the handy-at-heart, and highlights the key times when calling in a professional is the wise choice. Knowing these will empower you to tackle some problems on your own and maintain your hot water supply efficiently and safely.
- Common Causes of Hot Water Problems
- Identifying Water Heater Issues
- How to Conduct Basic Repairs
- When to Call a Professional
- Preventative Maintenance Tips
- Safety Precautions When Handling Water Heaters
Common Causes of Hot Water Problems
Experiencing a sudden loss of hot water can be incredibly frustrating, and while it might seem like a complete mystery, it often boils down to a few typical culprits. Identifying the specific issue promptly can save you time and a cold shower. One of the most common reasons is an issue with the water heater itself. If you are using a gas-powered water heater, the problem could stem from the pilot light going out. It's a surprisingly common issue, particularly in older models, where the light might be easily extinguished by drafts or if the thermocouple is faulty. Thermocouples, those clever safety devices, signal to the gas valve to stay open, and when they fail, that can mean no hot water at all.
For those of us with electric water heaters, the problem might lie within the heating elements. These elements, submerged and out of sight, can sometimes give up the ghost, leaving you with a tank full of cold water. Tripped circuit breakers also share culpability, sometimes occurring after a power surge or because of an overloaded system. Checking your home's breaker panel is a wise first step whenever your hot water stops unexpectedly. As well, sediment build-up inside the tank is another sneaky cause of inefficiency or malfunction. Over time, minerals from your water supply form a layer on the bottom of the tank, acting as insulation between the heating element and water, thus severely impacting heating efficiency.
In addition to mechanical failures, sometimes the issue is simply the thermostat not being set correctly. It might be off by enough to be noticeable, especially in colder months. Some units have two thermostats that could require adjustment. For a typical family, the Department of Energy suggests setting it to 120°F for both safety and efficiency. Plumbing system issues, though less common, can also contribute to hot water loss. Leaks in pipes leading into or out of the heater can reduce water pressure or lead to a diminished hot water supply. In older homes, clogged or corroded pipes might present additional hurdles, necessitating a plumbing expert's intervention.
Troubleshooting always begins with assessing whether the issue affects one fixture or the whole house. If the problem seems localised, the cause might be a single valve or a faucet issue. If it's all over, it could be the system or the heater. If you maintain a checklist to diagnose hot water disruption, start with these basics before venturing into more complex territories. As often quoted by appliance expert Jane Handy, "Regular maintenance prevents regular problems." Checking these common causes regularly might keep your hot water from escaping at all the wrong moments.
Identifying Water Heater Issues
Understanding what might be plaguing your water heater can feel like solving a puzzle. One common issue is when the water heater stops heating completely. This can arise from several causes, including a malfunctioning thermostat, tripped circuit breaker, or even the pilot light being out in gas heaters. A first glance at these components might reveal simple fixes, but diagnosing them correctly is key.
In electric water heater systems, a broken thermostat or a burnt-out heating element are usual culprits. To check if the thermostat is working properly, you might need to utilize a multimeter, a handy tool for home repairs. If it’s not responding or showing incorrect temperatures, replacement could be on the cards. Interestingly, according to energy.gov, efficient maintenance of water heaters could save you up to 15% in energy costs annually, proving the value in keeping on top of these jobs.
For those with gas heaters, checking the pilot light is vital. Sometimes a gust of wind can extinguish it, a blockage might disrupt gas flow, or the thermocouple — a small sensor that detects the pilot light — might be faulty. Reigniting the pilot light is usually outlined on the water heater’s instruction panel, but if it continually goes out, professional advice might be needed to ensure it’s not a stemming gas leak or venting problem.
"Regular inspections and maintenance can often prevent small issues from turning into costly repairs," advises the Plumbing and Drainage Institute, highlighting the importance of understanding these issues early.
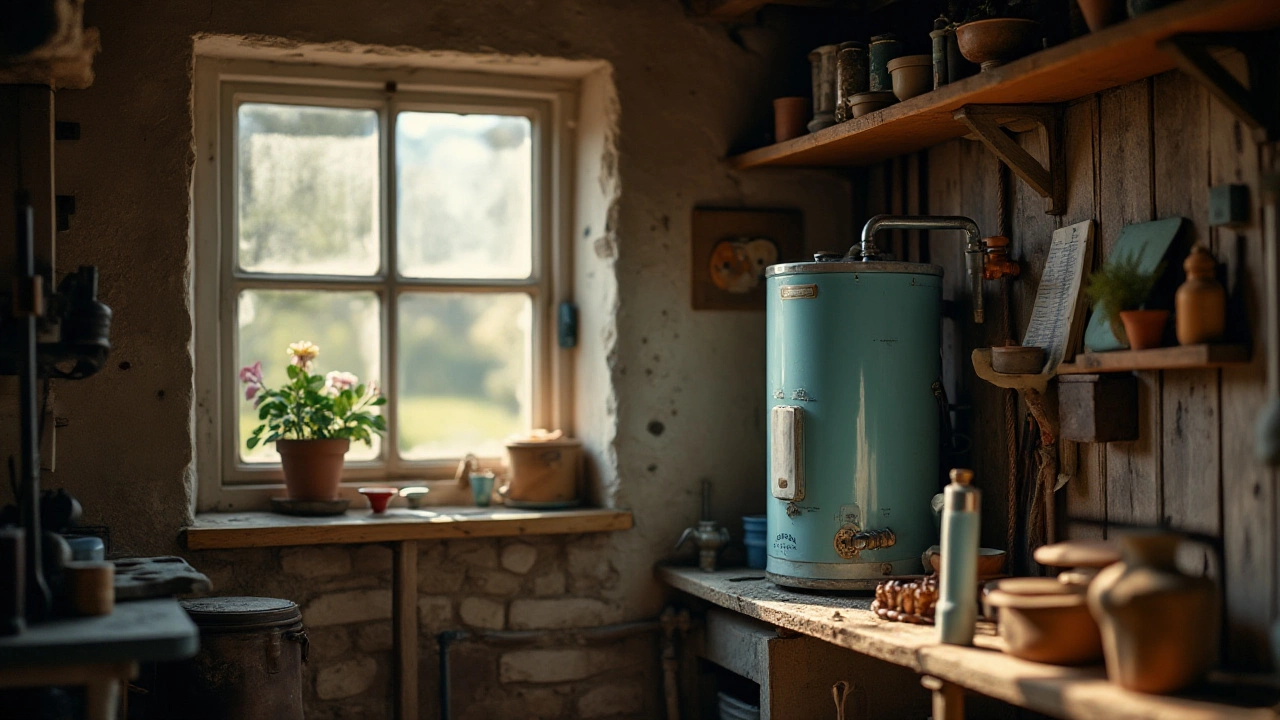
Another pertinent aspect is the age of your water heater. Most models have a lifespan of about 10-15 years. If yours is nearing this age, it might begin to lose efficiency or become unable to provide consistent hot water. Keep an eye on its performance and readiness to supply your needs.
Common Issues and Their Symptoms
- Variable water temperature could mean there’s sediment buildup in the tank or inconsistency with the heating elements.
- No hot water indicates a possible burnt-out heating element or tripped breaker.
- Strange noises, often a popping sound, usually suggest sediment accumulation.
- A leaking heater could point to issues with the valves or fittings, or possibly the tank itself.
Keeping a regular check on these water heater components is essential for long-term maintenance and peace of mind. With careful monitoring, you can keep your home relative warm and toasty, even during those unexpectedly cold mornings when a hot shower is all you need to start the day right.
How to Conduct Basic Repairs
Tackling basic repairs on a water heater might sound intimidating, but with the right approach, it can be a fairly straightforward process. The first step when the hot water isn't flowing is to diagnose the potential problem areas. Common issues include the pilot light being off, a tripped circuit breaker, or sediment build-up in the tank. Starting with the simplest solutions, like checking if the pilot light of a gas water heater is lit, can save both time and effort. In many cases, reigniting the pilot light doesn't require special tools, just a bit of patience. Make sure to follow the manufacturer's instructions closely when relighting, as it ensures safety and proper operation.
If you have an electric unit, a tripped circuit breaker can cut off power to the water heater. Head to your home's electrical panel to see if the breaker connected to your strong>water heater has flipped. Simply resetting it might resolve the issue. Remember to turn off the power to your water heater before conducting any inspection or repairs to ensure safety. Additionally, sometimes a faulty thermostat or heating element can lead to a lack of hot water. These can be tested with a multimeter to determine if they need replacement, processes usually covered in the water heater's manual.
For sediment issues, draining the tank can often prove helpful. Over time, minerals in water can collect at the bottom of the heater, creating a layer of sediment that reduces efficiency and leads to lukewarm water. To flush the tank, turn off the water supply and power, attach a hose to the drain valve, and safely let the water and sediment flow out. This is generally advised annually, but depending on water hardness and usage, it might need to be done more frequently. As simple as these steps may seem, many problems can be nipped in the bud with these minimal repairs.
It's worth noting that some fixes, like replacing a thermostat or heating element, require a bit more technical ability. Consulting your unit's manual can serve as a guide, and if ever in doubt, seeking professional help is wise. Work carefully and always prioritize safety; water heater repairs involve both water and electricity, elements that demand respect and adequate precautions. As Mike Holmes, a respected contractor once put it:
"It's better to do it right than to do it over."
This oft-repeated saying underscores the importance of knowing your limits and acknowledging when to call in an expert. Balancing confidence in home repair skills with the wisdom of seeking professional assistance is key. After all, safety trumps all; make sure you're well-informed and taking all necessary precautions before you undertake any repairs. Armed with this knowledge, you can approach your water heater with newfound confidence, ready to address basic problems or identify when it's time to call in the cavalry.
When to Call a Professional
Facing sudden hot water issues often leaves many in a quandary. Is it a simple fix you can handle, or does it necessitate enlisting expert help? While minor fixes and troubleshooting are sometimes within the realm of a competent DIY enthusiast, certain tell-tale signs should steer you toward seeking a professional's expertise. Knowing when to make this call can save you from compounding the problem, leading to more extensive repairs and sometimes a bigger hit on the wallet.
One clear indication to reach out to a professional is if your water heater starts making unusual noises, such as banging, rumbling, or popping. These sounds often point to sediment build-up within the tank. While draining the tank might sound like a simple task, it usually requires a seasoned technician to flush out the sediments effectively without damaging internal components. Mishandling the flushing process can lead to potential leaks or reduce the lifespan of your unit. Professional intervention ensures it’s done safely and efficiently.
Another scenario demanding professional assistance is when there’s visible water pooling around your water heater. This could suggest a serious leak that needs urgent attention. Leaks might stem from a faulty valve, connection, or even the tank itself. Shutting off the water supply is a wise contingency measure, but a seasoned plumber must assess and remedy the deeper issues. Early detection and repair are crucial, as water damage can gradually spread, affecting surrounding walls, floors, and other installations.
A famous Kiwi plumber once said, “Prevention is the best form of maintenance when it comes to water heaters. Small issues caught early can save your bacon in the long run.”
Fluctuating water temperatures or persistently lukewarm water can also suggest the heater's elements or thermostat are compromised. Evaluating and replacing these components involves working with electricity, which is inherently dangerous. As such, hiring someone versed in both plumbing and electrical work is pivotal. It ensures not just remedying the problem but also wards off any potential electrical hazards.
Don’t overlook the importance of regular maintenance from professionals either. Scheduling annual check-ups helps preserve your heater’s efficiency and longevity. Technicians can spot worn-out parts, adjust pressures, and ensure everything operates within safe parameters. Keeping it serviced ensures that sudden breakdowns are minimized and all parts function optimally throughout the year.
Finally, if your water heater is approaching its lifecycle's twilight—usually around 10 to 15 years old—it's beneficial to consult a professional about possible upgrades or replacements. They can advise on energy-efficient, budget-friendly models that suit your household needs, keeping you warm and ensuring peace of mind through those chilly seasons.
Ultimately, knowing when to call in a professional isn't just about resolving an issue; it's about ensuring that your hot water solution remains reliable, efficient, and safe for you and your family for many years ahead.
Preventative Maintenance Tips
To keep your water heater working efficiently and to ensure you're never caught off guard by a cold shower, regular maintenance is crucial. One important practice is to inspect and flush your tank at least once a year. Sediment buildup is a common issue that can significantly impact the heater's efficiency and its lifespan. This buildup can insulate the water from the burner, wasting energy and causing the tank to overheat. Flushing involves draining the tank, which will remove sediment and keep your heater operating smoothly.
Another key maintenance task is to check the water heater's anode rod. This is a vital component in protecting the tank from corrosion. It's a simple, yet effective, a metal rod that should be inspected every one to two years, depending largely on the make and model of your unit. If more than 6 inches of the core steel wire is exposed, it's time for a replacement.
"Anode rods are often the most neglected component in water heater maintenance," says John Smith, a technician with over 20 years of experience. "Replacing them can add years to the life of your heater."
It's also beneficial to occasionally adjust the temperature settings. Most manufacturers set the temperature to 140 degrees Fahrenheit by default, but lowering it to 120 degrees can help save energy and minimize the risk of scaling and overheating. Not to mention, it can also prevent scalding accidents, especially in families with young children or elderly members. Keeping the thermostat in check is both an energy-efficient choice and a safety measure.
For those with electric heaters, regularly testing the pressure relief valve is advisable. This valve is designed to relieve excess pressure from the tank, and if it's not functioning, it poses a potential hazard. Testing is simple: lift the valve lever to let some water exit, then let it snap back to shut off the flow. If you notice it isn’t functioning correctly, replacing it is necessary to ensure your water heater operates under safe conditions.
Consider insulating your pipes to maximize efficiency. This is especially useful during colder months when heat loss is more pronounced, and the water takes longer to heat. A well-insulated setup maintains the water temperature between the heater and your faucets, reducing the energy needed to consistently heat the incoming flow. Check out your local home improvement store for affordable pipe insulation materials.
Lastly, keeping a consistent maintenance schedule can save a lot of headaches down the line. Jot down reminders and stick to a routine, ensuring you give your water heater the attention it needs. Whether it's an annual flush or a bi-yearly check of the pressure valve, these small routine checks are the keys to extending the life of your unit and keeping it in peak condition for many years.
Safety Precautions When Handling Water Heaters
Handling a water heater is not without its risks, so ensuring safety is paramount when you decide to take on maintenance or repair tasks. Remember, these units often combine water, electricity, or gas—none of which are forgiving when mismanaged. It's essential to be well-prepared before diving into any troubleshooting or repair work. The first step is always to familiarise yourself with the user manual that came with your water heater. This document is your best friend and provides specific details about your model. If it has gone astray, these manuals can often be found online using the model number. As part of your preparation, ensure all necessary tools are handy. Tools like wrenches, screwdrivers, and even special meter readers for checking electrical components are invaluable. Failing to use the correct tools not only complicates the job but can increase the chance of injury or damage to the appliance.
Before you start any work on your water heater, it's crucial to shut off its power supply to prevent accidental shocks. If you have an electric heater, find the circuit breaker and switch it off. For gas units, turn off the gas valve leading to the heater to prevent leaks during maintenance. Whether you're just doing a check or a fix, never overlook this critical safety step. If parts of the unit involve electrical elements, like a thermostat or heating element, this is doubly important. Always verify that the power is truly off with a voltage tester before proceeding. Consider the potential for hot water burns too. Water inside the unit can be scalding even hours after turning off the heater, so allow enough cooling time or double-check for warnings on your specific model.
According to the U.S. Consumer Product Safety Commission, more than 500 fatalities result from electrical hazards each year. It's a grim reminder of why safety is key in such tasks.
Proper ventilation is another critical safety aspect to keep in mind. This is especially true for gas-powered water heaters, where poor ventilation can lead to dangerous carbon monoxide build-up. Ensure the area around the unit is clear of any debris, and ventilation ducts are open and not blocked. Regular maintenance of the venting system itself can prevent the deadly accumulation of exhaust gases. If you're unsure about the venting system's integrity or installation, it's best to consult with a professional. A carbon monoxide detector nearby can serve as a valuable early warning system for leaks that you might otherwise miss.
When replacing or installing parts, refer to the professional practice of double-checking all seals and connections. Gas leaks, water leaks, or even simply a loose connection can undo all your initial efforts at staying safe. Use joint compounds rated for gas connections instead of thread tape, which doesn't seal correctly under gas pressure. For electric connections, never skimp on the wire gauge recommended for replacement elements. It's not just a question of performance but also about preventing overheating that can lead to dangerous scenarios. Avoid twisting wires together casually; instead, use proper connectors. And always, if you're unsure, it is better to consult or hire a professional rather than risking a botched DIY job.
The final and essential precaution is keeping your work area clean and organized. A cluttered workspace not only makes the job tougher but heightens the risk of accidents. Keep tools you might need within reaching distance, but away from the path where you or others might trip on them. Secure small pieces like screws and nuts in a container so they don't roll away. Additionally, always ensure any leftover debris or old parts are disposed of properly, as these can cause injury if stepped on or handled carelessly after finishing the job. These steps may seem meticulous or unnecessary at first, but they are precisely what distinguishes sound, safe repair work from its careless counterpart.