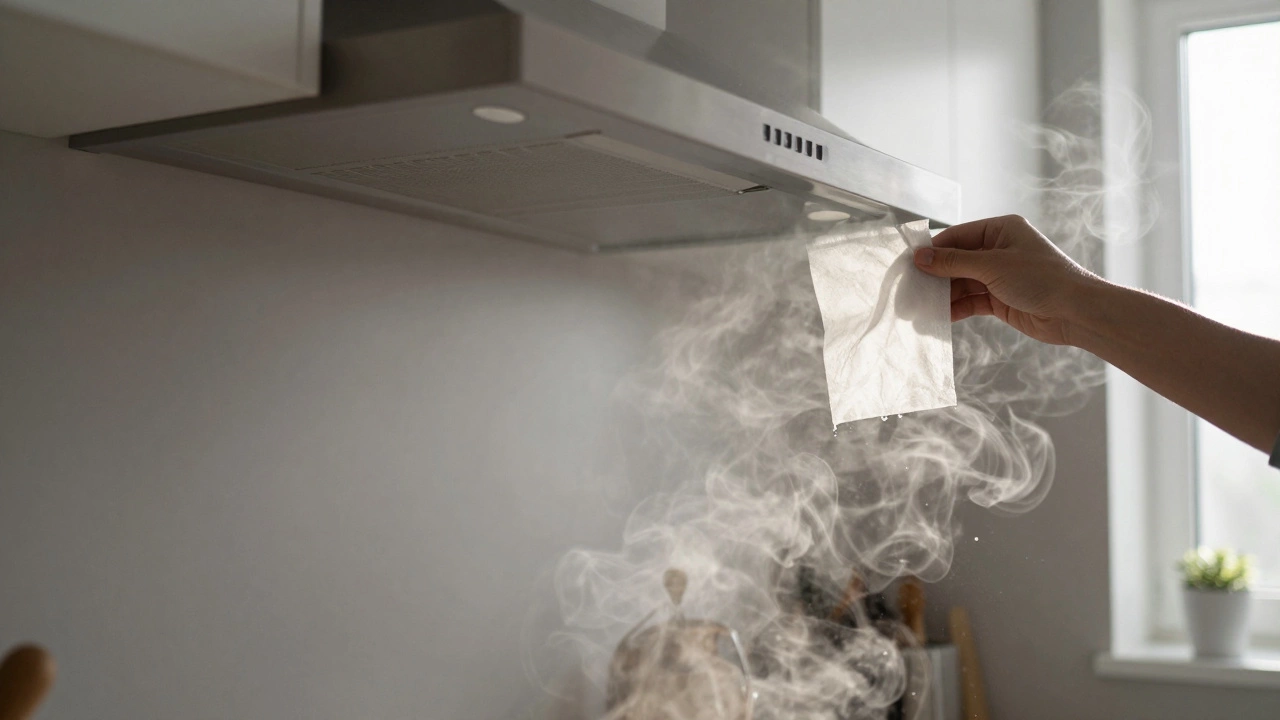
Ever switched on your kitchen extractor fan and wondered why it does nothing—or just makes a weird grinding noise? You’re not alone. These fans go through a lot: heat, grease, steam, and endless on-off cycles. Good news: in many cases, you don’t have to fork out for a whole new unit. Extractor fans can often be repaired, and the fix might be simpler than you think.
What usually goes wrong? The most common culprits are built-up grease, worn-out switches, dodgy wiring, or clogged filters. Sometimes it’s nothing a little cleaning or a small replacement part won’t fix. Don’t assume the worst—most issues aren’t terminal.
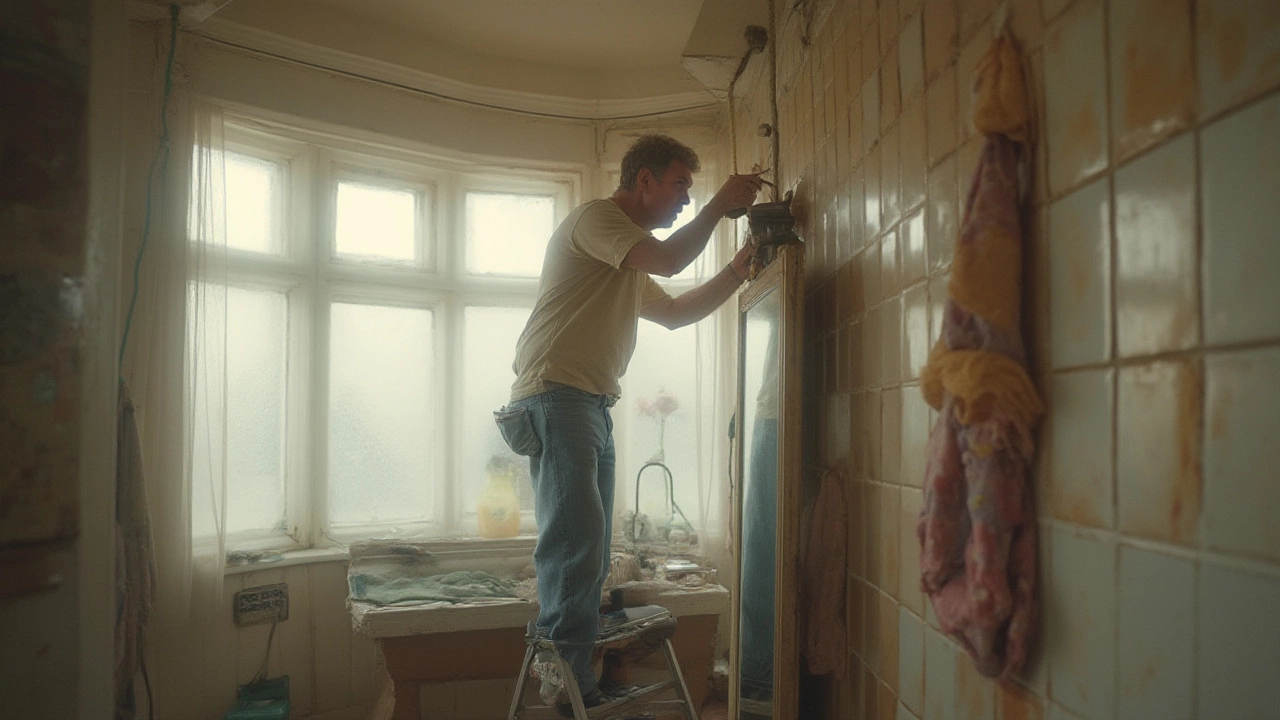
But here’s the trick: finding out what’s wrong is half the battle. Before you panic or start googling for a new fan, take a quick look at the most obvious stuff. Is it plugged in? Did you check the fuse? Sometimes it’s just a loose wire behind the cover or a snapped belt, both of which you or a handy friend can tackle with a screwdriver and patience.
- Why Kitchen Extractor Fans Fail
- Can You Fix It Yourself?
- Parts That Are Usually Repairable
- When to Call for Backup
- What Repairs Usually Cost
- How to Prevent Future Breakdowns
Why Kitchen Extractor Fans Fail
Kitchen extractor fans put in a lot more work than most people realize. Between cooking grease, humidity, dust, and the odd spaghetti explosion, it’s no wonder things eventually go sideways. Let’s break down the top reasons your fan might call it quits.
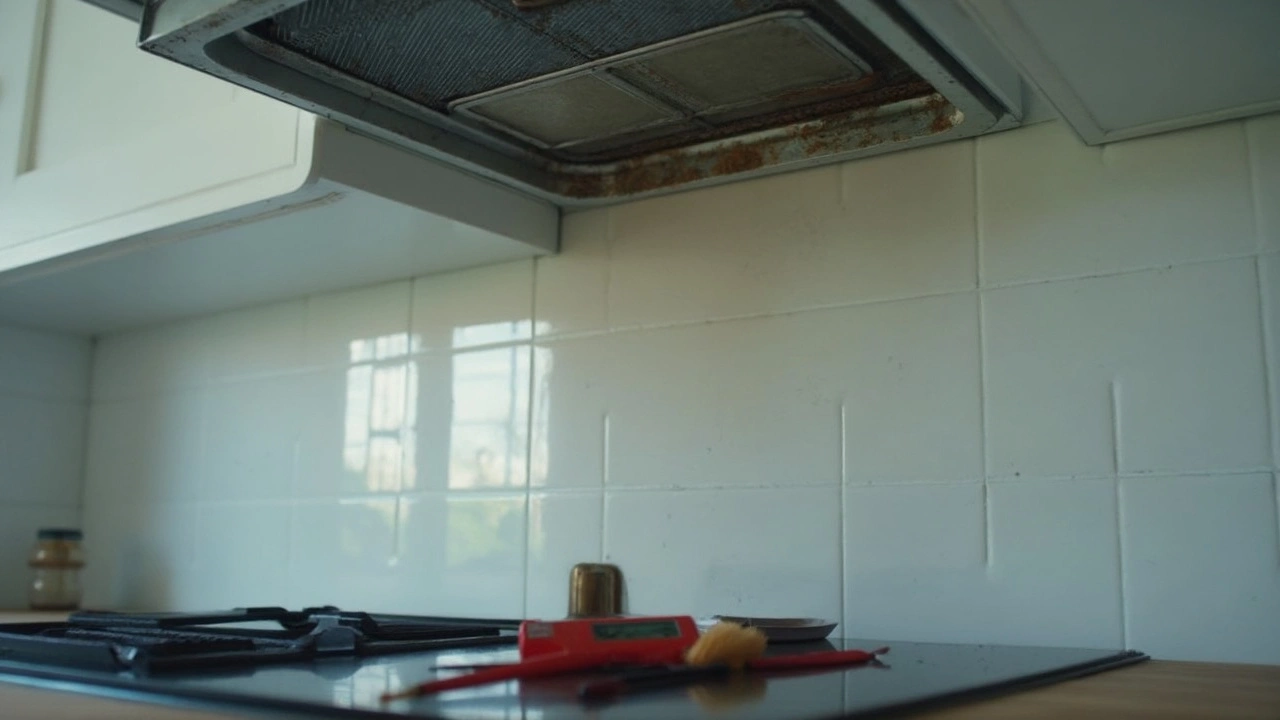
- Grease Buildup: Most fans suck up greasy air, and after a while, all that gunk coats the motor and blades. This slows things down and can even cause the fan to seize up.
- Blocked Filters: All those metal mesh or carbon filters are meant to trap particles, but if you don’t clean or swap them often, airflow drops fast and the fan strains until something snaps.
- Worn-Out Motor: Motors aren’t built to last forever—kitchen heat and constant use wear them down, leading to sluggish speed or a complete stop.
- Electrical Issues: Loose wires, dodgy switches, or blown fuses shut things down quickly. Sometimes you get lucky, and just reconnecting a wire or swapping a fuse gets things spinning again.
- Broken Switches & Controls: Buttons and dials see daily action. If they stop responding, your fan is practically useless even if the rest is fine.
Check out how often these issues pop up among common kitchen fan problems:
| Issue | Frequency (%) |
|---|---|
| Grease buildup | 45 |
| Blocked filters | 30 |
| Faulty motor | 12 |
| Electrical issues | 8 |
| Broken switches | 5 |
It’s easy to see that cleaning and basic upkeep would prevent most kitchen extractor fan failures. That said, even if you end up with a dead motor, don’t throw in the towel. Plenty of these problems can still be fixed with the right approach—and sometimes those repairs cost way less than buying a new fan.
Can You Fix It Yourself?
Let’s get real: a lot of kitchen extractor fan problems are pretty simple to fix at home, especially the obvious stuff. If you can use a screwdriver and follow basic safety steps, you don’t need to be an electrician to solve most issues. Still, it pays to know exactly what you’re messing with before you start.
The first things to look for? Power and dirt. If your fan isn’t running, check that it’s actually getting electricity (some have a separate switch or fuse). Then, take a peek at the fan blades and filters—if they’re caked with years of grease and dust, cleaning them out with warm soapy water or degreaser can work wonders. According to a 2024 home repair survey, about 47% of extractor fans could be restored just by cleaning.
- Unplug or switch off the power before poking around.
- Take off the cover—usually just a couple screws.
- Clean blades and surrounding area. Grease build-up can easily jam things up.
- Check for any loose wires or obvious broken parts.
- If the switch is dodgy, replacement switches sold online are easy to fit for most models.
- Replace disposable filters and wipe down permanent mesh ones.
Don’t waste time – if there are sparks, a burning smell, or melted wires, skip the DIY and call a professional. Also, if you’ve got a ducted fan and you’re hearing weird noises in the ductwork, animals or big blockages aren’t a beginner job.
When it comes to fixing the extractor fan repair tasks most people tackle themselves, here’s how things break down:
| DIY Task | Success Rate (%) | Average Time Needed |
|---|---|---|
| Cleaning blades/filters | 85 | 30 minutes |
| Replacing switch | 70 | 20 minutes |
| Tightening connections | 60 | 15 minutes |
| Replacing fuse | 95 | 5 minutes |
If your fan hums or tries to start but the blades don’t spin, a stuck spindle or worn-out capacitor could be the issue. Lubricating the spindle can sometimes get things going again, but if that doesn’t work, it might be time to price up a new motor or call an expert. Just remember: never risk your safety for the sake of saving a bit of cash.
Parts That Are Usually Repairable
If you’re wondering what you can actually fix on your kitchen extractor fan, there’s some good news: quite a few parts are made to be swapped out or cleaned up. Manufacturers know these things work in tough conditions, so they keep repair in mind—at least for the stuff that wears out quickest.
Here’s a rundown of the most common parts you can tackle on your own:
- Fan blades: Over time, blades collect grease and grime. These often just need cleaning—bake them in soapy water or use a degreaser. If a blade cracks or bends, replacements are usually available from the manufacturer or online.
- Switches and buttons: These go bad with all the on-off action. If your fan doesn’t turn on, the switch is a suspect. Switches are cheap and usually easy to swap out.
- Filters: Charcoal and mesh filters clog up fast. Most pop right out for cleaning or replacement. If your kitchen smells like last week’s curry even after you run the fan, check the filter first.
- Wiring and connectors: Sometimes a loose wire or burnt connector causes trouble. If you’re handy with a screwdriver and have killed the power, you can reattach a wire or replace a connector block in under 10 minutes.
- Fan motor capacitor: If the fan hums but won’t spin, the capacitor often needs replacing. This is a cheap fix for most models (usually under £10 in the UK) and doesn’t need fancy tools.
To help you get a sense of what’s most likely to fail (and most straightforward to repair), check out this quick table:
| Part | Fix or Replace? | Average DIY Time (mins) | Common Cost (£) |
|---|---|---|---|
| Fan Blade | Clean/Replace | 10-20 | 5-20 |
| Switch/Buttons | Replace | 10 | 3-10 |
| Filter | Clean/Replace | 5-10 | 5-15 |
| Wiring | Reconnect | 5-15 | 0-5 |
| Capacitor | Replace | 15-25 | 5-10 |
The trick is knowing your limits. Anything above basic wiring or messing with the motor itself—save that for a pro. But the rest? With the right part and a bit of patience, you'll likely save cash and have your extractor fan humming again.
When to Call for Backup
So you’ve tried unplugging, cleaning, and swapping out fuses—yet your extractor fan is still not running right. Sometimes, it’s not worth the headache (or the risk) to keep tinkering on your own. Here’s when it makes sense to call in a pro.
If you smell burning, spot any melted wires, or your fuse keeps blowing, stop immediately. Messing with electrical problems can go from annoying to dangerous pretty quick. Fans linked directly into your home’s electrical circuit, instead of just plugged into an outlet, need a trained electrician. Even pros admit that rewiring or replacing circuit boards isn’t a simple DIY task.
Noisy motors that still run could mean worn ball bearings or a failing motor, both of which are best handed off to someone with the right tools. Attempting to take a motor apart yourself can end up costing more if something else gets damaged in the process. If you have a high-end or integrated kitchen hood, parts are often trickier to access and replacements might need special ordering. Major repairs may be more cost-effective than a full replacement, especially on pricier models.
If you’re still unsure, here are some clear signs it’s time to call for help:
- The fan makes loud grinding, knocking, or rattling noises that don’t stop after cleaning.
- You can’t spot or safely reach the faulty part.
- There’s a burning smell, smoke, or visible scorch marks near the fan.
- The extractor fan repair costs you find seem close to the price of a new one, but your fan is built-in or expensive.
- It’s part of a complicated ventilation system—like those with outside ducting or heat sensors.
Wondering how often folks actually call for pros? Recent UK data shows about 27% of kitchen extractor fan issues end up needing an expert, mostly because of electrical faults or motor failures. And many repairs, like swapping out a faulty control board, often cost between £80-£150, while full motor replacements can nudge higher for premium models.
| Problem | DIY Possible? | Average Pro Cost (£) |
|---|---|---|
| Dirty Filters/Minor Blockages | Yes | 20–50 |
| Electrical Faults | No | 80–150 |
| Motor Replacement | No | 120–200 |
| Control Panel Issues | Maybe | 90–160 |
One last tip: if your extractor fan is still under warranty, don’t touch it yourself. DIY repairs can void most warranties, so always check your paperwork first.
What Repairs Usually Cost
Here’s the million-dollar question—how much is it really going to set you back if your kitchen extractor fan breaks? The good news: it’s often less than buying a new one. Repair prices can swing a lot based on the part that failed, your location, and whether you bring in a specialist or tackle it yourself. Let’s break it down so you know what to expect.
The most common fixes are usually pretty affordable. Cleaning out a greasy fan or swapping a filter can cost nothing more than your time and maybe $10–$20 for supplies. More involved repairs, like a blown switch or a broken fan motor, will obviously cost more, especially if you’re hiring help. Most electricians or appliance repair techs will charge a call-out fee, typically $60–$100, which sometimes covers the first hour of labor.
Actual repair costs for common issues:
| Problem | DIY Cost Range | Pro Repair Cost |
|---|---|---|
| Basic clean/grease removal | $0–$20 | $60–$120 |
| Replace switch | $10–$30 | $80–$140 |
| New filter | $10–$40 | $50–$100 |
| Replace motor | $25–$60 | $120–$250 |
| Fix faulty wiring | $5 (materials only) | $100–$180 |
If your fan is a fancy model with special features, parts can cost more and it might be trickier to repair. Brands like Bosch or Siemens sometimes mean pricier repairs just because the parts can be harder to source.
Here’s a rule of thumb: If the repair is over half the price of a new extractor fan (which, for basic units, start around $80–$150), it’s usually smarter to buy new. Don’t be shy—grab a quote before anyone starts work.
One last tip: be clear with anyone you hire. Tell them exactly what’s going wrong. If all you need is a deep clean or a extractor fan repair, there’s no need to pay for extras you don’t need.
How to Prevent Future Breakdowns
Keeping your kitchen extractor fan running smoothly isn't rocket science, but most people forget the basics until things go wrong. The number one reason fans give out early is lack of cleaning—grease buildup is a fan killer. According to a 2023 survey by UK Appliance Repair, nearly 60% of extractor fan breakdowns are just due to clogged filters and dirty blades.
- Clean the filters every month: Most metal mesh filters can be popped out and tossed in the dishwasher or rinsed in hot soapy water. Carbon filters for recirculating fans need swapping out once or twice a year, depending how much you cook.
- Wipe down the fan blades:
- Check and wipe the vent cover regularly so dust and grease don't jam up the system.
- Run the fan during AND after cooking for at least 10 minutes—that keeps moisture and odor from sticking and helps clear out trapped steam.
- Listen for odd sounds: Grinding or rattling usually means a loose screw or a bent fan blade. Catching it early stops bigger damage.
Also, don’t overload the fan. If you’re frying up a storm every night and the kitchen’s full of steam, try cooking with lids on or opening a window. Make the fan’s job easier—it'll last longer.
Here’s a handy table showing how often you should check or clean different parts to avoid costly extractor fan repairs:
| Part | Task | How Often |
|---|---|---|
| Filters (metal mesh) | Clean | Every 4 weeks |
| Filters (carbon) | Replace | Every 6-12 months |
| Fan blades | Wipe down | Every 8 weeks |
| Vents & duct covers | Clear dust/grease | Every 3 months |
| Wiring & switches | Visual check | Every 6 months |
By keeping up with this simple checklist, your extractor fan repair needs should drop off big time. Ignoring the basics is what pushes most fans to an early grave, but a little regular care does the trick.