DIY Fan Motor Swap
When working with DIY fan motor swap, a do‑it‑yourself replacement of a faulty fan motor in your home ventilation unit. Also known as fan motor replacement, it lets you restore airflow without waiting for a technician.
Understanding the fan motor, the electric component that drives the blades of an extractor or ceiling fan. These motors come in AC or DC versions, range from 30 W to 200 W, and often include a built‑in capacitor. Knowing the motor’s voltage (usually 120 V or 230 V) and shaft size (commonly 5 mm or 6 mm) helps you pick the right replacement. A mismatch in power rating can overheat the unit, while the wrong shaft size prevents proper coupling. Most home fans use a single‑phase induction motor, but some modern appliances switch to brushless DC for quieter operation.
Why tackle a fan motor swap yourself?
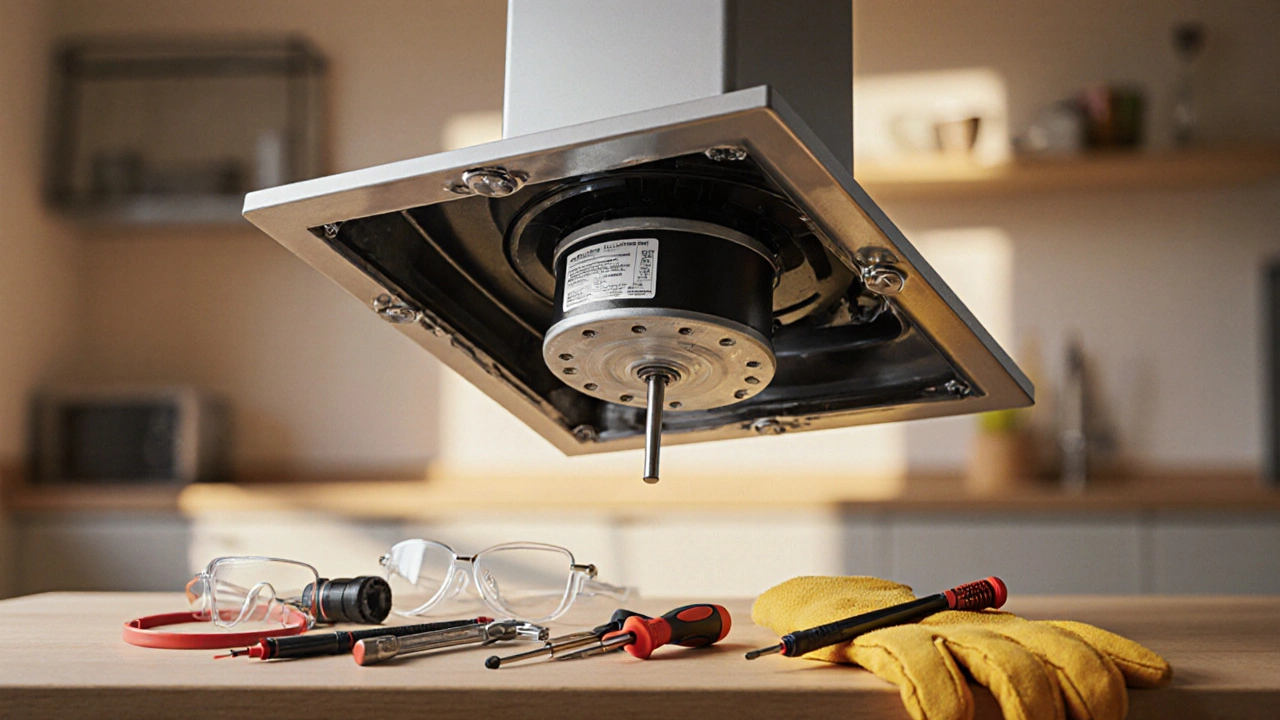
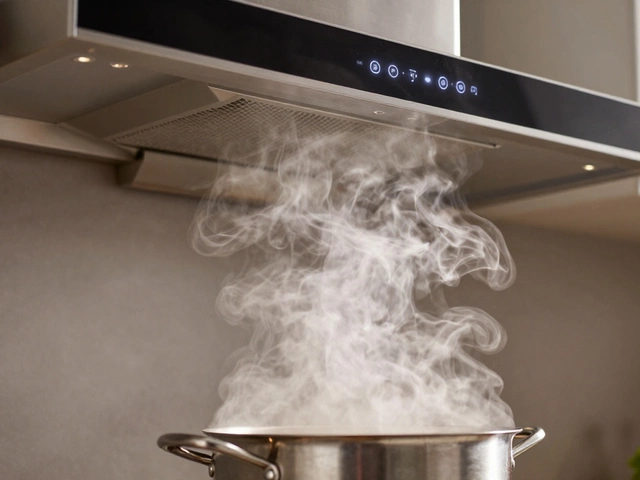
The extractor fan, a ventilation device that pulls moist or smoky air out of kitchens and bathrooms is a key part of indoor air quality. When the motor fails, you notice reduced suction, unusual noises, or the fan simply won’t start. Replacing the motor restores the fan’s airflow, cuts down on humidity, and can prevent mold growth. The job usually needs only a screwdriver, a wrench, and a basic multimeter. Safety gear—like goggles and insulated gloves—keeps you protected from accidental sparks or sharp edges.
Before you start, gather these essentials: electric screwdriver, wire cutters, a reusable connector kit, and a voltage tester. First, disconnect power at the circuit breaker to avoid shock. Then, remove the fan’s outer cover—most are held by two or three screws. Note how the existing motor wires connect; taking a quick photo helps you replicate the wiring later. Unscrew the motor mounting bracket, pull the old motor out, and compare it with your new unit. Align the shaft, secure the bracket, and reconnect wires following the same color code (typically black to live, white to neutral, green to ground). Finally, replace the cover, restore power, and test the fan at low speed before running it full blast.Those steps cover the core of a DIY fan motor swap, but every model has quirks. Some fans hide the motor behind a sealed housing, requiring a drill to access the mounting plate. Others use a snap‑fit connector instead of screw terminals, meaning you’ll need a small flathead to release it. If you run into rusted screws, apply a little penetrating oil and let it sit for five minutes before turning. Remember to check the fan’s balance after reassembly; a wobbling blade can cause premature wear.
Now that you know what a fan motor swap entails, the tools you’ll need, and the safety measures to follow, you’re ready to dive into the detailed articles below. They cover everything from diagnosing a noisy extractor fan to choosing the right replacement motor, giving you the confidence to fix your ventilation system without a call‑out.
Learn how to safely replace an extractor fan motor yourself. Step‑by‑step guide, tools list, motor types comparison, safety tips, and troubleshooting advice.