Extractor Fan Motor Compatibility Checker
Find Compatible Motor Options
Enter your fan's motor specifications to determine if a replacement motor will work safely and effectively.
Wondering whether you can swap out the motor in your extractor fan? The short answer is yes - most residential fans are built so the motor can be pulled out and a fresh one bolted in. The trick is knowing which motor you need, gathering the right tools, and following a safe step‑by‑step process.
What is an extractor fan motor?
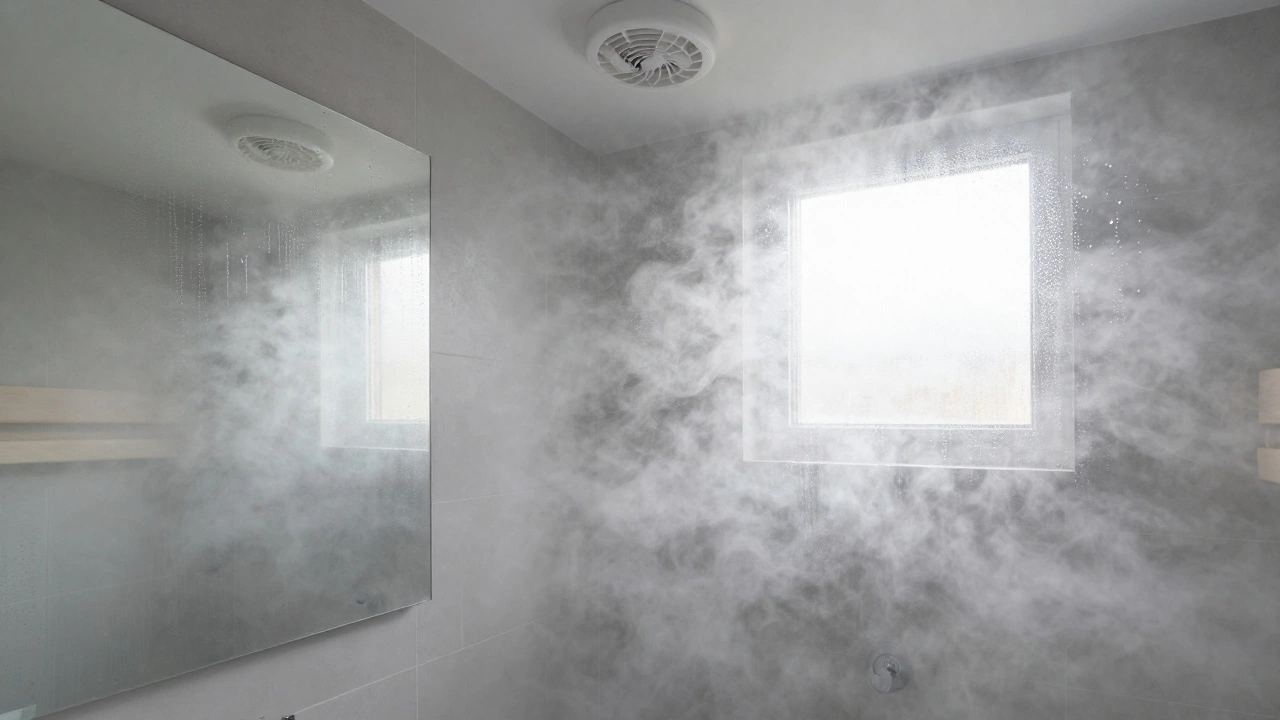
Extractor Fan Motor is the electromechanical component that drives the blades of a kitchen or bathroom extractor fan, moving stale air out through the vent. It’s usually a small AC motor rated between 30‑80 W, mounted inside the fan housing. Because the motor is the only moving part, a failure usually means a noisy fan, no airflow, or a motor that hums without turning the blades.
Can you replace it yourself?
Most modern extractors are designed for DIY service. Manufacturers provide part numbers for replacement motors, and the housing typically unscrews or clips apart. The only situations where you might want a professional are:
- If the fan is hard‑wired into a commercial‑grade ventilation system.
- If the housing is sealed with permanent fasteners that require special tools.
- If you’re uncomfortable working with mains electricity.
For a typical residential ceiling or wall‑mounted fan, you can safely replace the motor in an afternoon.
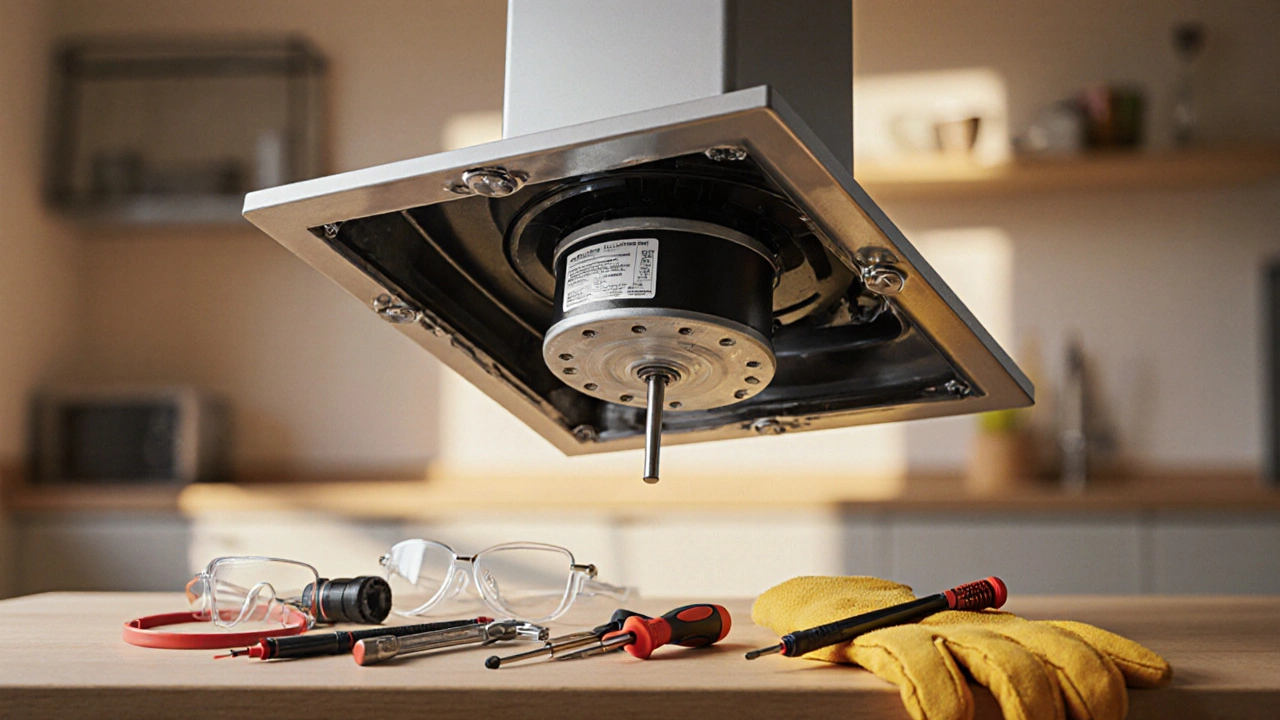
Tools and parts you’ll need
- Replacement motor (exact model or compatible equivalent).
- Phillips and flat‑head screwdrivers.
- Adjustable wrench or socket set (most fans use 6‑mm or 8‑mm bolts).
- Multimeter for confirming power is off.
- Utility knife or wire stripper.
- New mounting screws (optional, in case old ones are corroded).
- Safety glasses and insulated gloves.
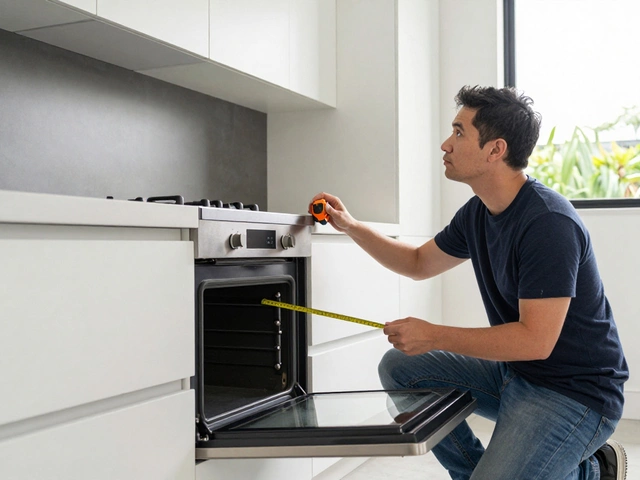
Identifying the right motor
First, turn the fan off at the wall switch and unplug it if it has a detachable power cord. Remove the outer grille - most are held by a few screws or spring clips. With the grille off, you’ll see the motor mounted on a metal bracket.
Look for a label on the motor housing. It typically includes:
- Manufacturer name (e.g., Vent-Axia or Broan).
- Model number (e.g., “VF‑150” or “B‑500”).
- Voltage and frequency (120 V / 50‑60 Hz in NZ).
- Power rating (e.g., 45 W).
Take a photo of the label and use it to search the manufacturer’s website or a local hardware store for the exact replacement.
Step‑by‑step motor replacement
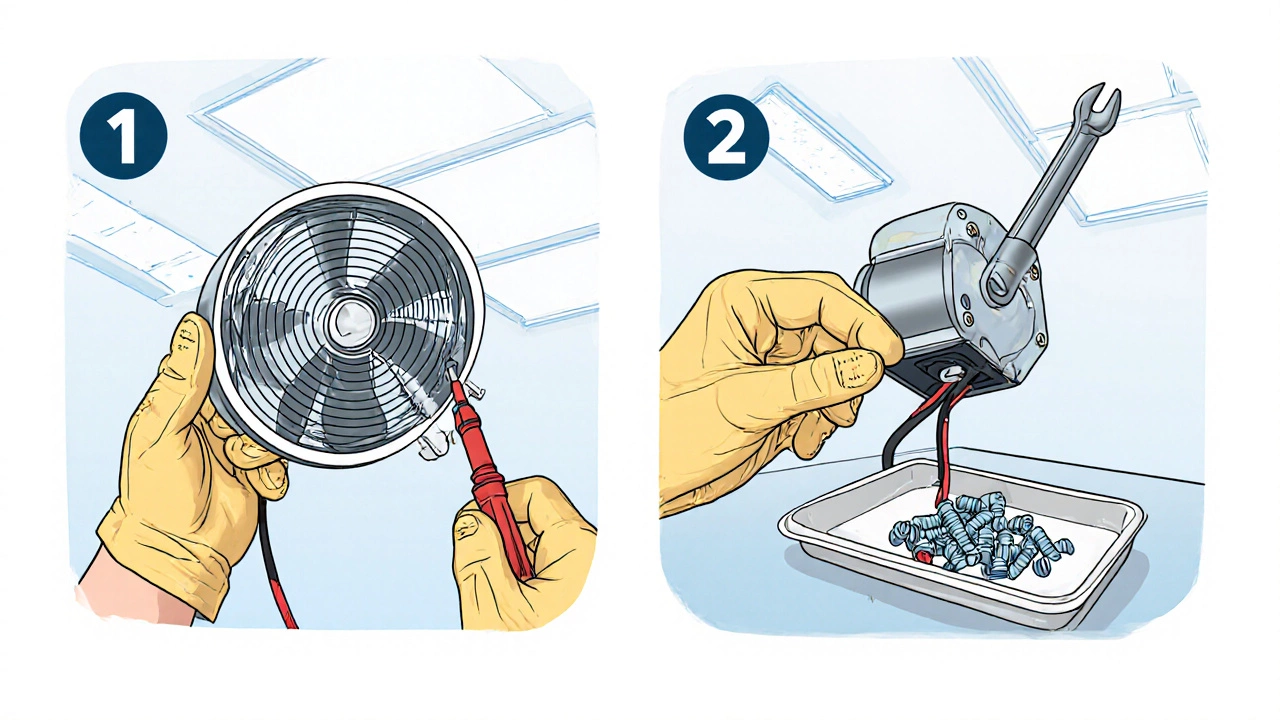
- Cut the power. Switch off the circuit breaker that feeds the fan. Use a multimeter on the fan’s wiring to confirm there’s no voltage.
- Remove the fan housing. Unscrew or release the clips that hold the outer housing. Some fans have a single screw at the top and two at the bottom.
- Disconnect the wiring. Most motors have a three‑wire connector (live, neutral, earth). Press the release tab and pull the plug apart. If it’s soldered, gently heat the joint with a soldering iron and wipe the solder with a desoldering wick.
- Unbolt the motor. Using the appropriate wrench, remove the mounting bolts. Keep them handy - you’ll need them for the new motor.
- Take the old motor out. Slide it free from the bracket. Note the orientation of the shaft; this ensures the new motor spins the blades in the correct direction.
- Fit the new motor. Align the shaft with the fan blade hub, insert the motor into the bracket, and tighten the mounting bolts. Re‑attach the wiring connector, matching live, neutral, and earth to the same pins.
- Reassemble the housing. Snap the outer cover back on, reinstall any screws, and make sure the grille sits flush.
- Restore power and test. Turn the breaker back on and flip the fan switch. You should hear the motor start smoothly and feel airflow from the vent. If the fan is noisy or stalls, double‑check the wiring and motor orientation.
That’s it - you’ve replaced the motor.
Common motor types - quick comparison
| Type | Voltage | Power (W) | Typical lifespan | Noise level (dB) |
|---|---|---|---|---|
| AC shaded‑pole | 120 V | 30‑45 | 5‑7 years | 40‑50 |
| EC (electronically commutated) | 120 V | 20‑30 | 8‑10 years | 35‑45 |
| DC brushless | 12‑24 V (low‑voltage adapters) | 15‑25 | 10‑12 years | 30‑40 |
Safety tips you can’t skip
- Always disconnect power. Even if the switch feels off, the fan may still be live through a switched‑off light circuit.
- Wear insulated gloves. This prevents accidental shocks when handling wires.
- Check for damaged wiring. Replace any frayed or discolored insulation before reinstalling the motor.
- Secure the housing. A loose fan can vibrate, causing new motor wear or ceiling damage.
- Dispose of the old motor responsibly. Many councils accept small electric motors for recycling.
What to do if the fan still doesn’t work
After a successful motor swap, the fan should run silently. If you still get no airflow, try these quick checks:
- Blade alignment. The blades must be free to spin; a bent blade can jam the motor.
- Vent blockage. Dust or grease can clog the duct. Vacuum the vent opening from the outside if needed.
- Wiring mistake. Verify that the live and neutral wires aren’t swapped; reverse polarity can prevent startup.
- Faulty new motor. Occasionally, a replacement arrives dead. Test it with a multimeter for continuity before reinstalling.
If none of these solve the issue, the problem may be upstream - a faulty switch, a burnt‑out capacitor (in some EC motors), or a damaged control board. At that point, it’s worth calling a qualified electrician.
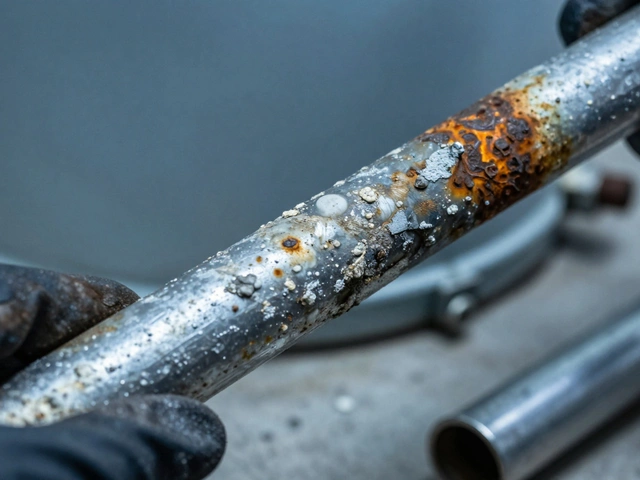
When to consider a full fan replacement
Replacing the motor makes sense if the housing, blades, and ductwork are in good shape. However, if you notice any of these signs, a full unit swap might be cheaper in the long run:
- Corroded metal housing or rusted screws.
- Cracked or warped fan blades.
- Repeated motor failures within a short period.
- Outdated fan that runs louder than modern equivalents.
Modern fans often come with energy‑saving EC motors, built‑in timers, and even humidity sensors. Upgrading can cut electricity use by up to 30 %.
Quick checklist before you start
- Turn off the circuit breaker.
- Gather all tools and a compatible replacement motor.
- Take a photo of the existing wiring.
- Label the wires if they’re not color‑coded.
- Keep screws and small parts in a labelled container.
- Double‑check motor specifications match the old unit.
Frequently Asked Questions
How do I know if my extractor fan motor is the problem?
If the fan makes a humming sound but the blades don’t turn, or if it’s completely silent when the switch is on, the motor is the likely culprit. A quick test is to remove the housing and spin the motor shaft by hand - it should move freely.
Can I use a motor from a different brand?
Yes, as long as the voltage, power rating, shaft size, and mounting bolt pattern match. Check the old motor’s spec sheet and compare it to the new one before buying.
Do I need a licensed electrician for the wiring?
If the fan is hard‑wired and you’re comfortable using a multimeter and screw terminals, you can do it yourself. However, if the wiring is inside a junction box or you’re unsure about the connections, hire a qualified electrician.
How long should a replacement motor last?
A good quality AC motor typically lasts 5‑7 years under normal kitchen conditions. EC or brush‑less DC motors can reach 10‑12 years.
Is it worth upgrading to an EC motor?
EC motors are more efficient and quieter. If you’re already replacing the motor, swapping to an EC model can reduce energy use and give you a longer service life, especially in high‑humidity kitchens.