When working with DIY gas oven, a home‑cooked appliance that uses gas to generate heat for baking and roasting. Also known as a gas‑fired oven, it combines a fuel source, ignition system, and temperature control. Understanding these parts lets you diagnose problems without guessing, and it makes the whole repair process less stressful.
Key parts you’ll meet while fixing a DIY gas oven
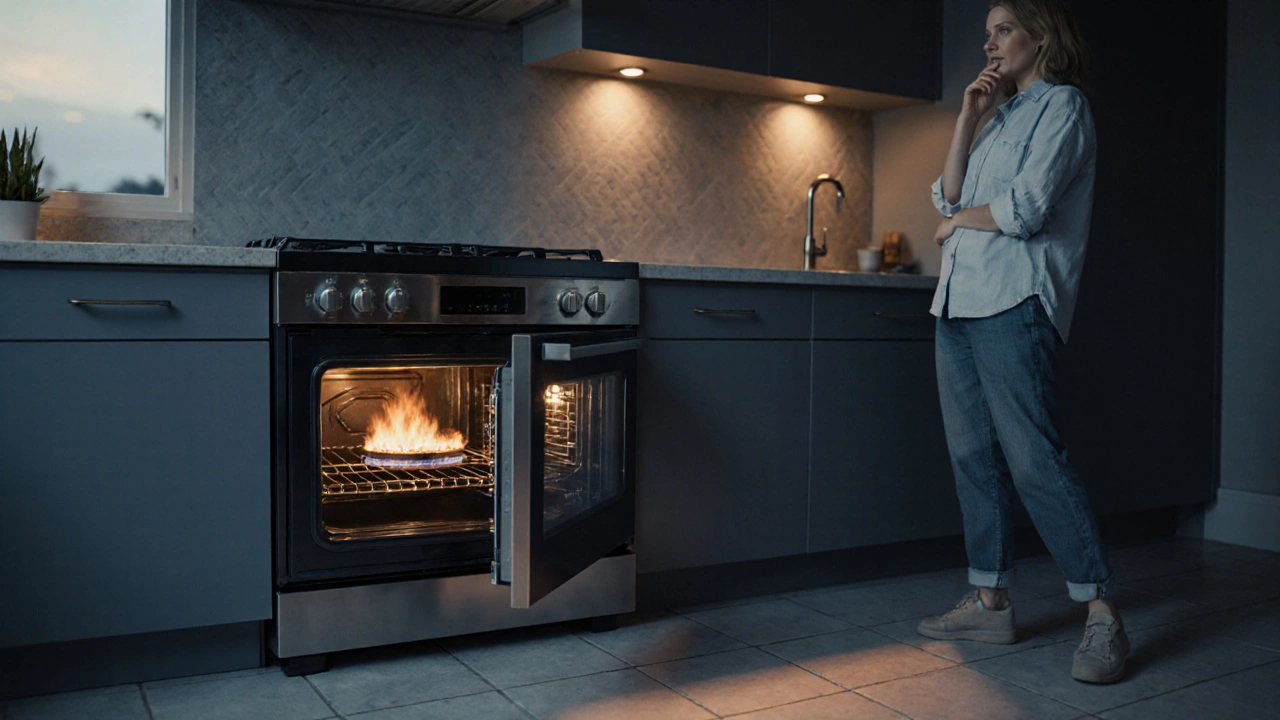
Every gas oven, the main cooking unit that houses the heating chamber and burners relies on a few critical components. The igniter, an electric spark device that lights the gas flow is the heart of the start‑up sequence. If the igniter fails, the oven won’t heat. The thermostat, a temperature sensor that tells the control board when to turn the burner on or off regulates the heat level; a faulty thermostat leads to uneven cooking. Finally, gas safety, procedures and devices that prevent leaks, fire, or carbon‑monoxide buildup is non‑negotiable – you’ll need a leak detector and proper ventilation before any hands‑on work.
DIY gas oven work requires three things: the right tools, a clear step‑by‑step plan, and respect for safety rules. A basic screwdriver set, multimeter, and a gas leak detector are the minimum. Start by unplugging the oven and shutting off the gas valve at the wall. Next, inspect the igniter for cracks; a multimeter will tell you if it’s still conducting. If the igniter looks good, move to the thermostat – test its resistance at room temperature and compare it to the manufacturer’s specs. These checks form a logical chain: a working igniter lets the gas burn, and a functional thermostat keeps the fire steady.
Common pitfalls often involve skipping the safety check or assuming the problem is electrical when it’s actually a gas leak. A faint hissing sound or the smell of gas means you must stop immediately, ventilate the area, and call a qualified engineer. Never force a stuck part; bent pins can damage the control board forever. Keeping a tidy workspace and labeling each screw or connector helps you reassemble correctly, and a quick photo of the wiring before you start pays off when you’re putting things back together.
Below you’ll find a curated set of articles that walk you through each of these steps in detail. From diagnosing a faulty igniter to understanding when a professional is needed, the collection covers the full range of DIY gas oven repair topics. Dive in, pick the guide that matches your current challenge, and you’ll be back to baking in no time.