DIY Repairs: Hands‑On Fixes for Appliances, Ovens, Boilers & More
When working with DIY repairs, the practice of fixing household devices yourself using basic tools and safety steps. Also known as do‑it‑yourself repairs, it lets you cut costs and extend the life of everyday gear. DIY repairs can feel intimidating, but the right guidance turns a daunting chore into a confidence‑boosting project.
Why appliancea device that performs a household function using electricity or gas maintenance matters
Every appliance you own is a small piece of engineering. When you tinker, you’re not just fixing a fault – you’re improving energy efficiency and avoiding unnecessary waste. DIY repairs encompass troubleshooting, part replacement, and routine cleaning, all of which keep your kitchen and laundry humming. The more you know, the better you can judge whether a repair or a replacement makes sense.
The next logical step is to look at the most common kitchen workhorse – the oven, a built‑in or stand‑alone unit that cooks food using heat generated by electricity or gas. Oven problems often show up as uneven heating, error codes or a blank display. By checking heating elements, thermostats or igniters, you can usually fix the issue for a fraction of a professional’s fee. Remember, a functioning oven saves both time and energy on meals.
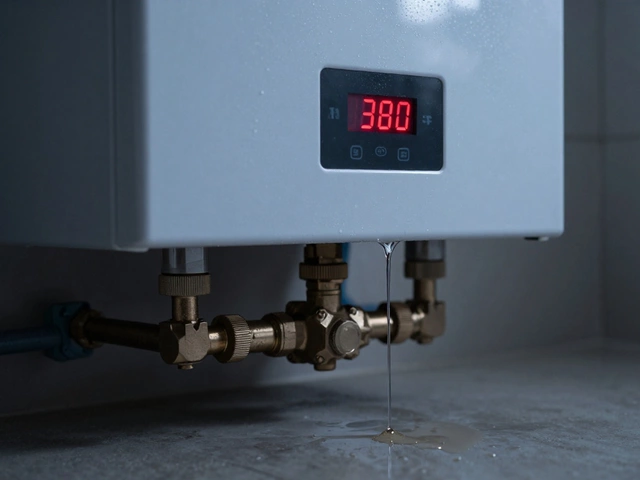
Moving beyond the kitchen, the boiler, a system that heats water for central heating and hot‑water supply is another hotspot for DIY attention. A leaking valve, low pressure warning or strange noises often have simple fixes like bleeding radiators or resetting the pressure gauge. Tackling these basics not only restores warmth but also prevents costly water damage later.
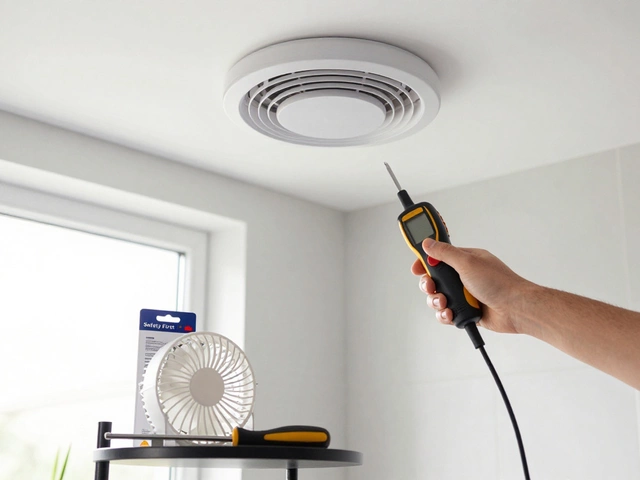
Ventilation matters too, especially when you hear a whirring fan that’s gone silent. The extractor fan, a device that removes steam, odors and moisture from kitchens or bathrooms can clog with grease or suffer from a burnt motor. Cleaning the filter and checking wiring are quick steps that keep indoor air fresh and fire‑risk low.
All these fixes share a common toolkit: a set of screwdrivers, a multimeter, safety gloves and a clear workspace. Safety knowledge is a prerequisite – always turn off power or gas before you start, and use a voltage tester to confirm the circuit is dead. DIY repairs require a blend of curiosity and caution; the former drives you to diagnose, the latter keeps you safe.
When you approach a fault, a systematic troubleshooting mindset saves hours. Start with the obvious – is the device plugged in? Is the fuse blown? Then move to component checks: test heating elements, examine seals, listen for abnormal sounds. This step‑by‑step method helps you isolate the problem, decide on a part swap, and estimate the cost versus buying new.
Sometimes a DIY fix isn’t worth the risk. If you encounter high‑pressure gas lines, sealed refrigerant systems, or complex electronics, it’s smarter to call a qualified engineer. Knowing when to stop is part of the skill set; it protects you from injury and ensures the job is done right the first time.
The collection of articles below dives deeper into each of these areas. You’ll find guides on laptop vs. appliance definitions, oven versus replacement cost analysis, water‑heater checks, freezer ice‑maker troubleshooting, and much more. Whether you’re a beginner looking for simple steps or an experienced homeowner weighing repair versus replacement, the posts give you practical, real‑world advice.
So scroll down and explore the detailed guides – each one is crafted to help you decide, diagnose, and repair with confidence, turning everyday appliance challenges into solved tasks.
This comprehensive guide walks you through the process of fixing a tumble dryer yourself. It covers common issues like faulty heating elements, clogged vents, and problematic drum rotation. By understanding these aspects, you'll gain the skills needed to save money on costly technician visits. Offering safety tips and step-by-step instructions, this article empowers homeowners to tackle these repairs effectively.