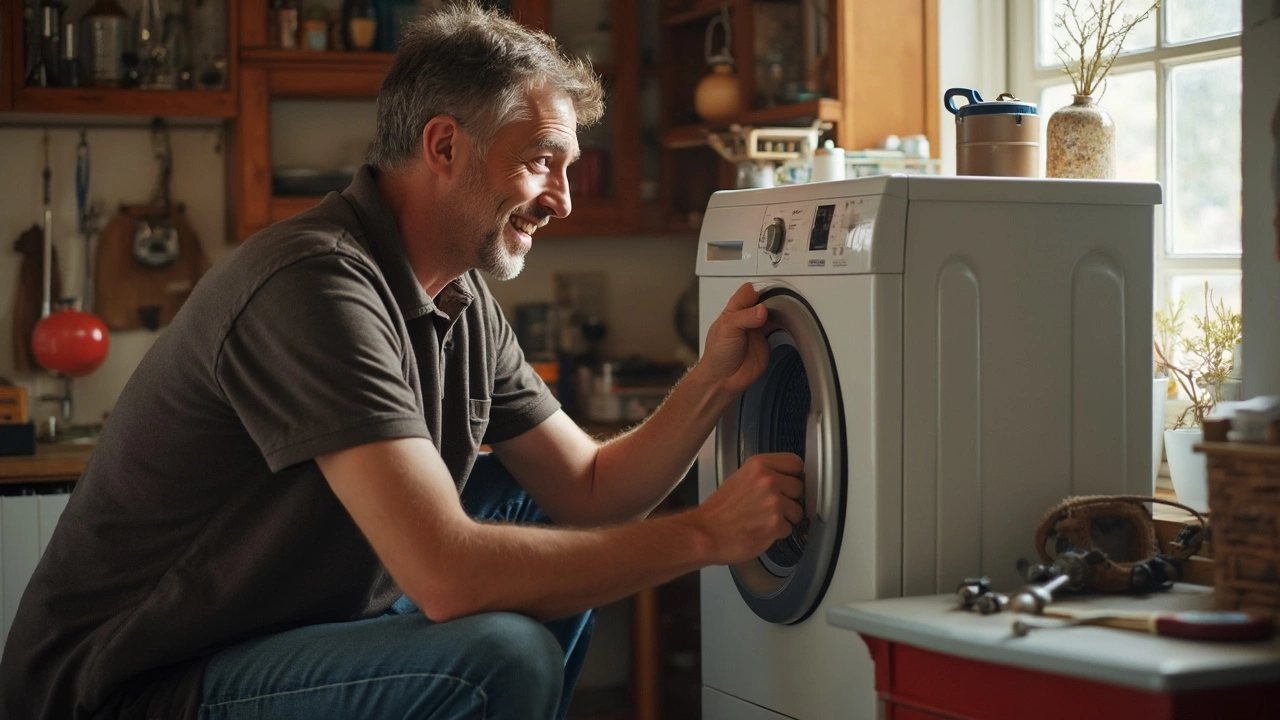
DIY Washing Machine Fix
When working with DIY washing machine fix, the act of troubleshooting and repairing a household washer on your own. Also known as home washer repair, it helps you avoid service calls, extend the appliance’s life, and keep laundry day stress‑free. If you’ve ever stood over a silent drum or a leaky hose, you know the frustration. In the next few minutes we’ll break down what you need to know, why the right tools matter, and which common faults you can tackle without calling a pro.
Know Your Washer Inside Out
The first step in any DIY washing machine fix is to understand the machine you’re dealing with. A typical washing machine, a domestic appliance that agitates, rinses, and spins clothes using water, detergent, and mechanical action, consists of a drum, motor, pump, valve, and a control board. Each component has a clear role: the drum rotates to tumble laundry, the motor provides the power, the pump drains water, and the valve controls water flow. Knowing where these parts sit makes diagnosis faster and reduces the risk of accidental damage. For example, a clogged pump filter often shows up as a slow spin cycle, while a worn belt causes a noisy drum. When you can point to the exact part, you can target the fix instead of swapping out the whole unit.
Another important piece of the puzzle is the appliance’s electrical side. Most modern washers use a combination of sensors and a microcontroller to manage cycles. If a sensor fails, you might see error codes on the display. Understanding that a ‘E‑01’ code often signals a water level sensor issue helps you skip blind guessing and go straight to testing the sensor’s continuity with a multimeter.
This knowledge base creates a semantic link: DIY washing machine fix encompasses washing machine component awareness. By mastering the anatomy, you set the stage for effective repairs.
Appliance Repair Skills You Can Learn Fast
While many people think you need a full‑time technician to service a washer, most appliance repair, the practice of fixing household devices by diagnosing faults and replacing worn parts skills are within reach. Core abilities include reading error codes, safely disconnecting power, and using basic hand tools. Safety comes first: always unplug the machine, shut off the water supply, and wear protective gloves. Once the machine is isolated, you can remove the rear panel to inspect the pump, hoses, and motor.
One common mistake is neglecting to check the lint filter or the water inlet screens. These tiny screens catch debris, and when they’re clogged they mimic a motor failure. Cleaning them is a quick win that restores performance without any part replacement. Another frequent issue is an unbalanced load, which triggers the anti‑vibration system and stops the spin cycle. Re‑arranging the laundry and ensuring the machine sits level often resolves the problem.
From a semantic perspective, appliance repair requires safety awareness and basic tool knowledge. Those two pillars let you move from diagnosis to solution with confidence.
Tools That Turn Guesswork into Precision
Having the right diagnostic tool, equipment such as a multimeter, belt tension gauge, or a flashlight used to identify faults in appliances can mean the difference between a quick fix and a wasted trip to the hardware store. A digital multimeter lets you test voltage at the power cord, continuity across the motor windings, and resistance of the heating element (if you have a combo washer/dryer). For belt‑driven models, a belt tension gauge shows whether the drive belt is too loose, which often causes slipping or squealing noises.
Don’t overlook simple aids like a bucket, towels, and a set of screwdrivers with interchangeable bits. A bucket catches water when you disconnect hoses, preventing a slippery floor. Towels protect you from hot water splashes. And a good screwdriver set lets you remove panels without stripping screws. When you combine these tools with a systematic approach—identify the symptom, locate the related component, test, then replace—you turn a vague problem into a concrete action plan.
Here’s a semantic triple to remember: Successful DIY washing machine fix requires proper diagnostic tools. Keep these items within arm’s reach, and you’ll cut down on trial‑and‑error.
Common Problems and What to Do First
Across the hundreds of posts in our collection, three issues surface repeatedly: no spin, water not draining, and strange noises. Each has a distinct cause and a clear first step.
- No spin: Check the lid switch, verify the motor isn’t jammed, and confirm the drive belt isn’t broken.
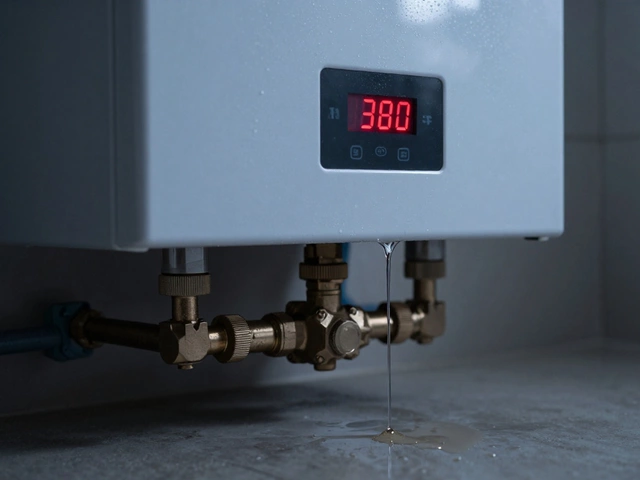
- Water not draining: Inspect the pump filter, clear any debris, and test the pump motor with a multimeter.
- Noise: Look for foreign objects stuck in the drum, examine the drum bearings, and tighten any loose bolts.
By tackling the most likely culprit first, you avoid unnecessary part purchases. This approach also illustrates another semantic relationship:
Understanding common washer problems influences repair outcomes.
Armed with component knowledge, safety habits, and the right tools, you’re ready to move from theory to hands‑on fixes. Below you’ll find a curated list of articles that dive deeper into each symptom, walk you through step‑by‑step diagnostics, and share cost‑effective repair tips. Whether you’re fixing a leaky hose, replacing a broken motor, or simply resetting error codes, the guides ahead will give you the confidence to get the job done without a service call.
Fixing a washing machine on your own might seem daunting, but with the right approach, it's often doable. This article guides you through common issues like drainage problems and leaks, offering practical DIY solutions. With just a few tools and some patience, discover which problems you can tackle and when to call a pro. Say goodbye to expensive repair bills and hello to a handy, budget-friendly solution.