DIY Water Heater Repair Guide
When tackling DIY water heater repair, the practice of fixing your home’s hot‑water system yourself. Also known as self‑service water heater maintenance, it lets homeowners restore hot water without waiting for a technician. This task usually involves a water heater, the appliance that heats water for showers, sinks, and appliances, its thermostat, the component that controls the water temperature, and a safety valve, the pressure‑release device that prevents overheating. Good plumbing, the system of pipes and fittings that delivers water throughout the house skills are also essential.
Most homeowners notice two patterns: no hot water at all, or water that’s either too lukewarm or scalding. DIY water heater repair encompasses diagnosing temperature errors, locating leaks, and resetting safety mechanisms. For example, a faulty thermostat often causes temperature swings, while a stuck safety valve can shut off heating entirely. Understanding how these parts interact lets you target the right fix without needless disassembly.
Tools and Basic Preparation
Before you open the unit, gather a few essential tools: an adjustable wrench for fittings, a multimeter to check electrical continuity, and a screwdriver set for panel removal. These plumbing tools give you control over both the mechanical and electrical sides of the job. Remember, the water heater’s power must be switched off at the breaker and the water supply shut off at the main valve—safety first, always.
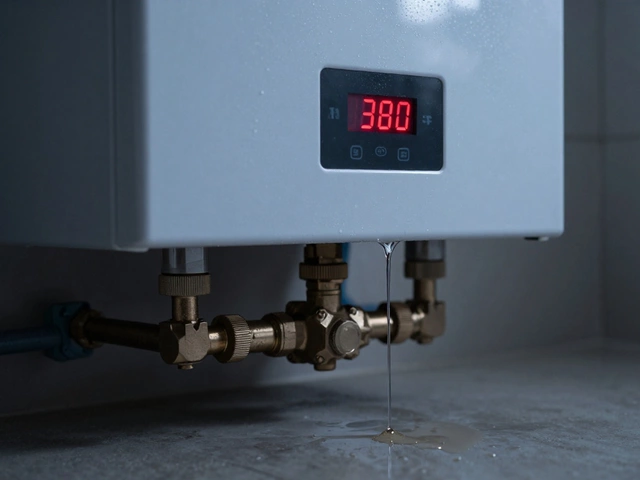
Safety isn’t just about turning off power. Gas‑powered heaters need the gas supply valve closed, and the venting system inspected for blockages. Electric models require checking that the heating element isn’t cracked, which could trigger the safety valve. In both cases the safety valve influences overall performance; a leaking valve often indicates excess pressure and should be replaced before any other work.
Here’s a quick step‑by‑step rundown you can follow: 1) Verify power and water shut‑off. 2) Remove the access panel to expose the thermostat and heating element. 3) Use the multimeter to test the thermostat’s resistance—values outside the manufacturer’s range signal a bad unit. 4) Inspect the safety valve for signs of corrosion or leakage. 5) Tighten any loose pipe connections and replace worn gaskets. 6) Re‑assemble, restore power, and run a short test cycle to confirm hot water returns.
These actions illustrate how DIY water heater repair requires a blend of basic plumbing knowledge, electrical safety awareness, and a willingness to follow the manufacturer’s guidelines. By mastering the common fault points—thermostat glitches, safety valve failures, and simple leaks—you’ll spare yourself pricey service calls and keep the hot water flowing.
Below you’ll find a collection of articles that dive deeper into each of these areas, from diagnosing a cold shower to adjusting thermostat settings and maintaining safety valves. Browse the list to pick the guide that matches the exact issue you’re facing, and you’ll have everything you need to tackle the repair confidently.
Deciding whether to repair your water heater at home can be a daunting choice. This article explores the pros and cons of DIY water heater projects and provides insights into when it might be better to call a professional. Readers will learn the common issues water heaters face and tips on troubleshooting simple problems. Find out if you're equipped to handle the task or if professional help is the better option.