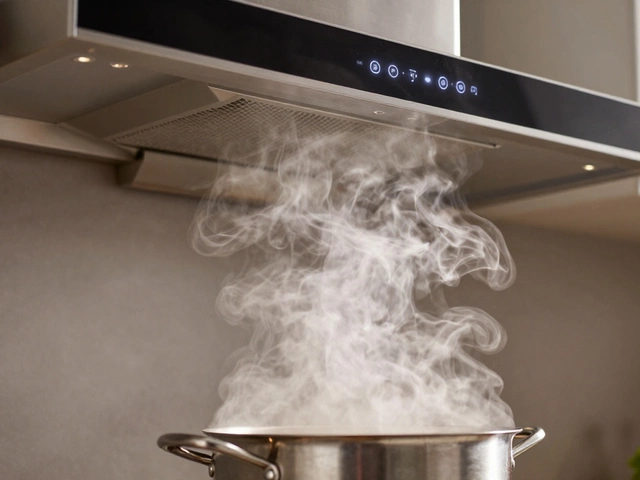
When dealing with dryer troubleshooting, the process of identifying and repairing problems in a home clothes dryer. Also known as dryer repair diagnostics, it saves money and avoids the hassle of a new machine. Understanding the basics lets you tackle most faults without calling a tech.
A dryer is essentially a clothes dryer, a household appliance that removes moisture from laundry using heat and airflow. It works thanks to key components: the lint filter, a mesh screen that traps fibers and debris, the heating element, the metal coil that generates hot air, the dryer vent, the duct that carries moist air outside, and the moisture sensor, a device that detects damp clothes and adjusts cycle length. Each part can cause a specific symptom, so checking them in order makes the job simple.
Why Most Problems Come Down to Airflow
Dryer troubleshooting often starts with airflow because a blocked path reduces heat efficiency. If the lint filter is clogged, the dryer will overheat and shut off. Likewise, a kinked vent or a build‑up of lint inside the duct forces the motor to work harder, leading to high‑temperature warnings. In short, proper airflow is the foundation of a healthy dryer.
Next, test the heating element. When a dryer runs but the drum stays cold, the element is usually broken or its connections are loose. You can unplug the machine, remove the back panel, and use a multimeter to check continuity. A failed element means no hot air, which the sensor will interpret as a damp load and keep the cycle running forever.
Another frequent culprit is the moisture sensor. Over time, sensor bars can get coated with fabric softener residue, causing false readings. A quick wipe with rubbing alcohol restores accuracy and prevents endless cycles that waste energy.
Finally, don’t overlook the drum belt. If the drum doesn’t turn, the dryer may still heat, but clothes stay wet. A broken belt is easy to spot – you’ll hear a thumping noise and feel a lack of movement. Replacing the belt restores rotation and completes the drying process.
Putting these steps together creates a clear diagnostic path: check airflow first, then heat, then sensors, and finally mechanical motion. This logical flow mirrors the semantic triple “Dryer troubleshooting requires checking the lint filter”, “Effective dryer troubleshooting involves inspecting the dryer vent”, and “A faulty heating element stops a dryer from heating”.
When you follow this order, you cut down on guesswork and avoid unnecessary part purchases. For example, many homeowners replace a heating element prematurely, when a simple vent cleaning would have solved the issue. By understanding how each component interacts, you make smarter repair decisions.
Now that you know the key parts and the typical sequence, you’ll be able to spot whether the problem is a minor clean‑up or a part that truly needs replacement. This knowledge also helps you communicate clearly with a professional if you decide a technician is required – you’ll know exactly what you’ve already tried.
Below you’ll find a curated list of articles that dive deeper into each of these areas. From step‑by‑step guides on cleaning dryer vents to detailed instructions on testing heating elements, the collection covers every angle of dryer troubleshooting. Whether you’re a first‑time fixer or a seasoned DIYer, the posts will give you actionable tips to get your dryer back in shape quickly.
Ready to roll up your sleeves? Browse the articles ahead and start solving those drying woes today.
Considering whether fixing your ten-year-old dryer is the right choice can be puzzling. Age, cost of repairs, and current efficiency are key factors. Sometimes, repairing could be a wise investment, but learning about potential issues and costs can guide you. This article offers insights into evaluating the feasibility of repairing an older dryer.