Electric Oven Not Heating
When dealing with electric oven not heating, a condition where the oven fails to reach the set temperature or stays completely cold. Also known as oven won’t heat, this issue often points to a fault in one of the core components. Understanding the role of the heating element, the metal coil that converts electricity into heat, the thermostat, the sensor that tells the oven when to stop heating, or the control board, the electronic brain that coordinates temperature cycles helps you pinpoint the problem fast.
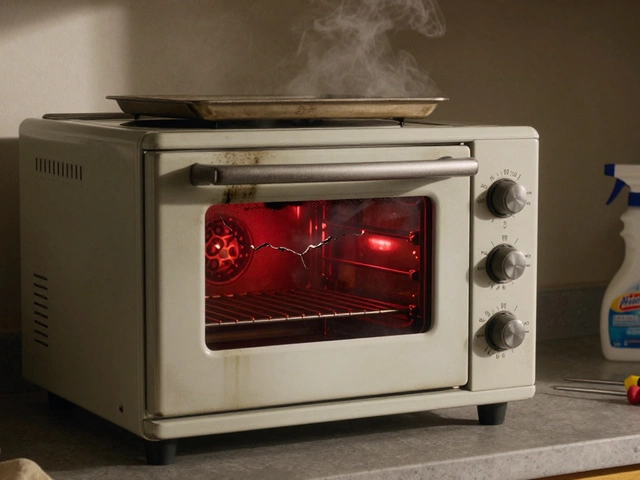
Most homeowners notice the symptom first: the oven still displays a temperature, but the interior stays lukewarm. That mismatch usually means the heating element is broken, the thermostat is sending the wrong signal, or the control board isn’t powering the element at all. Electric oven not heating can also stem from a simple power issue like a tripped breaker or a loose cord, but those are quick checks before you start opening panels.
Key Components to Check
The heating element is the heart of any electric oven. It’s a resistive coil that gets hot when electricity flows through it. If the coil is burnt out or has a broken connection, the oven won’t produce heat. Using a multimeter, you can test continuity; no continuity means the element needs replacement.
The thermostat monitors the oven’s temperature. A faulty thermostat may think the oven is already at the set point, shutting off the element prematurely. Again, a multimeter can reveal whether the thermostat’s resistance changes as the temperature rises. If it stays constant, the thermostat is likely bad.
Modern ovens rely on a control board to interpret thermostat data and regulate power to the element. A damaged board can send no signal at all, leaving the element dead. Visual signs include burnt spots, swollen capacitors, or loose wires.
Don’t overlook the power supply. A tripped circuit breaker, blown fuse, or a loose plug can mimic component failure. Reset the breaker, check the outlet with a voltage tester, and ensure the oven’s power cord is firmly seated.
When you’ve identified the faulty part, replacement is usually straightforward. Heating elements and thermostats are sold as OEM or aftermarket parts and often come with simple installation guides. For a control board, it’s best to call a qualified technician because soldered connections and safety certifications are involved.
If you’re comfortable with DIY, safety first: disconnect power at the breaker, verify no voltage with a tester, and label wires before removal. Re‑install the new part, re‑connect the power, and run a quick test cycle. Most users see the oven heat up within minutes if the right component was swapped.
Even after a successful repair, routine maintenance can prevent future failures. Keep the oven interior clean, wipe away spills promptly, and avoid using abrasive cleaners that might damage the element coating. Periodically inspect the oven’s cord and plug for wear.
Our collection below covers everything from detailed troubleshooting steps to cost‑benefit analyses of repairing versus replacing an old oven. Whether you’re looking for a quick DIY fix or need to decide if a brand‑new unit makes more sense, the articles ahead give you the facts, numbers, and practical tips you need.
Ready to dive deeper? Browse the posts below to see exact diagnostic procedures, price comparisons, and safety considerations that will help you get your oven back in action without guesswork.


