Fan Motor Replacement: When and How to Fix Your Extractor Fan
When your fan motor replacement, the process of swapping out the worn-out motor inside an extractor fan to restore airflow and reduce noise. Also known as extractor fan motor repair, it’s one of the most common fixes for kitchen and bathroom ventilation systems that have started to sound like a dying vacuum. Most people ignore the quiet whine at first—until the fan stops pulling air altogether. That’s when you realize the motor’s not just tired, it’s done.
A extractor fan motor, the spinning component inside a ventilation fan that drives the blades to remove steam, smoke, and odors doesn’t last forever. In kitchens, it’s constantly working under heat and grease. In bathrooms, it battles moisture and mold. Over time, bearings wear out, windings overheat, or dust clogs the rotor. You’ll notice it first by the noise—a grinding, rattling, or high-pitched whine. Then comes the weak airflow. Sometimes, the fan won’t even turn on. These aren’t signs of a broken switch or a bad fuse—they’re classic symptoms of a failing motor.
You don’t always need to replace the whole fan unit. A DIY fan motor swap, a straightforward repair where you remove the old motor and install a new one using basic tools can save you hundreds. Most motors are held in by two or three screws, plug into a standard connector, and cost less than £40. The trick is matching the voltage, RPM, and mounting holes. Take the old motor with you to the store. Or snap a photo of the label—it usually lists size, wattage, and rotation direction. If you’re unsure, a local appliance technician can help you pick the right one. But if you’ve ever changed a light bulb or tightened a screw, you can handle this.
Some folks jump straight to buying a new extractor fan. But unless the housing is cracked, the grille is rusted, or the wiring is fried, replacing just the motor makes more sense. It’s faster, cheaper, and greener. You’re not tossing out a perfectly good housing and fan blades—just the part that actually wears out. And in many cases, the new motor will last longer than the original because modern ones are built with better bearings and sealed against moisture.
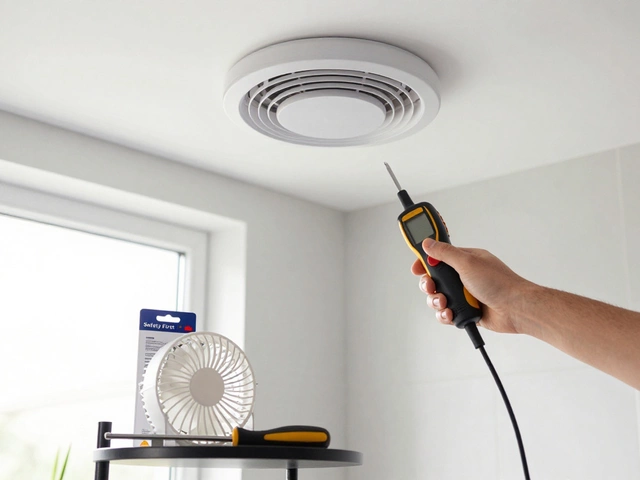
Before you start, turn off the power at the breaker. That’s not optional. Even if the switch is off, the wiring behind the fan could still be live. Use a multimeter if you have one, or just play it safe. Once the power’s off, remove the grille, unplug the motor, and unscrew it. Take notes or photos as you go. Reinstalling the new motor is just the reverse. Test it before you put the grille back on—just plug it in briefly to make sure it spins the right way and doesn’t wobble.
This isn’t a job for electricians or plumbers. It’s a simple appliance repair task—exactly the kind we handle every week in Warwick. The posts below cover real cases: how to identify the right motor type, what tools you actually need, why some motors fail faster than others, and how to avoid buying the wrong part. You’ll also find guides on cleaning the fan housing, checking for blockages, and what to do if the new motor still doesn’t work. No fluff. No theory. Just what works.
Exhaust fans can often be repaired instead of replaced. Learn how to diagnose common issues like noisy motors, bad capacitors, and grease buildup - and when to fix it yourself versus calling a pro.