Shower Valve Repair: What Every Homeowner Should Know
When dealing with shower valve repair, the process of fixing or replacing the component that controls water flow and temperature in a shower. Also called a shower faucet fix, it often involves the mixing valve, a device that blends hot and cold water to reach the desired temperature. The plumbing, the network of pipes, fittings, and fixtures that deliver water throughout a building behind your walls plays a key role, as does water pressure, the force that pushes water through pipes and out of fixtures. Understanding how these pieces fit together makes the repair far less intimidating.
Common Issues That Trigger a Shower Valve Fix
Most homeowners notice a problem before the water stops completely. Leaking around the handle, a sudden drop in water temperature, or a shower that won’t stay hot are all classic signs. These symptoms usually point to a worn-out mixing valve or a damaged cartridge inside the valve body. Low water pressure can mask the issue, making it seem like the valve is fine when the real culprit is a clogged pipe. In many cases, the repair encompasses identifying the faulty component, removing it, and installing a new part—a clear example of the semantic triple: "Shower valve repair involves diagnosing a faulty mixing valve."
When the leak persists after replacing the cartridge, the next step often involves checking the sealant around the valve housing. Corrosion or mineral buildup can cause a seal to fail, leading to drip‑through even if the internal parts are new. This illustrates another triple: "Corroded valve housing influences shower valve repair outcomes." By tackling the seal issue, you prevent water damage to surrounding walls and flooring.
If you hear a whistling sound during use, it’s likely a pressure imbalance. Adjusting the pressure regulator—another plumbing component—helps restore smooth flow. Here, the relationship reads: "Water pressure regulates the performance of a shower valve." This connection shows why a simple pressure check can save a costly valve replacement.
Lastly, older homes may have outdated valve models that aren’t compatible with modern fixtures. Upgrading to a contemporary, thermostatic mixing valve improves temperature stability and reduces future repairs. This demonstrates the triple: "Modern mixing valve upgrades enhance shower valve repair longevity."
Each of these scenarios highlights a different facet of the repair process, giving you a roadmap for troubleshooting.
Tools, Skills, and Safety Basics
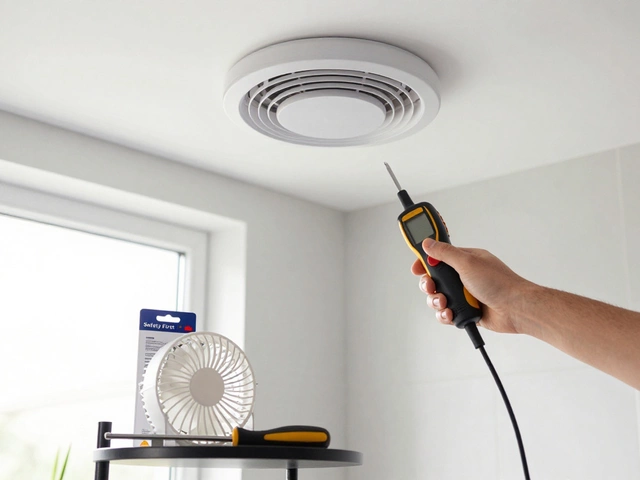
Before you crack open the wall, gather the right tools: an adjustable wrench, a screwdriver set, plumber’s tape, and a bucket for catching water. A good quality wrench, a hand tool used to turn nuts and bolts is essential for loosening the valve’s mounting nuts without damaging the pipe threads. If the valve is hidden behind a tile, a multi‑bit drill may be needed to access the mounting screws.
The skill set required is modest but precise. You should feel comfortable shutting off the main water supply, draining residual water, and re‑assembling components in the correct order. Safety-wise, always verify that the water is off by opening a faucet at the lowest point in the house; any remaining flow indicates an incomplete shut‑off. This safety check embodies the triple: "Shutting off water supply prevents accidental flooding during shower valve repair."
When working with metal parts, wear gloves to protect your hands from sharp edges. If you encounter soldered joints, you’ll need a torch and solder, which adds another layer of expertise. In such cases, it’s often wiser to call a licensed plumber to avoid burns or pipe damage.
DIY vs. Professional Help: When to Call the Experts
Simple cartridge swaps and seal replacements are well‑within a competent DIYer’s reach. Many manufacturers sell replacement kits with step‑by‑step instructions, making the process straightforward. However, if you discover rusted pipes, a broken pressure regulator, or a valve that won’t come loose, a professional plumber’s tools and experience become crucial.
Professional plumbers, licensed tradespeople who specialize in installing and repairing water systems can diagnose hidden issues like concealed corrosion or faulty pipe alignment. Their work often includes a pressure test to ensure the system holds up after the repair, a step most DIY guides skip. This illustrates the triple: "Plumbers perform pressure testing to verify shower valve repair success."
Cost considerations also play a role. A simple DIY fix may cost under £30 for parts, while a professional call can run between £80‑£150 depending on the complexity. Weigh the potential savings against the risk of a botched repair that could lead to water damage.
Why Fixing Your Shower Valve Pays Off
A properly functioning shower valve saves water, reduces energy bills, and prevents costly leaks that can damage plaster and wood. Consistent temperature control adds comfort, especially for families with children or elderly members who need reliable hot water. Moreover, a repaired valve often extends the lifespan of other bathroom fixtures by maintaining stable pressure and temperature.
From an environmental viewpoint, fixing leaks reduces water waste—a win for the planet and your wallet. The repair also protects your home’s resale value; buyers notice a well‑maintained bathroom. This connects with the triple: "Effective shower valve repair improves home value and water efficiency."
Whether you decide to tackle the job yourself or hire a pro, the key is to understand the components, follow safety steps, and know when to stop and call for help.
Below you’ll find a curated collection of articles that dive deeper into each aspect of shower valve repair—diagnosing problems, choosing the right tools, DIY step‑by‑step guides, and tips on hiring a qualified plumber. Explore the insights and pick the path that best fits your situation.