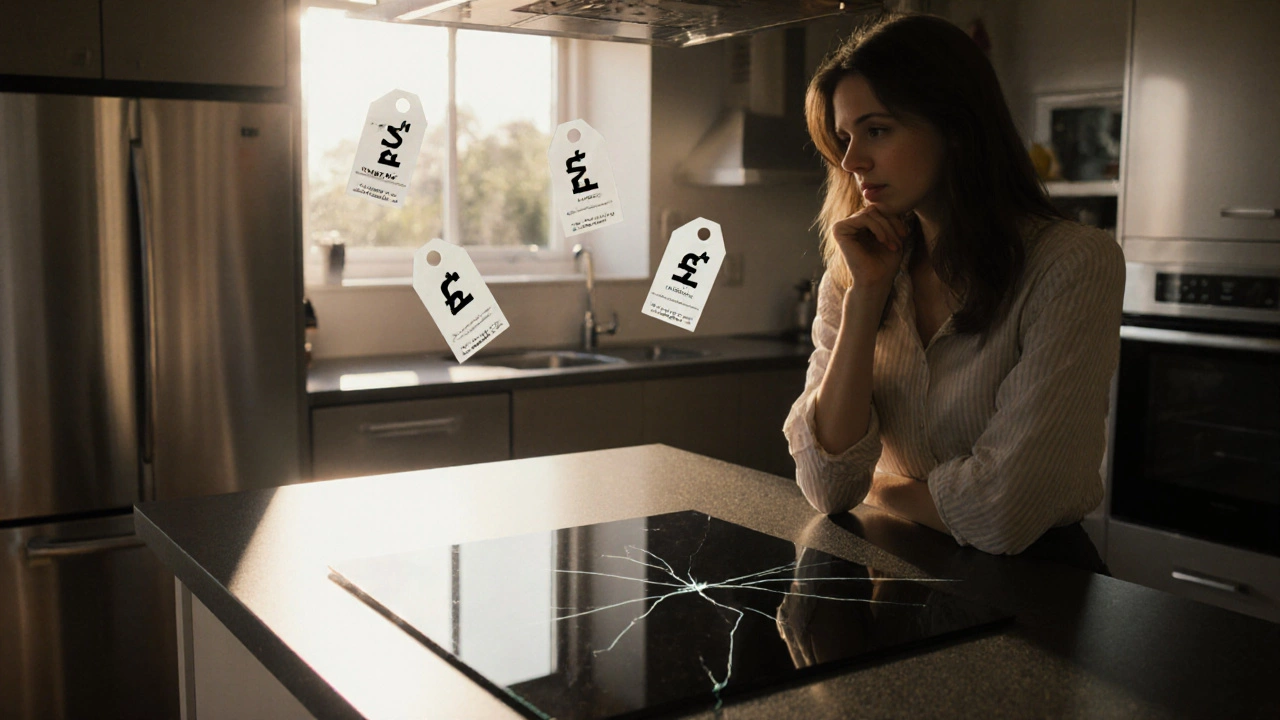
When dealing with stove glass repair, the process of fixing or replacing the glass surface on a cooking stove, the first thing to check is the extent of the damage. A tiny chip can turn into a spider‑web crack if you keep using the stove, and that weak spot lets heat escape, making cooking uneven and risking injury. Most homeowners think a broken pane means a brand‑new stove, but that’s rarely true—often a simple glass cooktop, the smooth, heat‑transmitting top made of tempered glass swap does the trick. The key is understanding what type of ceramic glass, a heat‑resistant composite used in modern stovetops your unit has, because each brand uses slightly different thickness and alloy mixes. Knowing the material helps you pick the right replacement and avoid mismatched panels that could shatter under high heat. Most repairs also need a professional technician, a qualified specialist who can safely remove the old glass and install the new one. They have the suction tools, heat‑resistant gloves, and exact replacement part numbers to get the job done without cracking the new sheet during installation. Skipping the expert often leads to misalignment, gaps that collect food debris, or even damage to the underlying heating elements, which can cost you more in the long run.
What to Expect from a Proper Stove Glass Repair
First, the technician will run a visual inspection and use a rubber mallet to tap around the damaged area—this helps locate hidden cracks that aren’t obvious to the eye. Next, they measure the glass dimensions with a digital caliper; even a millimeter off can cause the new pane to sit unevenly and stress the frame. After ordering the exact match, the old glass is lifted off using a vacuum lift system that spreads the load evenly, preventing the surrounding metal from warping. The new ceramic glass is then placed, aligned with the stove’s mounting points, and secured with the original clips or silicone sealant, depending on the model. A final heat test runs the burners at low, medium, and high settings to ensure there are no hot spots or abnormal noises—signs that the glass isn’t sitting flush. Many homeowners wonder if they can DIY the swap; the short answer is no for most people. The glass weighs 10‑15 kg, and a tiny slip can cause it to shatter, creating sharp shards and a costly mess. Even if you’re handy, the safety certifications required for gas‑filled burners mean only a Gas Safe‑registered professional should touch the connections.
When you book a repair, ask the technician about warranty coverage on both labor and the glass part. A reputable service will offer at least a 12‑month guarantee, giving you peace of mind if the new surface develops a defect. Keep a record of the glass’s part number; it’s useful for future replacements or if you decide to sell the stove later. Regular care also extends the life of the glass: avoid dragging heavy pots across the surface, clean spills promptly with a non‑abrasive cleaner, and never use steel wool, which can micro‑scratch the pane and later turn those scratches into fractures under heat. By following these simple habits and knowing when to call in a professional, you’ll keep your stove looking sleek and cooking efficiently for years. Below you’ll find a curated set of articles that dive deeper into related topics—everything from identifying specific crack patterns to comparing repair costs versus full stove replacement, plus tips on maintaining other kitchen appliances in your Warwick home.
Discover the true cost of fixing a glass hob in New Zealand, from minor crack repairs to full panel replacements, with clear price ranges, warranty tips, and DIY vs professional advice.