Troubleshooting Ovens: Your Go‑To Guide for Quick Fixes
When working with troubleshooting ovens, the systematic process of locating and fixing common oven faults in residential kitchens. Also known as oven diagnostics, it saves you time, money, and the headache of a dead stove.
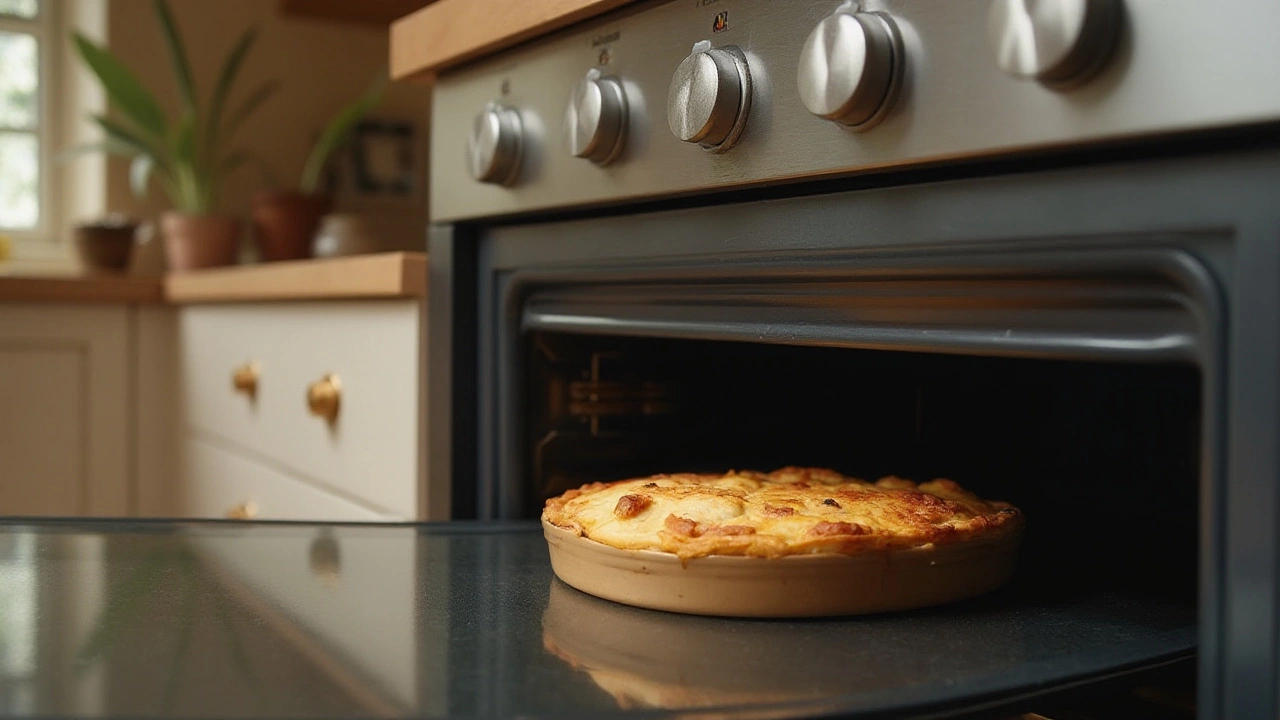
Most problems start with the electric oven, a countertop‑friendly appliance that uses electric heating elements to bake and roast. The heart of the issue is often the oven heating element, the metal coil that converts electricity into heat. When the element fails, the oven won’t reach temperature, leading to uneven cooking or no heat at all. troubleshooting ovens therefore begins with checking this component.
Beyond the heating element, the thermostat and temperature sensor act as the oven’s brain. The thermostat tells the oven when to turn the element on or off, while the sensor monitors internal heat. A faulty thermostat can cause overheating, and a bad sensor often results in temperature swings. Identifying which part misbehaves is a classic example of the triple: Troubleshooting ovens → requires → diagnosing thermostat or sensor failures.
Cost is the next big question. According to recent UK data, a typical oven repair cost, ranging from £80 to £250 depending on the fault and model is far lower than buying a new unit, which can exceed £1,000. The decision hinges on the oven’s age, the severity of the fault, and energy‑efficiency gains from newer models. This relationship forms another semantic link: Oven repair cost → influences → replace‑or‑repair decision.
Safety cannot be ignored, especially with older appliances. If your oven is over 15 years old, internal wiring may have degraded, raising fire risk. In such cases, a professional should verify the integrity before you attempt any DIY work. That’s where DIY oven repair, a hands‑on approach to fixing simple faults like element replacement or thermostat calibration comes into play. The triple here reads: DIY oven repair → requires → basic electrical knowledge and safety gear.
Here’s a quick step‑by‑step checklist you can follow the next time the oven misbehaves:
Turn off power at the circuit breaker.
Remove the back panel to access the heating element.
Visually inspect for burnt spots or broken coils.
Test continuity with a multimeter; replace if there’s no reading.
Check the thermostat for obvious damage or loose wires.
Reassemble, restore power, and run a simple 180 °C bake test.
This process shows how troubleshooting ovens → includes → systematic visual and electrical checks.
Regular maintenance helps keep the oven humming. Clean the interior after each use, wipe away spills before they bake onto surfaces, and schedule an annual professional inspection if the appliance is more than a decade old. A well‑maintained oven reduces the chance of element burnout and keeps the thermostat calibrated, extending its useful life.
Now that you understand the key parts, costs, and safety steps, the article collection below will dive deeper into each topic. From detailed guides on replacing heating elements to cost‑breakdown calculators for old ovens, you’ll find practical advice ready to put into action.
If your oven is acting up, this guide offers practical steps to diagnose and fix common issues. From uneven cooking to strange noises, learn how to identify and address problems. Understand why your oven might not heat properly and discover tricks for maintenance. Get back to baking with confidence, as we turn the heat up on oven repairs!
Electric ovens are essential kitchen appliances, but they can experience issues just like any other device. From uneven heating to strange noises, common problems can stem from a variety of reasons. This article delves into the most frequent electric oven faults, providing valuable insights on their causes and solutions. With practical tips and tricks, we'll help you keep your oven performing at its best.