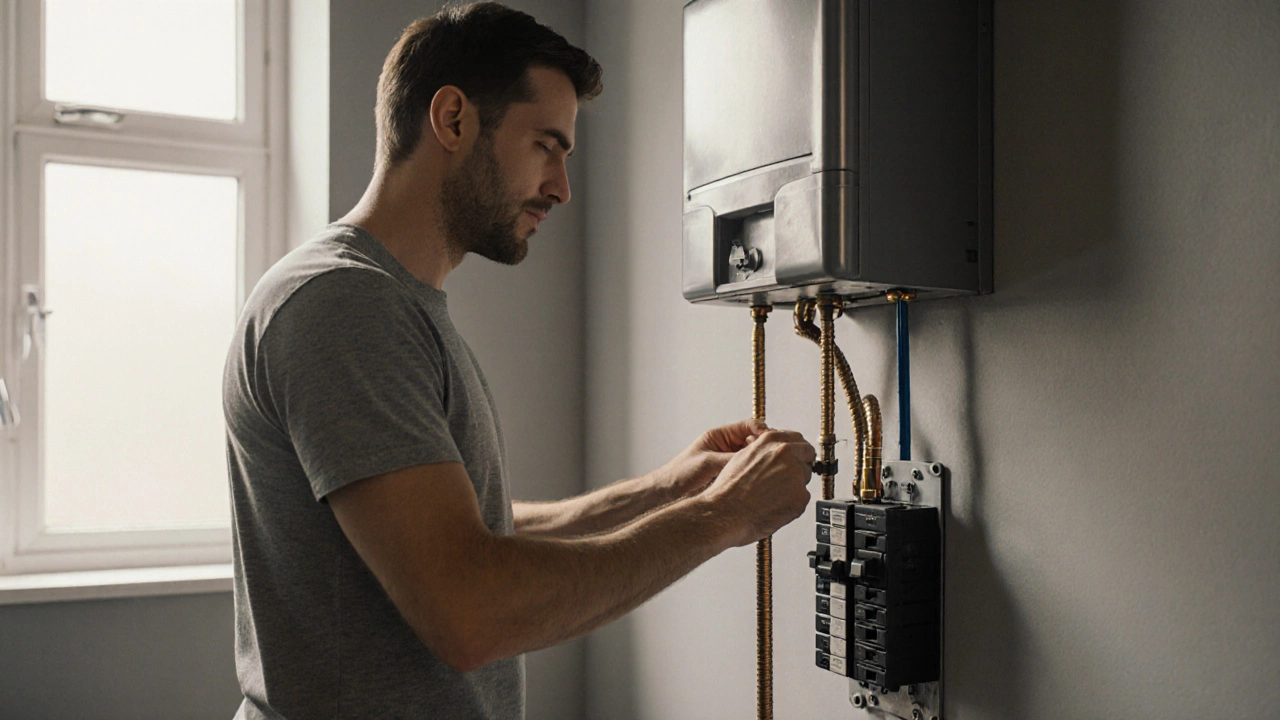
Water Heater Leak Diagnosis Tool
Follow these steps to diagnose your water heater leak. Select the option that matches your situation.
Where is the water leaking from?
Diagnosis:
Recommended Action:
Estimated Cost
Difficulty
Waking up to a puddle around your water heater is a household appliance that heats and stores water for domestic use is never fun. It’s stressful, messy, and if you don’t catch it early, it can turn into a major flood. But here is the good news: most leaks come from a few predictable spots. If you know where to look, you can often fix the problem yourself with a simple part replacement or tighten a connection. If not, you’ll at least know exactly what to tell the plumber so they don’t overcharge you.
The short answer? The most common places a water heater leaks are the Temperature and Pressure (T&P) relief valve is a safety device that releases excess pressure or temperature from the tank, the drain valve at the bottom of the unit, and the pipe fittings connecting the hot and cold water lines. However, if the leak is coming from the tank itself, that usually means internal corrosion has taken its toll, and it might be time for a replacement rather than a repair.
The Danger Zone: Tank Corrosion and Pinhole Leaks
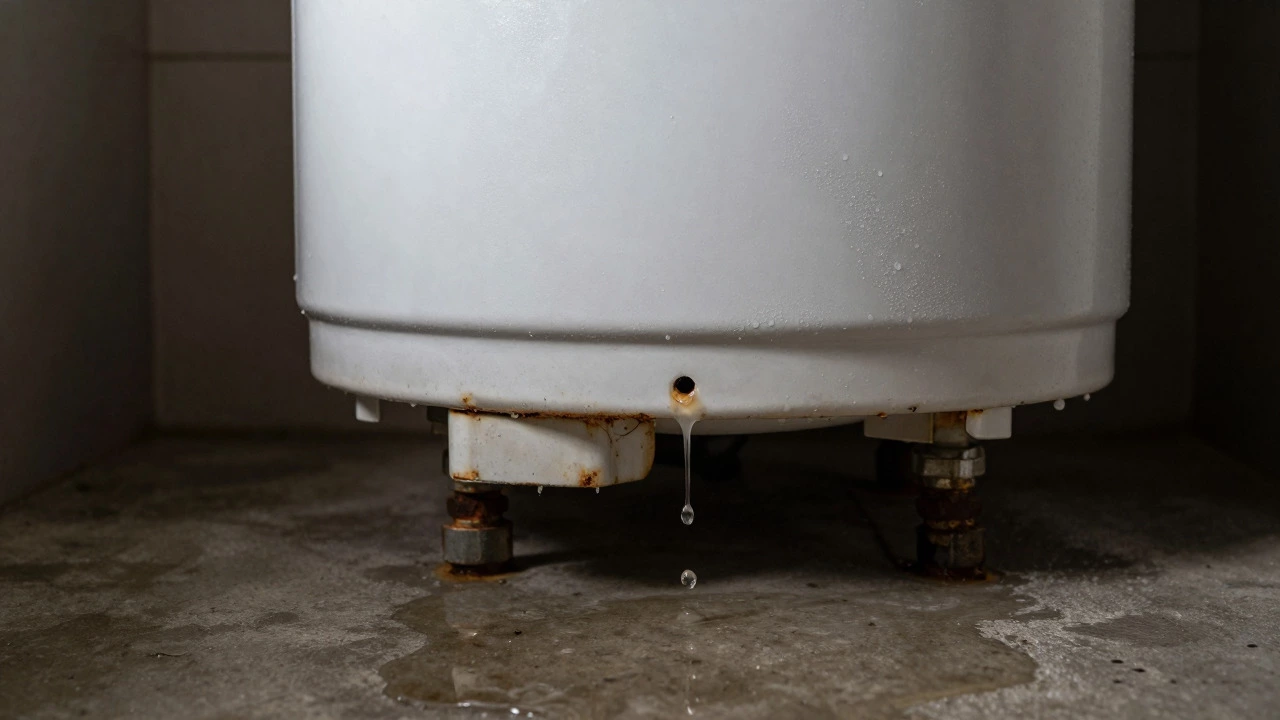
If you see water dripping directly from the metal body of the tank, especially near the bottom, this is the most serious type of leak. This happens when the interior of the tank corrodes through. Even though modern tanks have protective linings, they eventually wear out. The anode rod is a sacrificial metal rod designed to corrode instead of the tank is supposed to protect the steel tank by attracting corrosive elements in the water. Once the anode rod is fully consumed, the tank itself starts to rust.
You can check this by looking for pinhole leaks-tiny spots where water seeps through the metal. These often appear as slow drips that gradually get worse. Unlike a loose pipe fitting, a leak in the tank wall cannot be permanently fixed with tape or sealant. The structural integrity of the vessel is compromised. In these cases, the cost of repairing the tank usually exceeds the value of the unit. Most standard gas or electric storage water heaters last between 8 and 12 years. If yours is older than that and leaking from the tank, replacement is the safest and most economical choice.
The Safety Valve: T&P Relief Valve Leaks
One of the most frequent sources of leaks is the Temperature and Pressure (T&P) relief valve. This valve is typically located on the top or side of the tank, near the inlet pipes. Its job is critical: if the water gets too hot or the pressure inside the tank gets too high, the valve opens to release steam or water, preventing the tank from exploding.
If you notice water dripping from the discharge tube connected to this valve, there are two likely causes. First, the valve itself might be faulty or worn out. Mineral deposits from hard water can prevent the valve from sealing properly, causing a constant drip. Second, and more dangerously, your thermostat might be set too high, or the pressure in your home’s plumbing system might be excessive. Before replacing the valve, check your home’s water pressure with a gauge. If it’s above 80 PSI, you may need a pressure-reducing valve installed on your main line. If the pressure is normal but the valve still leaks, replace the T&P valve. It’s a cheap part and a vital safety component.
Loose Connections: Inlet and Outlet Pipes
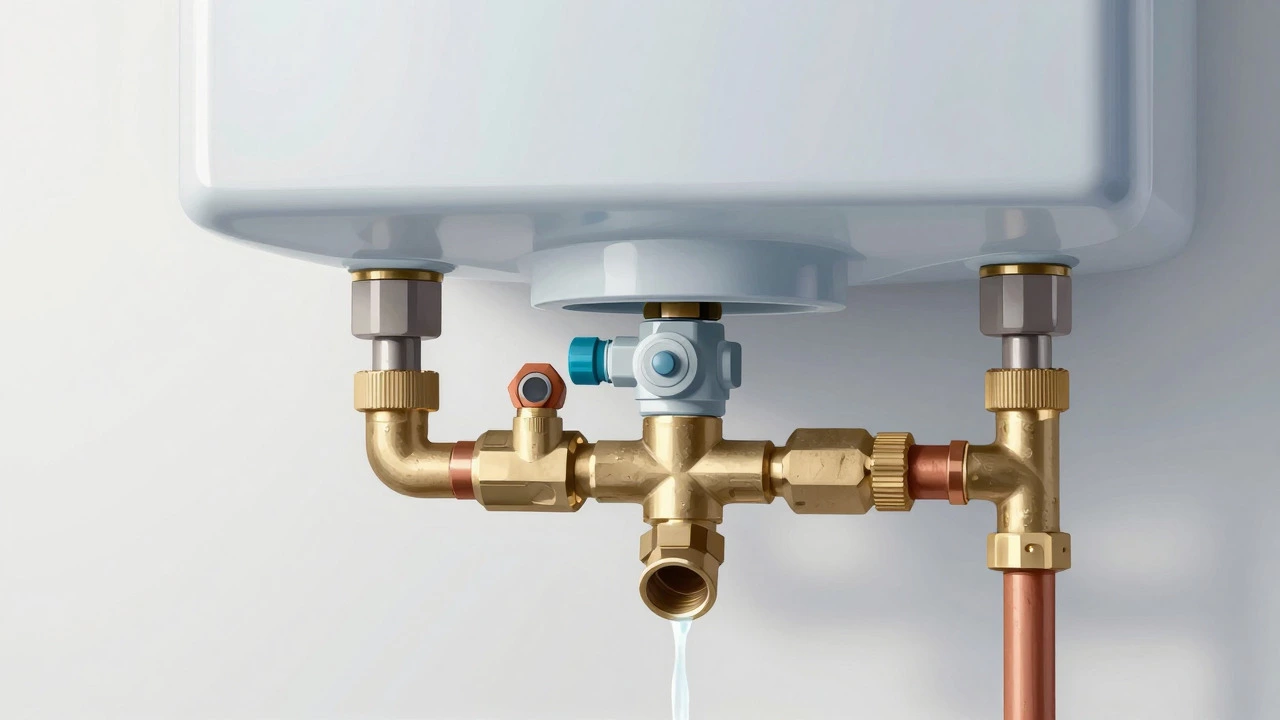
Not every leak means your water heater is dying. Sometimes, the issue is simply a loose connection. The cold water inlet and hot water outlet pipes connect to the tank via threaded fittings. Over time, vibrations from the heating elements or thermal expansion and contraction can cause these nuts to loosen slightly.
Inspect the connections where the copper or flexible braided lines meet the brass nipples on the tank. If you see moisture here, try tightening the compression nuts with a wrench. Be careful not to overtighten, as this can crack the brass fitting. If tightening doesn’t stop the leak, the rubber washer inside the fitting might be degraded. Replacing these washers is a quick DIY fix. Just shut off the water supply and power/gas to the unit before you start turning wrenches.
The Drain Valve: A Simple Fix for a Big Mess
At the very bottom of your water heater, you’ll find a drain valve. This looks like a spigot and is used to empty the tank for maintenance or flushing sediment. Because it sits at the lowest point, any leak here will pool directly under the unit, making it easy to spot.
Leakage from the drain valve is usually caused by one of three things: the valve handle is loose, the packing nut is worn, or mineral buildup is preventing a tight seal. Try tightening the valve handle gently. If that doesn’t work, you can replace the entire drain valve. It’s inexpensive and straightforward. However, keep in mind that every time you open this valve, you risk introducing oxygen into the tank, which can accelerate corrosion. Only use it when necessary.
Tankless Water Heaters: Different Problems, Same Risks
If you have a tankless water heater is a device that heats water on demand without a storage tank, the leak dynamics change significantly. Since there is no large storage tank to corrode, you won’t deal with pinhole leaks in the same way. Instead, focus on the heat exchanger and the condensate drain.
In condensing tankless models, a condensate pump removes acidic byproducts from combustion. If the pump fails or the drain line clogs, water can back up and leak from the unit. Additionally, the heat exchanger can develop cracks due to scale buildup or thermal stress. While less common than tank failures, a cracked heat exchanger is a costly repair. Regular annual maintenance, including descaling, is crucial for extending the life of a tankless system and preventing these specific leaks.
How to Diagnose and Stop the Leak
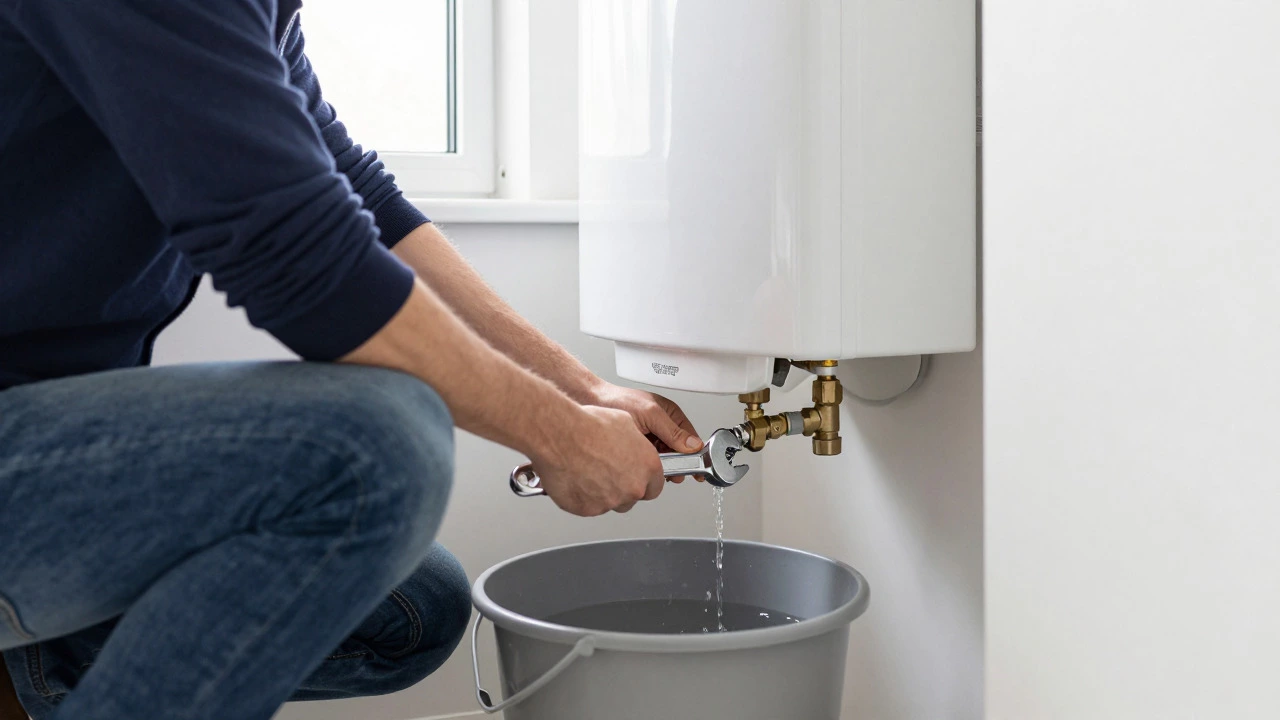
When you discover a leak, follow these steps to assess the damage and mitigate further issues:
- Turn off the power or gas. For electric units, flip the breaker. For gas units, turn the dial to "Pilot" or "Off." This prevents the burner from firing into a dry or overheating tank.
- Shut off the cold water supply. Locate the valve on the pipe entering the top of the water heater and turn it clockwise until it stops. This stops fresh water from feeding the leak.
- Identify the source. Dry all visible areas with a towel. Place a piece of paper or cardboard under suspected leak points. Check which spot gets wet first. This helps distinguish between a valve leak, a pipe connection, and a tank breach.
- Contain the water. Place a bucket under the leak. If the floor is already wet, use towels or a wet/dry vacuum to remove standing water to prevent mold or floor damage.
- Decide on repair vs. replacement. If the leak is from a valve or fitting, consider repair. If it’s from the tank body, plan for replacement.
| Leak Location | Likely Cause | Difficulty Level | Recommended Action |
|---|---|---|---|
| T&P Relief Valve | Worn valve or high pressure | Easy | Replace valve; check home water pressure |
| Drain Valve | Loose handle or worn seal | Easy | Tighten or replace drain valve |
| Pipe Fittings | Loose nuts or bad washers | Easy | Tighten connections or replace washers |
| Tank Body (Bottom) | Internal corrosion/pinhole leak | N/A (Fatal) | Replace water heater |
| Top of Tank | Condensation or failed gasket | Medium | Check insulation; replace gasket if accessible |
Preventing Future Leaks
Regular maintenance goes a long way in preventing unexpected leaks. Flush your tank annually to remove sediment. Sediment buildup at the bottom of the tank forces the heating elements or burners to work harder, leading to overheating and stress on the tank walls. It also accelerates corrosion. To flush the tank, attach a garden hose to the drain valve, run the other end to a floor drain, and open the valve for 15-20 minutes until the water runs clear.
Also, inspect the anode rod every two to three years. If it’s heavily corroded or covered in calcium deposits, replace it. This small investment can add several years to the life of your water heater. Finally, ensure your home’s water pressure stays between 40 and 60 PSI. High pressure puts constant strain on valves and fittings, increasing the likelihood of failure.
How much does it cost to fix a leaking water heater?
The cost depends entirely on the source of the leak. Replacing a T&P valve or drain valve costs between $50 and $150 in parts and labor. Tightening pipe fittings is often free if you do it yourself. However, if the tank itself is leaking, you are looking at a full replacement, which typically ranges from $1,000 to $3,000 depending on the type (gas vs. electric, tank vs. tankless) and installation complexity.
Can I use epoxy to fix a leak in the water heater tank?
While special water heater epoxy kits exist, they are generally considered temporary fixes. They may slow down a pinhole leak for a few weeks or months, but they rarely stop it permanently. Given the risk of a catastrophic tank rupture, most professionals recommend replacing the unit if the tank body is compromised rather than relying on epoxy.
Why is my water heater leaking from the top?
Leaks from the top are often due to condensation, especially in humid environments or if the unit lacks proper insulation. It can also indicate a loose connection at the cold water inlet or a failing glass gasket on the access panels. Check the fittings first; if they are tight, inspect the insulation and gaskets.
How long do water heaters last before they start leaking?
Traditional tank-style water heaters typically last 8 to 12 years. Tankless models can last 15 to 20 years with proper maintenance. As units age, the anode rod depletes, and corrosion begins to eat away at the tank lining, leading to leaks. If your unit is approaching or past these age thresholds, be vigilant about monitoring for signs of leakage.
Should I turn off the water heater if it’s leaking?
Yes, immediately. Turn off the electricity or gas supply to prevent fire hazards or damage to the heating elements. Then, shut off the cold water supply valve to stop the flow of water into the tank. This minimizes water damage to your home while you diagnose the issue or wait for a professional.