Oven Element Compatibility Checker
Verify Your Oven Element
Enter your oven model number to check compatibility with replacement elements. Your oven's model number is usually found on a sticker inside the door frame or on the back of the appliance.
Ever turned on your oven and got nothing but cold air? Or worse - you smell burning but the oven won’t heat up? More often than not, it’s not a broken control panel or a faulty thermostat. It’s the oven heating element. And yes, you can replace it yourself - no electrician needed. Thousands of Kiwi households do it every year, saving hundreds of dollars and getting their ovens back in working order within an hour.
How to tell if your oven element is dead
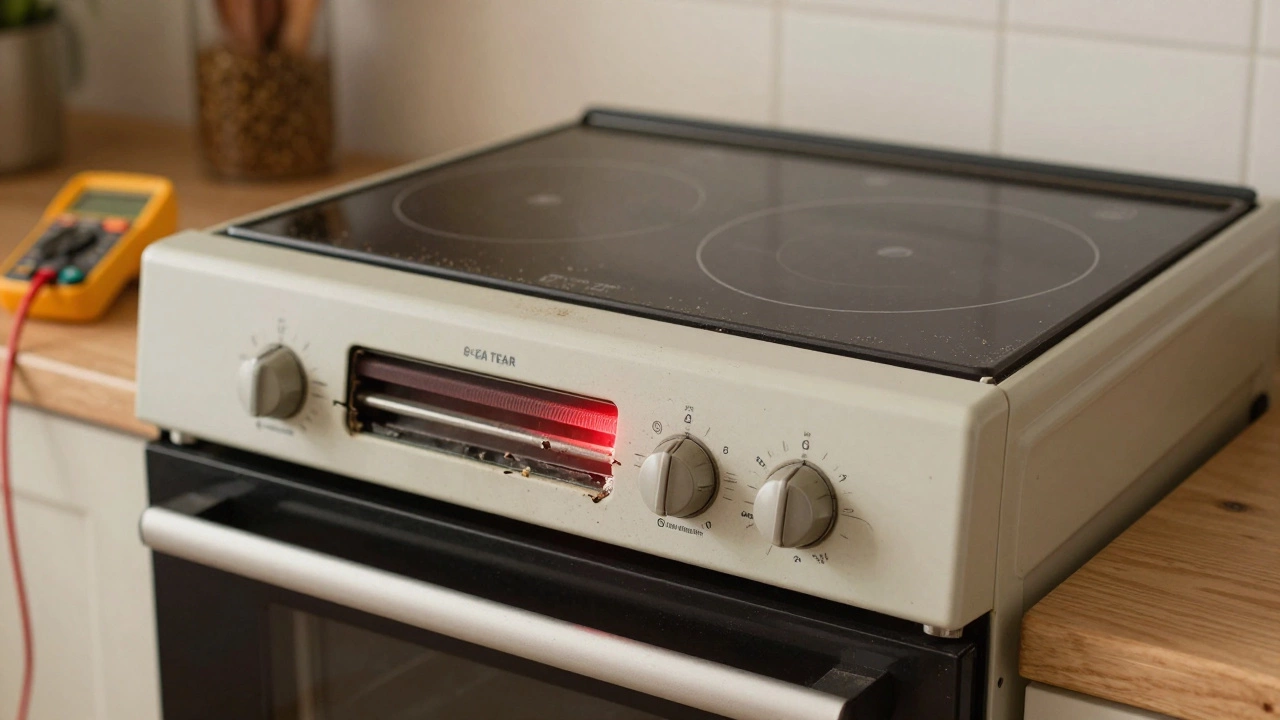
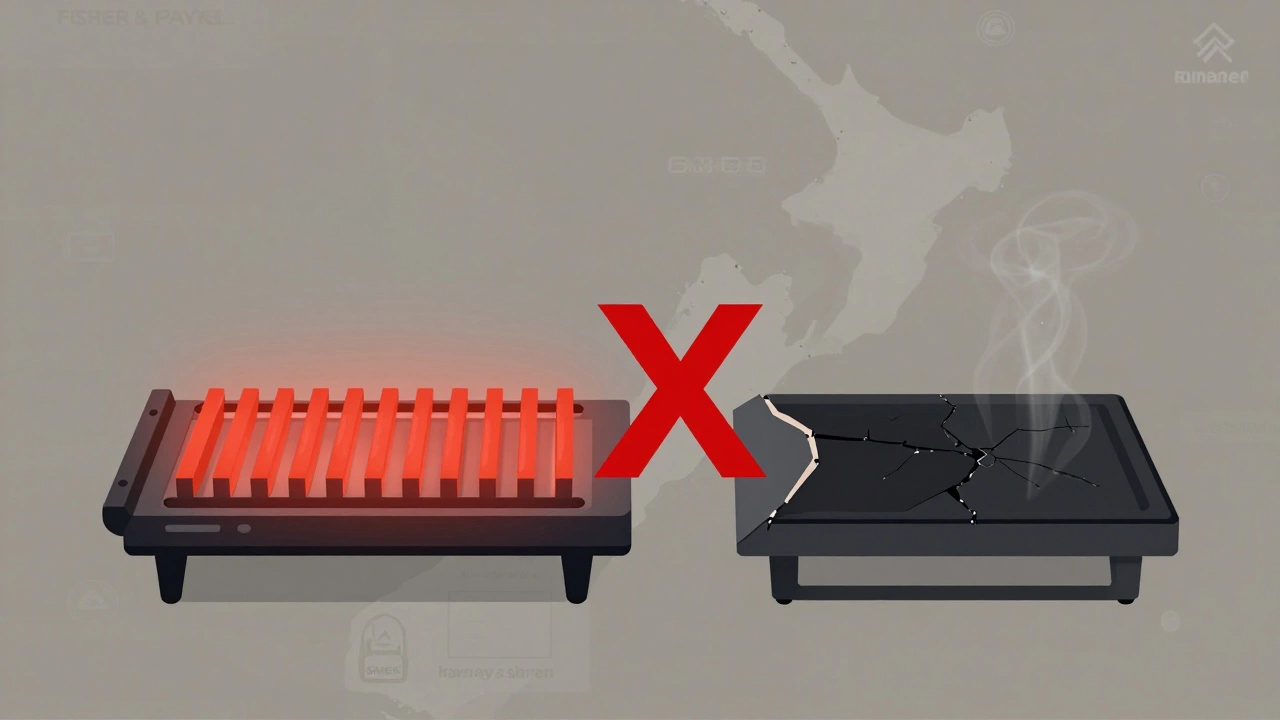
The heating element is the metal coil at the top or bottom of your oven. When it works, it glows red-hot. When it’s dead, it doesn’t glow at all - even when the oven is set to 200°C. But don’t just guess. Here’s how to be sure:- Look inside the oven with the light on. If the element is blackened, cracked, or bulging, it’s done.
- Turn the oven on and watch closely. If only one element (top or bottom) glows, the other is likely broken.
- Listen for a faint click when you turn the oven on. If you hear it but see no glow, the element is probably dead.
- Use a multimeter to test for continuity. Set it to ohms (Ω). Touch one probe to each terminal on the element. If it reads 0 or "OL", the element is blown.
Most oven elements last 5-10 years. If your oven is older than that and the element has failed, it’s not a sign of poor quality - it’s just wear and tear.
What you’ll need to replace it
This isn’t a job that needs fancy tools. Here’s the bare minimum:- Replacement heating element (match your oven model exactly)
- Phillips screwdriver
- Flathead screwdriver (sometimes needed to pry off terminal covers)
- Multimeter (optional, but helpful for testing)
- Work gloves (heat-resistant ones, if you’re removing a hot element)
- Phone or notebook (to take a photo of the wiring before you disconnect it)
Don’t buy a generic element. Your oven model number is key. Look for it on a sticker inside the oven door frame, on the back of the oven, or in the manual. Common New Zealand brands like Fisher & Paykel, Smeg, Bosch, and Westinghouse all use different part numbers. For example, a Fisher & Paykel OE60S200B uses a specific 2.4kW element - a generic one won’t fit or could overheat.
Step-by-step: Replacing the element
- Turn off the power. Go to your fuse box and switch off the circuit for the oven. Don’t just unplug it - most ovens are hardwired. If you’re unsure which breaker controls the oven, turn off the main power. Safety first.
- Remove the oven racks. Take out everything inside. You’ll need space to work.
- Locate the element. The bottom element is easiest to access. The top element (grill) might require removing the back panel inside the oven cavity.
- Take a photo. Before you touch a single wire, snap a clear picture of the terminals and how the wires are connected. This is your cheat sheet.
- Unscrew the element. There are usually two or three screws holding the element in place - one on each end, sometimes one in the middle. Remove them carefully.
- Disconnect the wires. Gently pull the terminals off the element. They’re usually spring-loaded clips. Don’t yank the wires - pull the terminal, not the cable. If they’re stuck, use a flathead screwdriver to gently pry the clip open.
- Remove the old element. Slide it out. If it’s stuck, wiggle it gently. Don’t force it.
- Install the new element. Slide the new one in the same way. Make sure it sits flush and doesn’t touch the oven walls.
- Reconnect the wires. Match the terminals to the ones you photographed. Push them on firmly until you hear a click. Double-check: red to red, black to black. If the wires are different colours, trust your photo, not guesswork.
- Reattach the screws. Tighten them snugly, but don’t over-torque. Plastic terminals can crack.
- Restore power. Go back to your fuse box and turn the oven circuit back on.
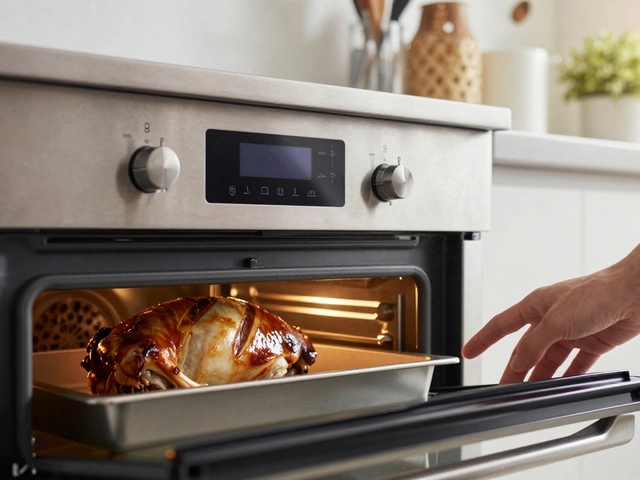
- Test it. Set the oven to 180°C and wait 10 minutes. Look through the window. If the element glows evenly, you’re done.

What could go wrong - and how to fix it
Even with careful steps, things can go sideways. Here are the most common mistakes and how to avoid them:- Wiring mixed up. If you didn’t take a photo and now the oven doesn’t heat, you probably swapped the live and neutral wires. Turn the power off again, check your photo, and swap them back. If you don’t have a photo, call a licensed electrician - don’t guess.
- Element doesn’t glow. If the new element doesn’t heat, the problem might not be the element. It could be the thermostat, selector switch, or oven control board. Test the element again with a multimeter. If it reads normal, the issue is elsewhere.
- Element glows but oven doesn’t get hot. That’s usually a faulty thermostat. These are cheaper to replace than you think - under $50 - but require removing the control panel. If you’re not comfortable with that, leave it to a pro.
- Sparks or burning smell after installation. Turn the power off immediately. You likely didn’t seat the terminals properly. One wire might be touching metal. Check all connections. If you’re unsure, don’t risk it - call someone.
When to call a professional
You don’t need to be an electrician to replace an oven element. But you do need to know your limits. Call a technician if:- You’re not sure which breaker controls the oven.
- Your oven is hardwired and you don’t feel confident working with live circuits.
- The element looks fine, but the oven still doesn’t heat - the problem is deeper.
- You’ve replaced the element twice and it keeps failing. That points to a wiring fault or voltage issue.
- You’re in a rental property. Most tenancy agreements forbid DIY electrical work. Get your landlord’s permission first.
In New Zealand, electrical work on fixed appliances like ovens is regulated under the Electrical (Safety) Regulations 2010. Replacing an element yourself is allowed as long as you’re competent and the work is safe. But if you’re not 100% sure, it’s cheaper and smarter to pay $80-$120 for a technician than risk a fire or a $5000 repair bill from a blown control board.
Where to buy a replacement element in New Zealand
You can order online or buy locally:- Appliance Spare Parts NZ (Auckland, Wellington, Christchurch) - ships nationwide. Has a model number search tool.
- TradeMe - search for your oven model + "heating element". Many sellers list genuine OEM parts.
- Harvey Norman, The Warehouse - carry common brands like Fisher & Paykel and Smeg. Not always the cheapest, but you can see it in person.
- Local appliance repair shops - they often sell parts to DIYers. Call ahead and ask if they’ll confirm the part number for you.
A typical replacement element costs between $45 and $90. Avoid the $20 ones on eBay - they’re often poorly made and burn out in months. Stick with brands like Osram, Crompton, or the original manufacturer.
How long does it take?
For most people, it takes 30 to 60 minutes - including waiting for the oven to cool. If you’ve never done it before, give yourself 90 minutes. Don’t rush. Take photos. Double-check connections. A slow, careful job saves you from a repeat visit to the hardware store.Prevent future failures
Once your oven’s fixed, keep it running longer:- Don’t use oven cleaners that spray directly on the element. They corrode the metal.
- Wipe spills quickly. Sugar and grease buildup can cause hot spots and shorten element life.
- Don’t prop the oven door open while cooking. That puts extra strain on the element.
- Use the self-clean function sparingly. The high heat (over 500°C) wears out elements faster.
With basic care, your new element should last another 5-8 years. And next time it fails? You’ll know exactly what to do.
Is it safe to replace an oven element myself?
Yes, if you follow safety steps. Always turn off the power at the fuse box before touching any wires. Don’t work on a live circuit. If you’re unsure about your wiring or the oven is hardwired, call a licensed electrician. Replacing the element itself is low-risk - but electricity isn’t something to guess on.
Can I use any heating element for my oven?
No. Oven elements are model-specific. They vary in size, wattage, terminal position, and mounting style. Using the wrong one can cause overheating, poor performance, or even fire. Always match the part number from your oven’s label or manual. Don’t rely on "fits most" claims.
How much does it cost to replace an oven element in New Zealand?
The element itself costs $45-$90. If you hire a technician, expect to pay $80-$120 for labour and parts. Doing it yourself saves you $70-$100. Most people get the part online and install it in under an hour.
Why does my oven element keep blowing?
If you’re replacing the element more than once every 2-3 years, there’s likely an underlying issue. Common causes include voltage spikes, a faulty thermostat causing overheating, or a damaged wiring harness. Check the thermostat and wiring for signs of melting or corrosion. If everything looks fine, your home’s electrical system might need a professional check.
Do I need to replace both the top and bottom elements at the same time?
Only if both are broken. Most ovens use the bottom element for baking and the top for grilling. If only one is dead, replace just that one. Replacing both at once is a waste of money unless you’re planning to upgrade the oven soon.