Ever stepped into the bathroom after someone’s shower and noticed that telltale musty smell hanging in the air—or seen condensation pooling on your kitchen walls after frying up breakfast? That’s your extractor fan waving a white flag, begging for a little attention. These fans don’t get much love until they break, but the signs are all around us. When an extractor fan goes rogue—making odd noises, refusing to turn on, or just failing to keep the air fresh—it’s not just an inconvenience. Poor ventilation lets mold grow, damages walls, and can even mess with your indoor air quality. The good news? Most extractor fan issues have clear causes and surprisingly simple fixes. All you need is a dose of patience, a few household tools, and the right info packed together in one spot.
Common Extractor Fan Problems and What They Mean
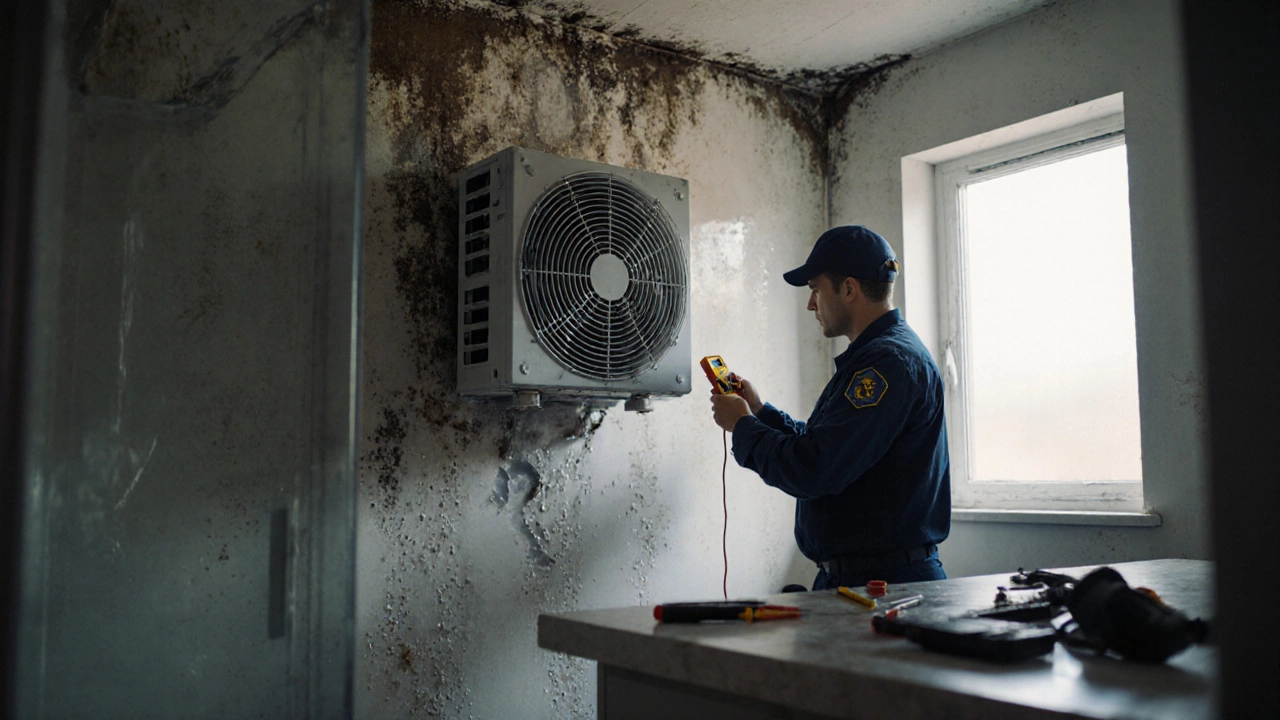
So, your extractor fan isn’t behaving like it used to. It might be silent, squeaky, or humming like a dodgy lawn mower. Any of these sound familiar? Let’s break down what’s actually happening behind the plastic grill. Modern extractor fans are tough, but they’re not invincible. Studies show dust build-up and neglected maintenance account for more than half of domestic fan failures. If your fan just hums but doesn’t spin, that’s usually a motor problem or jammed blades. A weak airflow often means the vents are blocked—just one feather-light layer of accumulated fluff can cut efficiency by up to 30%!
Ever had the fan stay on long after you switch off the light? Check if yours has a built-in timer. Those timers wear out, making the fan run forever. Other times, the humidity sensor fails—this causes the fan to either never start or never stop. Electrical issues, like tripped fuses or loose connections, can keep it dead quiet. In kitchens, sticky cooking vapors and dust make fans work overtime. You might also spot water stains, which mean condensation is running the wrong way—often because ducting is improperly installed or blocked. Landlords in the UK actually have a legal responsibility to keep extraction in decent shape, which underlines how a dodgy fan can create more than just weird smells.
Sometimes, the fan is fine, but the grille or vent cover is clogged with pet hair, paper, or even nesting insects. It’s not rare for wasps or spiders to set up camp inside wall vents, blocking air just enough to make a new fan useless. Odd humming noises? Usually, dry bearings or loose mounting screws are the culprit. And if your fan makes so much noise it wakes up the whole house, look for broken fan blades or a damaged impeller shaft. A survey by UK HomeServe found that noisy operation is the number one reason for extractor fan replacement calls—beating even total breakdowns.
Extractor fan troubleshooting doesn’t have to mean tearing apart your wall. With some careful observation and a flashlight, you can often pinpoint what’s going wrong before forking out for a new fan.
Step-by-Step Troubleshooting Guide
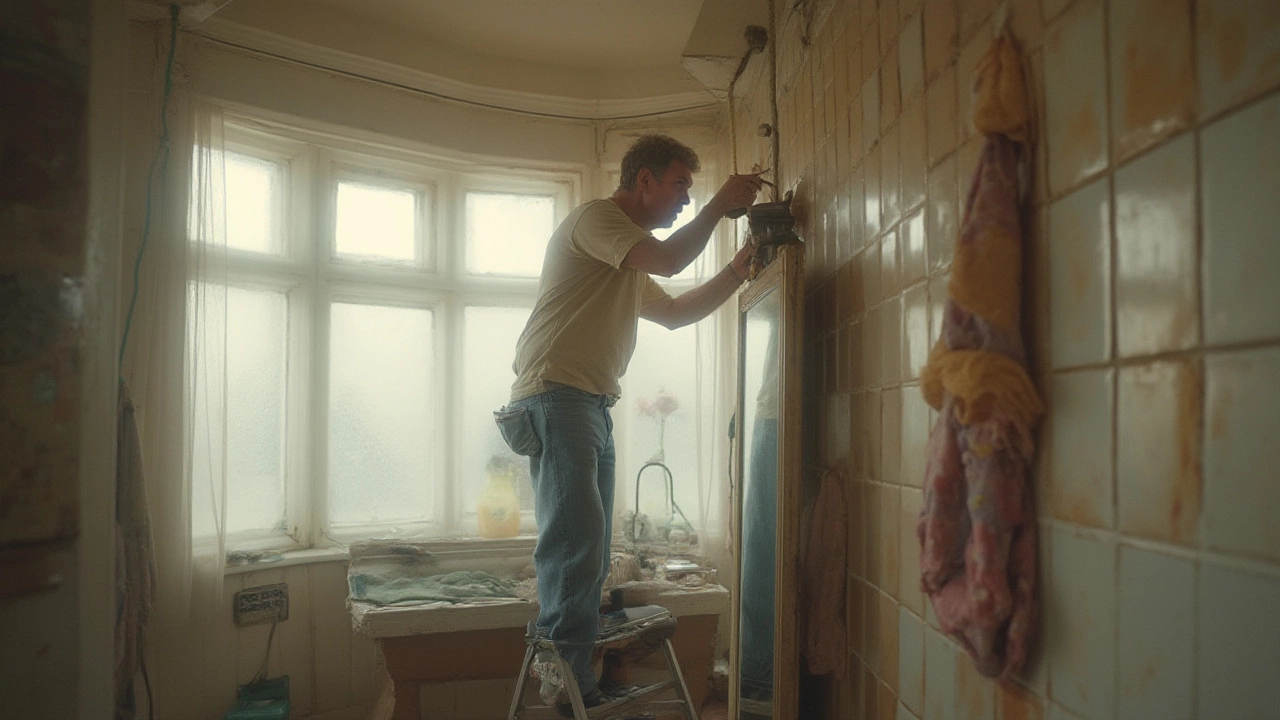
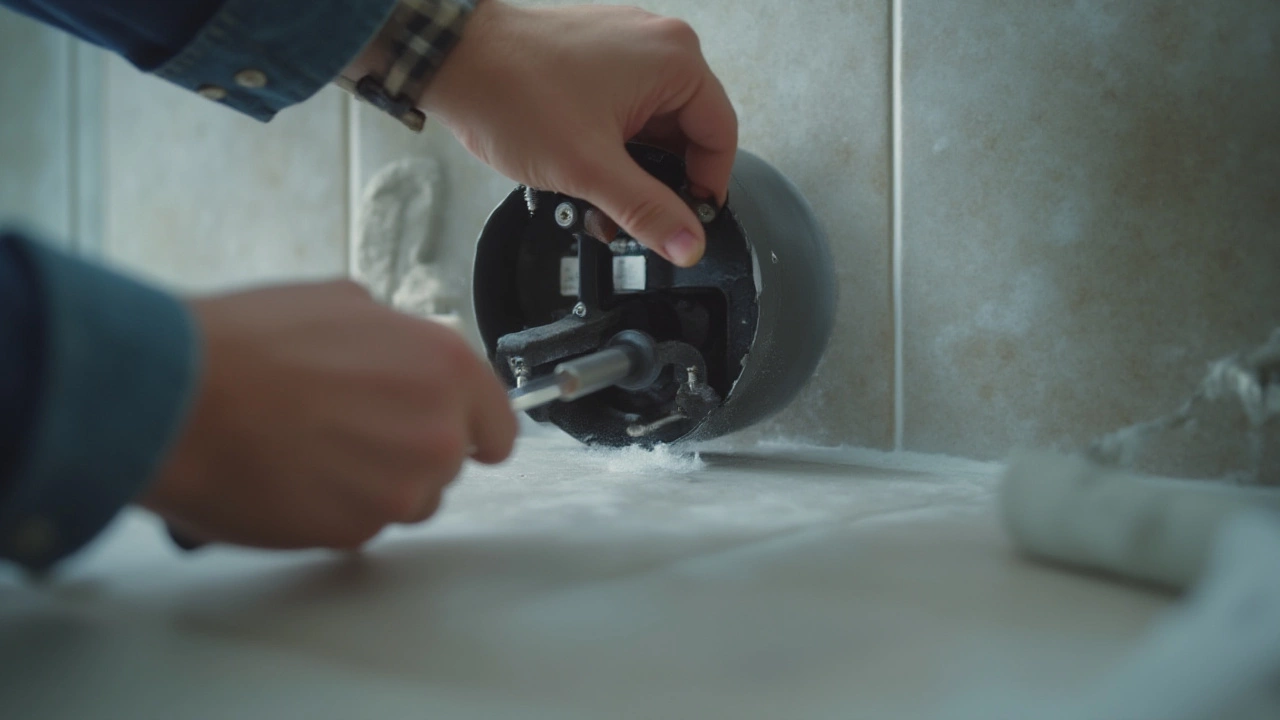
With the most common faults clear, let’s get into the nuts and bolts. First rule—cut the power. There’s no heroism in getting zapped. Head to your consumer unit (fuse box) and switch off the circuit linked to your extractor fan before poking around. Next, remove the fan cover—most pop off with a firm tug, or a screw or two. Don’t forget to check the manufacturer’s manual for anything unique to your model; if you lost it, chances are it’s online.
- Is the fan dead? Check the basics first. Try the wall switch, and see if the bathroom or kitchen’s main light works. If it’s only the fan that’s dead, it’s likely a power issue—maybe a blown fuse or loose wire. Gently tug the fan wiring. Any play? That’s your answer.
- Fan hums but doesn’t spin? Look for obstructions. Run a toothpick or pencil around the blades (with the power off) to check for stuck objects or grime. Blocked blades are the culprit about 25% of the time, according to a 2023 Which? survey of UK households.
- Noisy operation? Check for dirt, dry bearings, or wobbling parts. Creaking or screeching screams dry bearings—try a light squirt of silicone spray, not WD-40, as it attracts more dust. If the noise is more of a banging or rattling, inspect the blades. Cracks or warping throw the whole unit off balance.
- If air is weak or absent, check the ducting. Remove the vent cover inside and outside. Shine a torch into the duct—spot any fluff, nests, or built-up grease? Yank it out. One pro tip: don’t use a vacuum if there’s any evidence of water, as this could zap your machine. Hand pick, then run a dry cloth through the duct with a stick.
- Fan won’t shut off? This usually points to a faulty timer or humidity sensor. These parts are cheap and easy to replace in most fans—costing under £10—so don’t hesitate to swap one out following the instructions. Make sure you take a clear picture of the wires before you start disconnecting.
Here’s a handy breakdown of extractor fan components and the common problems you’ll find, according to real data from appliance repair services in 2024:
| Component | Common Problem | DIY Fix |
|---|---|---|
| Motor | Stopped, hums, overheats | Check wiring, clear dust, lube bearings |
| Blades/Impeller | Blocked, cracked, dirty | Clean, replace as needed |
| Timer/Humidity Sensor | Fan won’t turn off/on | Replace timer or sensor |
| Wiring/Connections | Loose, oxidised, corroded wires | Secure all connections |
| Duct/Vent | Blocked, noisy (nest inside) | Remove blockage, clean vent |
If all looks fine but the fan still doesn’t work, most likely the internal PCB (printed circuit board) is fried or the windings in the motor have burnt out. At that stage, unless your fan is a fancy model, it’s often more cost-effective to swap in a new unit. Brands like Vent-Axia, Manrose, and Xpelair have affordable models widely used in UK homes, and installation isn’t brutal if you follow instructions.
One classic DIY blunder? Forgetting to check the exterior grille—especially if you live in a flat or have recently had building work done. Dust, mortar, or even compacted leaves can block outside vents completely, shutting down airflow. The British NICEIC (National Inspection Council for Electrical Installation Contracting) says,
“Blocked or poorly maintained extractor fans can reduce flow rates by up to 90%, leading directly to mold and indoor air quality problems.”It doesn’t take much—just one autumn’s leaf storm outside.
Remember, if you spot any melted wires, burned smells, or blackened marks, don’t risk it. Shut down the circuit and call a professional; those are signs of electrical failure not worth gambling with. Most repairs, though, are safe if the power’s off and you use common sense. If you’re still stuck, a specialist can diagnose trickier problems, usually charging £50–£90 for a typical home call-out.

Keeping Your Extractor Fan Running Like New
So you’ve fixed the problem, or maybe you dodged it in time. How do you keep your fan healthy to avoid more headaches (and expensive repairs) down the line? Experts recommend a cleaning routine every three to six months for bathroom and kitchen extractor fans. It’s not glamorous work, but it pays off in quieter operation, healthier air, and a much longer fan lifespan. Here’s a quick routine anyone can follow:
- Shut off the power. Never skip this.
- Remove the cover and vacuum any visible fluff or dust. Use a small brush for stubborn areas.
- Check the blades and wipe them gently with a damp cloth—don’t soak anything.
- Spray a dab of silicone lubricant on the motor shaft if noise starts.
- Inspect the ducting at both ends. If you notice streaks of water, sticky residue, or odd smells, clean the duct with a dry flexible cloth tied to a stick.
- Reinstall everything securely and make sure the cover fits tight. Loose parts amplify noise over time.
Here’s something juicy: extractor fans can save you up to £3000 over a decade in potential property damage if you avoid black mold and condensation issues. Insurance claims for water and mold damage are way more common where extractor fans are neglected or broken. Ten minutes of cleaning and testing twice a year is a tiny investment.
Some modern fans come with filters, especially kitchen models. Check yours—if it has paper, metal, or carbon filters, swap or clean them according to manufacturer instructions. Skipping this step leaves your fan fighting a losing battle against airborne grease and dust.
Wondering if you need a new fan instead of a repair? If yours is older than five years and starting to make grinding noises or fail regularly, replacement might make more sense (average life expectancy is five to seven years in a busy family bathroom). Newer fans use a fraction of the electricity, with newer EC motors boosting efficiency by up to 30% compared to classic models.
If you own or manage a flat, it’s worth checking local laws. Some councils require landlord testing and logging of extractor fan flow rates, especially in properties converted for multiple occupancy. Even if you’re a tenant, it pays to know your rights—in the UK, landlords must fix faulty fans promptly or risk fines. Keep a log of problems as proof if you need to escalate things.
Before you cap your toolkit, run a final test. Switch the circuit back on, flip the fan on, and check airflow at the outside vent. If you feel a strong breeze, hear a quiet whirr, and see no strange lights, give yourself a pat on the back. Your home is now primed for steamy showers, Sunday roasts, and that much fresher post-clean smell. Stay sharp and keep an eye on the fan—a quick glance every few weeks is often all you need to nip problems in the bud.