Extractor Fan Replacement Guide & Selector
Step 1: Safety & Feasibility Check
Answer these questions to see if this is a DIY-friendly project.
Your Recommendation
The short answer is yes, you can replace an extractor fan yourself, provided you are comfortable with basic wiring and have a few simple tools. It's not rocket science, but it does involve electricity, which means there is no room for 'guessing.' If you can follow a set of clear instructions and know how to turn off a circuit breaker, you're already halfway there.
Quick Takeaways for Your DIY Project
- Safety First: Always isolate the power at the consumer unit (fuse box) before touching any wires.
- Measure Twice: Replacing a fan with one of the same size avoids the nightmare of patching and painting drywall.
- Ventilation Path: Check if your fan vents into the attic or through an external wall before buying a new unit.
- Tool Kit: You'll need a voltage tester, a screwdriver set, and potentially some sealant.
Knowing if You Should DIY or Call a Pro
Before you grab the screwdriver, let's be honest about the skill level required. Replacing a fan is generally a 'Medium' difficulty task. If you're replacing a unit that is already wired into the wall (a direct replacement), it's quite straightforward. However, if you're installing a brand new fan where none existed before, you're looking at cutting holes in walls and running new cables-that's where most homeowners should call an electrician.
You should definitely call a professional if:
- You see charred wires or smell burning plastic near the old fan.
- Your home has an ancient electrical system with no grounding (earth) wires.
- The fan is integrated into a complex HVAC system with motorized dampers.
- You get nervous just looking at a wire stripper.
If the old fan simply burned out and the wiring looks clean, you're good to go. Let's look at what you're actually dealing with in terms of hardware.
Understanding the Hardware
Not all fans are created equal. You'll likely encounter a few different types depending on where the fan is located. Axial Fans is the most common type of extractor, where the blades push air directly forward through a hole in the wall. These are cheap and easy to install but aren't great for long duct runs. If your fan needs to push air through a long pipe to reach the outside of the house, you'll want a Centrifugal Fan, which is designed to create more pressure to move air through ducting.
| Feature | Axial Fan | Centrifugal Fan |
|---|---|---|
| Air Pressure | Low | High |
| Installation Complexity | Very Simple | Moderate |
| Best Use Case | Direct wall vent | Ducting to roof/exterior |
| Noise Level | Generally Louder | Quieter (Air is buffered) |
Step-by-Step Replacement Process
Assuming you've bought a replacement that matches your existing dimensions, here is how you handle the swap. Grab a helper if you have one, as holding the fan in place while screwing it in can be a pain.
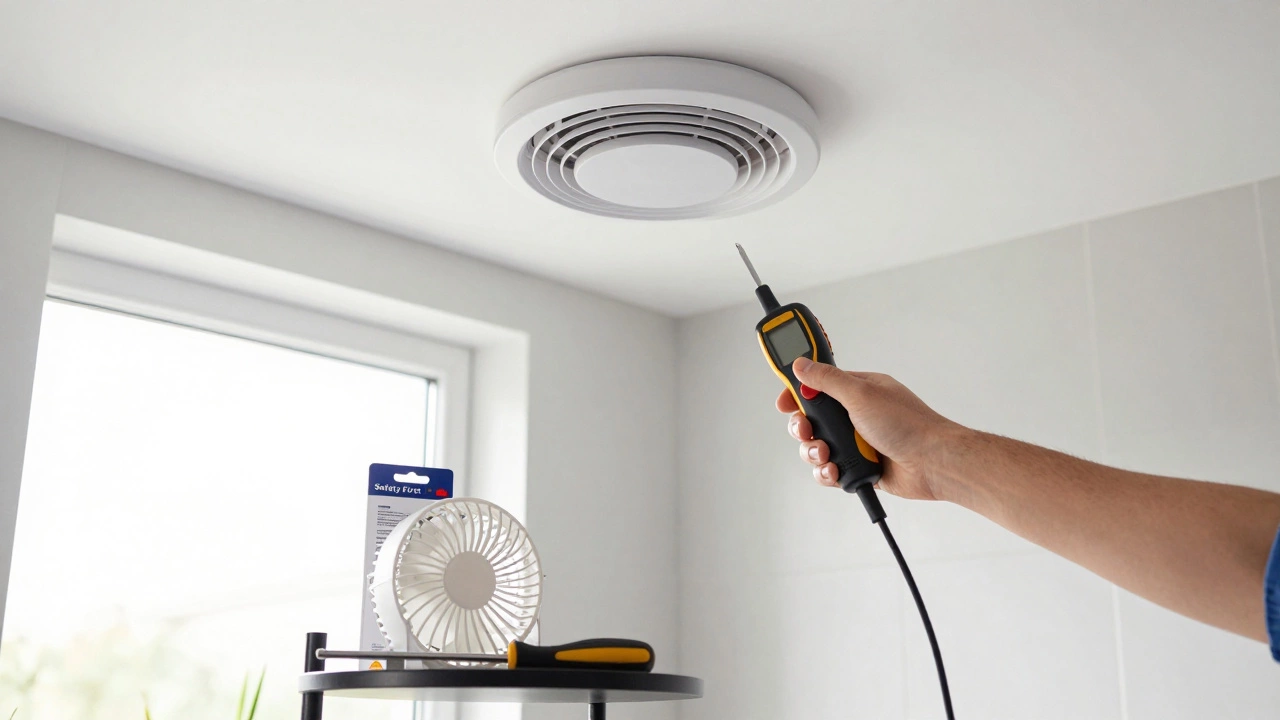
- Kill the Power: Go to your main electrical panel and flip the breaker for the room. Don't just flip the wall switch; that's not enough. Use a Voltage Tester, which is a device used to confirm that no electrical current is flowing through a wire, to double-check the wires at the fan site. If it beeps or lights up, stop immediately.
- Remove the Cover: Most fans have a plastic grille held on by a spring clip or a couple of small screws. Gently pull it down. Be careful not to drop dust and debris all over your floor-it's usually filthy in there.
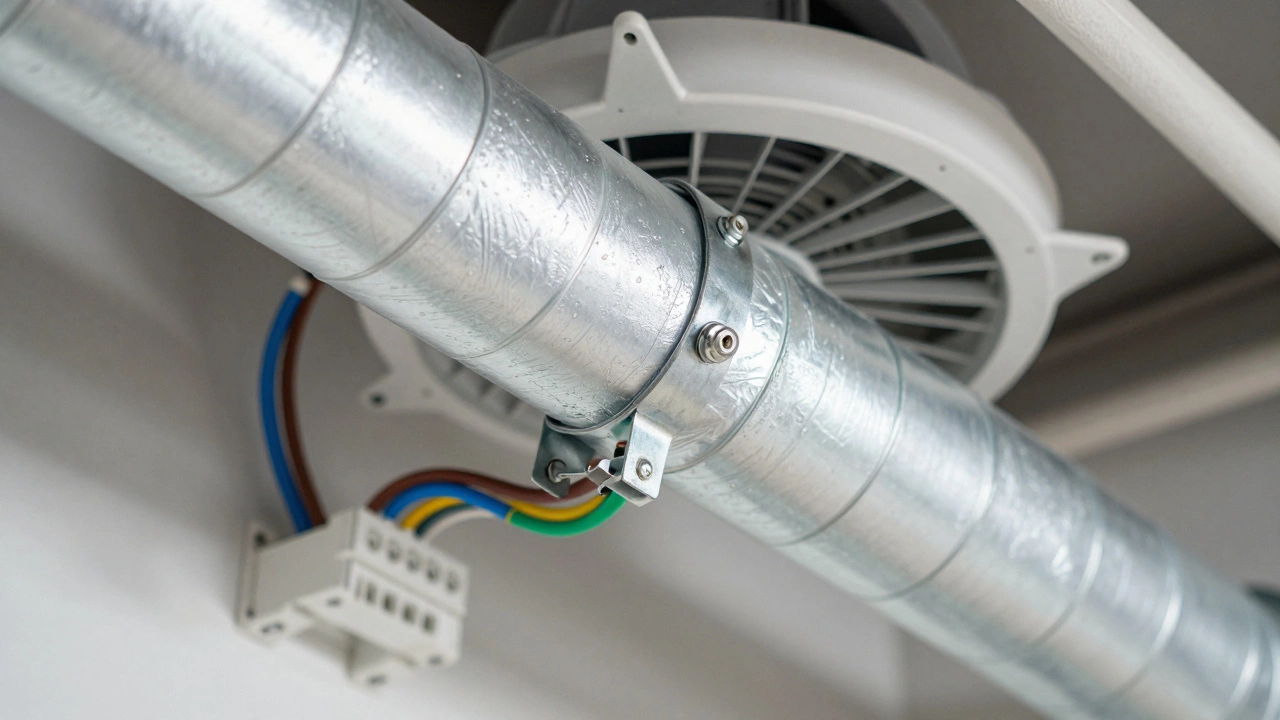
- Disconnect the Wiring: Unscrew the wiring block. Note which wire goes where (usually Brown/Red for Live, Blue/Black for Neutral, and Green/Yellow for Earth). If you're unsure, take a quick photo with your phone.
- Unmount the Old Unit: Remove the screws holding the fan housing to the ceiling or wall. Pull the unit down and move the ducting aside if necessary.
- Prep the Area: Wipe down the mounting surface. If you're using a new fan that's slightly smaller than the old one, you might need a mounting bracket or a bit of filler to close the gap.
- Install the New Fan: Slide the new unit into the aperture. Secure the housing with screws. Make sure the ducting is tightly connected using a Worm Drive Clamp, which is a metal band tightened by a screw to ensure an airtight seal on flexible ducting.
- Wire it Up: Connect the wires to the new fan's terminal block according to the manual. Ensure no bare copper is sticking out of the terminals, as this can cause a short circuit.
- The Moment of Truth: Snap the cover back on, flip the breaker back on, and switch on the fan. Listen for any weird rattling or vibrations.
Common Pitfalls to Avoid
I've seen plenty of DIY jobs go sideways because of a few simple mistakes. First, don't ignore the backdraft shutter. This is the little flap that stops cold wind from blowing back into your house. If you install the fan backward or forget to check the shutter, you'll find your bathroom freezing in the winter.
Second, avoid the temptation to 'just wing it' with the ducting. If the ducting is crushed or kinked, the fan has to work twice as hard, which will burn out the motor in a few months. Use a Rigid Duct or a high-quality flexible hose to keep the airflow smooth. Any sharp 90-degree bends in the pipe will significantly drop the fan's efficiency.
Lastly, check your timer settings. Many modern fans have a 'run-on timer' that keeps the fan going for 5-15 minutes after you leave the room. This is crucial for removing all the steam. If your new fan has this feature, you'll need a permanent live feed (a wire that is always powered) in addition to the switched live wire. If you don't have that extra wire, the timer simply won't work.
Maintenance Tips for a Longer Life
Once your new fan is humming along, don't let it get neglected for another decade. Dust is the number one enemy of the extractor fan. When dust builds up on the blades, it creates an imbalance that puts stress on the motor bearings, leading to that annoying rattling noise.
Every six months, pop the cover off and vacuum the grille. If you can see the blades, use a can of compressed air to blow out the dust. If you notice the suction has dropped, check the external vent on the outside of your house. Spiders love building nests in those vents, effectively corking your fan and forcing the air back into the room.
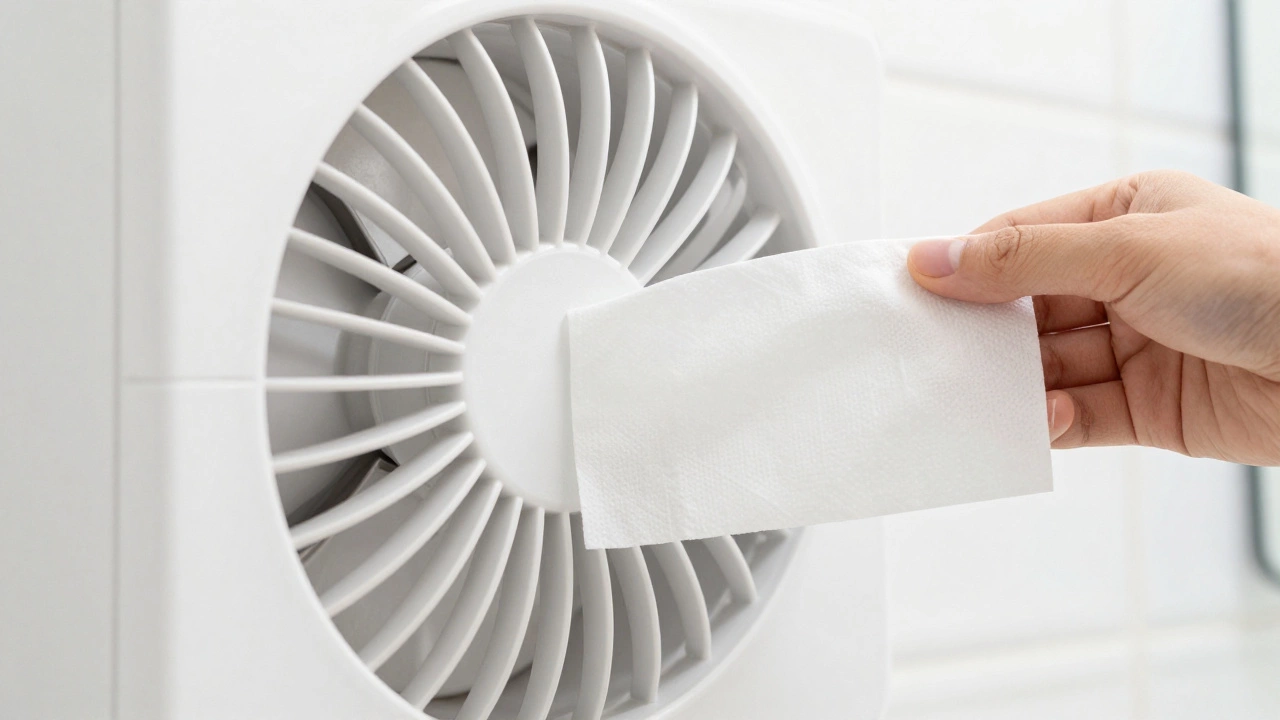
How do I know if my fan is actually working?
The easiest way is the 'tissue test.' Hold a single sheet of toilet paper or a tissue up to the fan grille while it's running. If the fan is working correctly, the suction should hold the tissue firmly against the grille. If it just flutters or falls, you either have a motor failure or a blockage in the ducting.
Can I replace a kitchen extractor with a bathroom one?
Generally, no. Kitchen fans are designed to handle grease and higher volumes of air, often featuring different filtration systems. Bathroom fans are designed for moisture and are usually smaller. Using the wrong one can lead to poor air quality and may not meet local building codes.
What does it mean if the fan makes a loud humming noise but doesn't spin?
This usually means the motor is receiving power but the impeller is jammed or the capacitor has failed. Check for any debris stuck in the blades. If it's clear and still won't spin, the motor is likely burnt out and the whole unit needs replacing.
Do I need a permit to replace a fan?
For a like-for-like replacement (same size, same location), you typically don't need a permit. However, if you are adding a new vent hole through an external wall or changing the electrical circuit, check your local building regulations, as this may require an inspection.
How often should I replace my extractor fan?
There is no set expiration date, but most residential fans last between 5 to 10 years. If the fan becomes excessively noisy, fails to clear steam within 15 minutes, or starts flickering, it's time for a new one.
What to do if things go wrong
If you flip the power back on and the breaker immediately trips, do not try again. You have a short circuit. This usually happens if a wire has slipped out of the terminal block and is touching another wire or the metal housing. Turn the power off again and re-examine your connections.
If the fan runs but doesn't seem to be pulling any air, check the exterior wall vent. It's incredibly common for the external flap to get stuck shut with paint or bird nests. If the air can't get out, the fan will just spin uselessly. A quick poke with a screwdriver or a blast of air from the outside often solves the problem without needing to touch the fan itself.