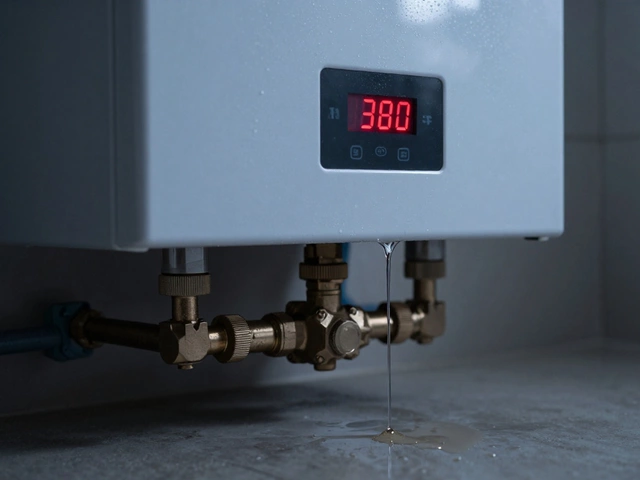
When dealing with Oven element replacement, the act of removing a failed heating component from an electric oven and installing a new one. Also called oven heating element swap, it directly affects how the oven reaches and maintains temperature. Most homeowners encounter this issue in a electric oven, a kitchen appliance that uses electric coils to generate heat, where the heating element, the metal coil that converts electricity into heat has burnt out or cracked.
Before you even think about pulling the oven apart, you need to confirm that the element is the culprit. A quick visual inspection for discoloration, a multimeter test for continuity, and checking for tripped circuit breakers are the usual steps. This diagnostic phase shows why oven element replacement encompasses both electrical testing and mechanical removal. If the element tests good, the fault might lie with the oven thermostat, the temperature‑sensing component that tells the oven when to heat. The thermostat influences the oven’s ability to maintain set temperatures, so a faulty thermostat can mimic a bad element.
Safety First: What You Must Do
Safety isn’t optional when you’re swapping a heating element. Turning off the main power at the breaker, waiting a few minutes for capacitors to discharge, and using insulated tools are non‑negotiable steps. Successful oven element replacement requires basic electrical safety skills, and ignoring them can lead to shocks or further damage. If you’re uncomfortable with live wires, hiring a qualified appliance repair professional is the smartest move. A certified technician not only follows safety protocols but also checks related parts like the wiring harness and the oven’s power cord.
When you decide to go the DIY route, gather the right tools: a screwdriver set, a multimeter, a non‑metallic glove, and the exact replacement element model for your oven make. Using the correct element matters because dimensions, wattage, and connector type must match the original. Installing a mismatched element can overload the circuit, waste energy, and shorten the oven’s lifespan. The cost of a proper element typically ranges from £20 to £70, while a professional repair call can add £80‑£150 depending on the issue and travel distance.
Beyond the element itself, consider the long‑term health of your oven. Regular cleaning of the interior, checking for buildup around the element, and scheduling an annual service can prevent premature failures. These preventative steps tie back to the idea that a well‑maintained oven reduces the frequency of both element and thermostat replacements, saving time and money over the years.
Now that you understand the signs, safety measures, tools, and cost factors, you’re ready to decide the best path forward. Below you’ll find a curated collection of articles that dive deeper into diagnosing bad elements, comparing DIY versus professional repair, and estimating realistic budgets for an effective oven element replacement. Browse through the posts to get actionable tips, step‑by‑step guides, and expert advice tailored to Warwick homeowners and beyond.
Replacing an element in an electric oven is a common maintenance issue that many households face. The cost can vary depending on several factors, including the type of oven, the specific element needed, and whether you hire a professional or do it yourself. This article will walk you through the factors affecting the cost, provide a step-by-step guide on how to replace an oven element, offer a handy list of tools needed, and share some helpful tips to extend the lifespan of your oven element.