Replace Extractor Fan – How to Swap Out and Keep Your Home Fresh
When working with extractor fan replacement, the process of removing an old fan and installing a new one to improve indoor air quality. Also known as fan swap, it helps control moisture, odors, and airborne grease in kitchens and bathrooms. Understanding the steps saves you time, money, and the headache of calling a pro for a simple job.
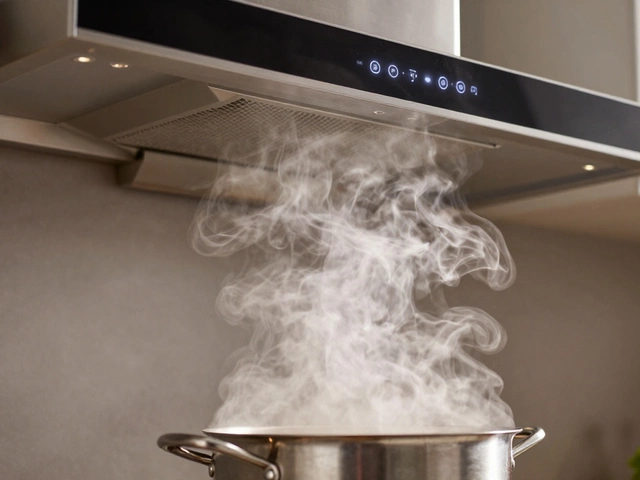
First, think about ventilation, the movement of fresh air into and out of a space. Good ventilation is the backbone of any extractor fan project – the fan’s airflow rating must match the room’s size to clear steam or cooking fumes effectively. If you pick a fan that's too weak, you’ll still end up with damp walls and lingering smells; too powerful and you’ll waste energy and create noisy drafts.
Key Factors to Consider Before You Start
Identify where the fan will live. A kitchen extractor fan, usually mounted above the stove to capture grease and heat needs a higher CFM (cubic feet per minute) rating than a bathroom extractor fan, designed to pull moisture away from showers and baths. Measure the square footage, note ceiling height, and consider any existing ductwork. You’ll also need to check the electrical supply – most fans run on a 120‑V circuit, but some high‑performance models require a dedicated line.
Safety comes next. Unless you’re comfortable handling wiring, bring in a qualified electrician, a tradesperson certified to work on household electrical systems. They’ll verify that the circuit is properly grounded, install a GFCI outlet if required, and ensure the fan complies with local building codes. Even if you plan a DIY swap, a quick inspection by an electrician can prevent hidden hazards like overloaded circuits.
Now, gather the right tools. You’ll need a screwdriver set, a drill for mounting brackets, a voltage tester, and possibly a flexible duct clamp. If the old fan is sealed with silicone, a utility knife will help you cut through without damaging surrounding tiles or plaster. Keep a bucket handy for any water that may collect inside the old housing.
Removing the old unit is straightforward: turn off the power at the breaker, detach the wiring, unscrew the fan housing, and disconnect the duct. Take note of how the wires are connected – a quick photo can save you a lot of guesswork when you wire the new fan. Clean the duct with a brush or a vacuum to clear any dust that could reduce the new fan’s efficiency.
Installation flips the removal steps. Secure the new fan’s mounting plate, attach the duct (make sure the airflow direction arrows line up), and reconnect the wires following the manufacturer’s diagram. Double‑check that the unit sits level; an off‑kilter fan can cause vibration and extra noise. Once everything’s tight, restore power and run the fan on low and high settings to verify smooth operation and proper airflow.
After the fan is up and running, schedule a quick maintenance routine. Wipe the exterior monthly, clean the filter every few weeks (or as the manual advises), and inspect the duct for buildup every six months. These simple habits keep the fan humming efficiently and extend its lifespan, meaning you won’t have to replace it again for years.
Below you’ll discover articles that walk you through picking the right fan size, troubleshooting common issues, and understanding UK ventilation regulations – everything you need to feel confident about your next replace extractor fan project while keeping your home fresh and safe.
Replacing a kitchen extractor fan might sound tricky, but with a little guidance, it can be a manageable task. This article dives into the essentials of tackling this DIY project. From understanding the basic functions of an extractor fan to identifying the right replacement, you'll get practical tips and interesting facts along the way. Learn about the tools you'll need and discover useful safety tips so you can feel confident in your own abilities.