Replace Extractor Fan Motor – Quick Guide & Tips
When you replace extractor fan motor, you’re tackling a key part of your home’s ventilation. replace extractor fan motor, the process of removing a faulty motor and installing a new one to get fresh air moving again. Also known as extractor fan motor swap, it restores the airflow that keeps kitchens and bathrooms free of steam and smells. Most homeowners notice the problem when the fan hums, rattles, or stops altogether – a clear sign the motor has given up.
What You Need to Know Before You Start
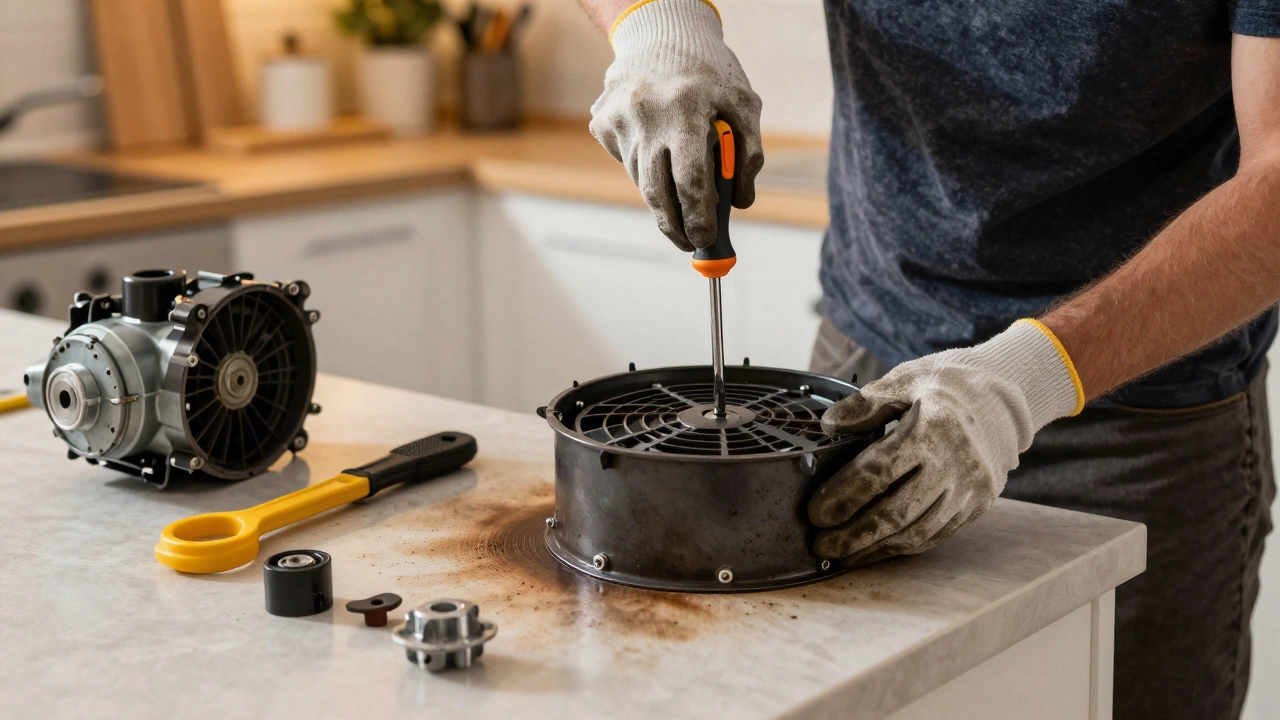
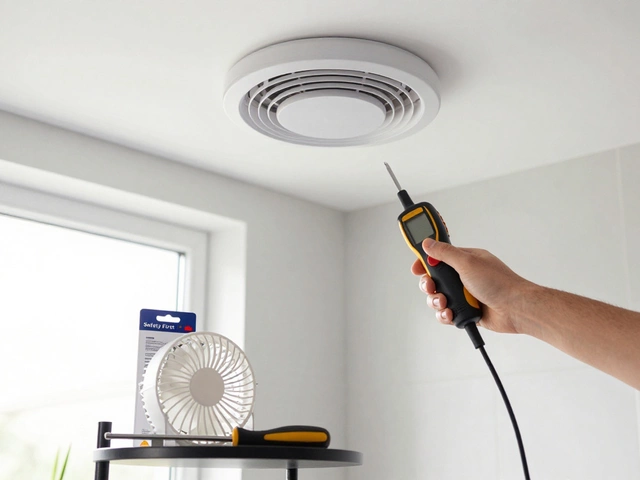
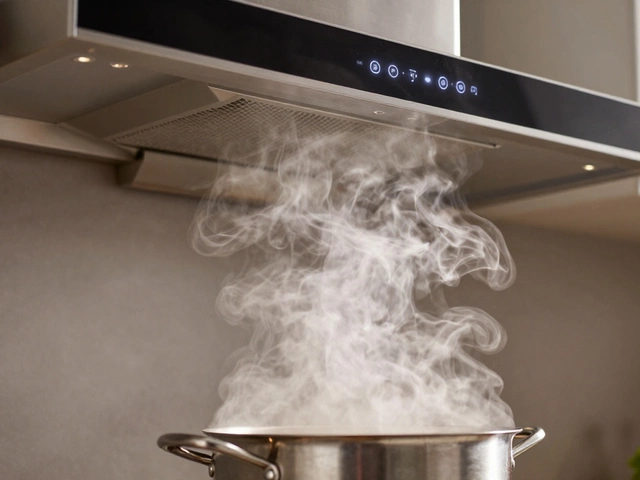
The first thing to understand is that an extractor fan, a device that pulls moist air, odors, and steam out of a room and expels it outside is only as good as its motor. If the motor fails, the fan blades still spin but without power, so no air moves. Replacing the motor involves three main steps: disconnect power, remove the old motor, and install the new one. You’ll need a screwdriver set, a wire stripper, and sometimes a multimeter to check voltage. Safety is non‑negotiable – always switch off the circuit at the breaker box before you start. If you’re not comfortable working with electricity, that’s where a qualified electrician, a tradesperson certified to safely handle electrical installations and repairs comes in. They can verify wiring, replace the motor, and ensure the fan complies with local building codes.
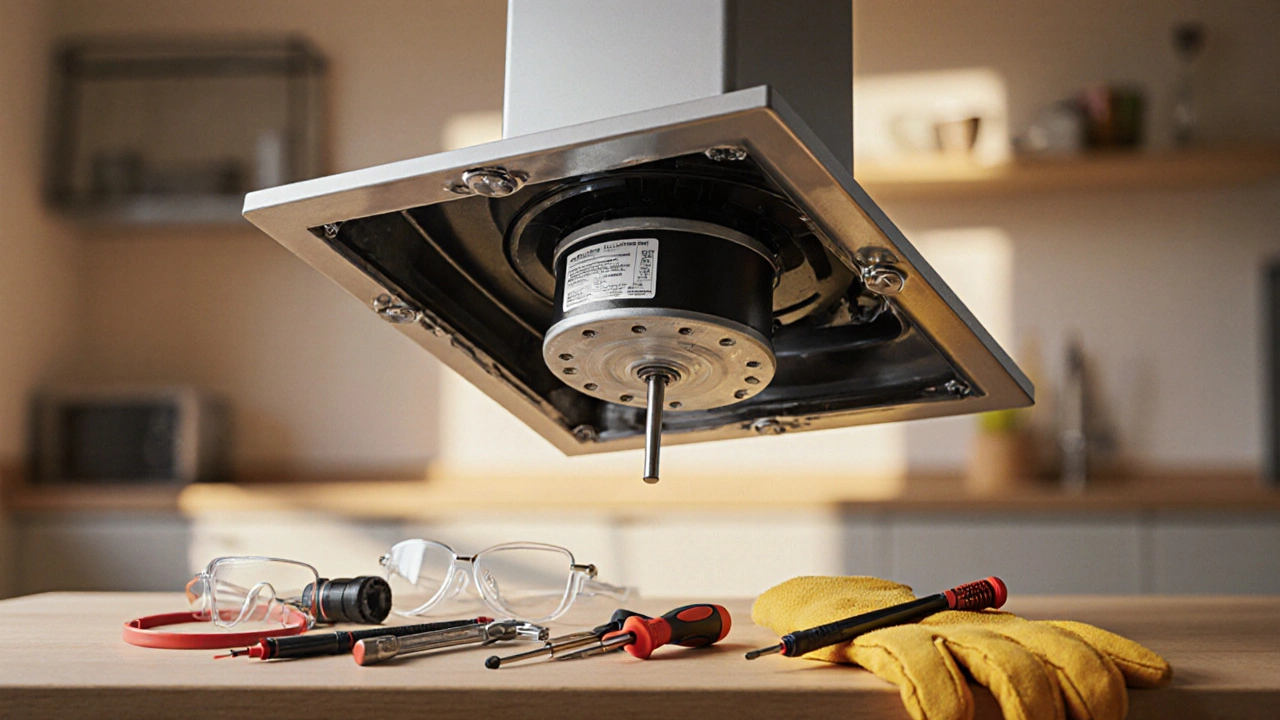
A well‑chosen motor matches the fan’s airflow rating, measured in cubic feet per minute (CFM). Over‑specifying a motor can waste energy, while under‑specifying will leave you with weak ventilation. Check the fan’s manual or the label on the old motor for voltage (usually 120V or 230V) and power (watts). Many modern fans use brushless DC motors that are quieter and last longer, but they may require a compatible controller. If you opt for a new motor, keep the fan housing intact – the housing, wiring harness, and ductwork are all part of the ventilation system. Quality ductwork prevents air leaks, which means the motor works efficiently. A clean duct and regular filter changes also extend motor life, so plan a quick cleaning after you finish the swap.
When you’re ready to install, line up the motor’s mounting bracket with the fan’s frame, secure it with the original screws, and reconnect the wires following the colour code (usually live, neutral, and earth). Before you snap the housing back together, give the fan a test run by turning the power back on briefly – you should hear a steady, smooth hum. If the fan still struggles, double‑check the wiring connections and the motor’s polarity. In some cases, the fan’s control switch or speed regulator may be faulty, which is another reason to involve an electrician. Once everything runs cleanly, close up the housing, replace any grille, and you’re done.
Replacing an extractor fan motor also touches on broader ventilation health. Proper airflow reduces moisture buildup, which helps prevent mold and protects paintwork. It also improves indoor air quality by removing cooking fumes and bathroom humidity. Homeowners who maintain their fans regularly see lower energy bills because a healthy motor doesn’t have to work harder than necessary. So think of the motor swap as both a repair and an efficiency upgrade.
Below you’ll find a curated list of articles that walk you through specific scenarios – from diagnosing a noisy fan to choosing the right motor type, and even when it’s smarter to replace the whole unit. Whether you’re a DIY enthusiast or prefer to leave it to a pro, these resources will give you the confidence to get your ventilation back in shape.
Learn how to replace a kitchen extractor fan motor yourself. Save money, avoid costly repairs, and restore airflow with this step-by-step guide. Includes tools, common mistakes, and where to find the right motor in New Zealand.
Learn how to safely replace an extractor fan motor yourself. Step‑by‑step guide, tools list, motor types comparison, safety tips, and troubleshooting advice.