Water Heater Troubleshooter
Click on the issue you are experiencing:
There is nothing worse than turning the shower handle and getting hit with a blast of ice-cold water. It happens to the best of us, usually right before a morning meeting or after a long day. When your water heater stops working, it’s rarely a random act of nature. Instead, specific components wear out over time due to heat, pressure, and mineral buildup. Understanding what usually fails can save you from paying for unnecessary repairs or replacing a unit that could have been fixed with a $20 part.
In Auckland, where we deal with hard water in many suburbs, sediment buildup is a constant enemy. But it isn't just about the dirt in the pipes. The internal mechanics of both electric and gas models are under stress 24 hours a day. Knowing which parts give up first helps you diagnose the issue quickly. You might find that the problem is simpler than you think, requiring only a basic tool kit rather than a full replacement service.
If you are looking for other local services while you troubleshoot, sometimes it helps to browse different directories to see how businesses operate; for instance, this directory shows how structured listings work, though obviously, that's not what we need for plumbing help! Back to the task at hand: let’s look at the most common culprits behind your cold showers.
The Thermocouple: The Silent Guardian
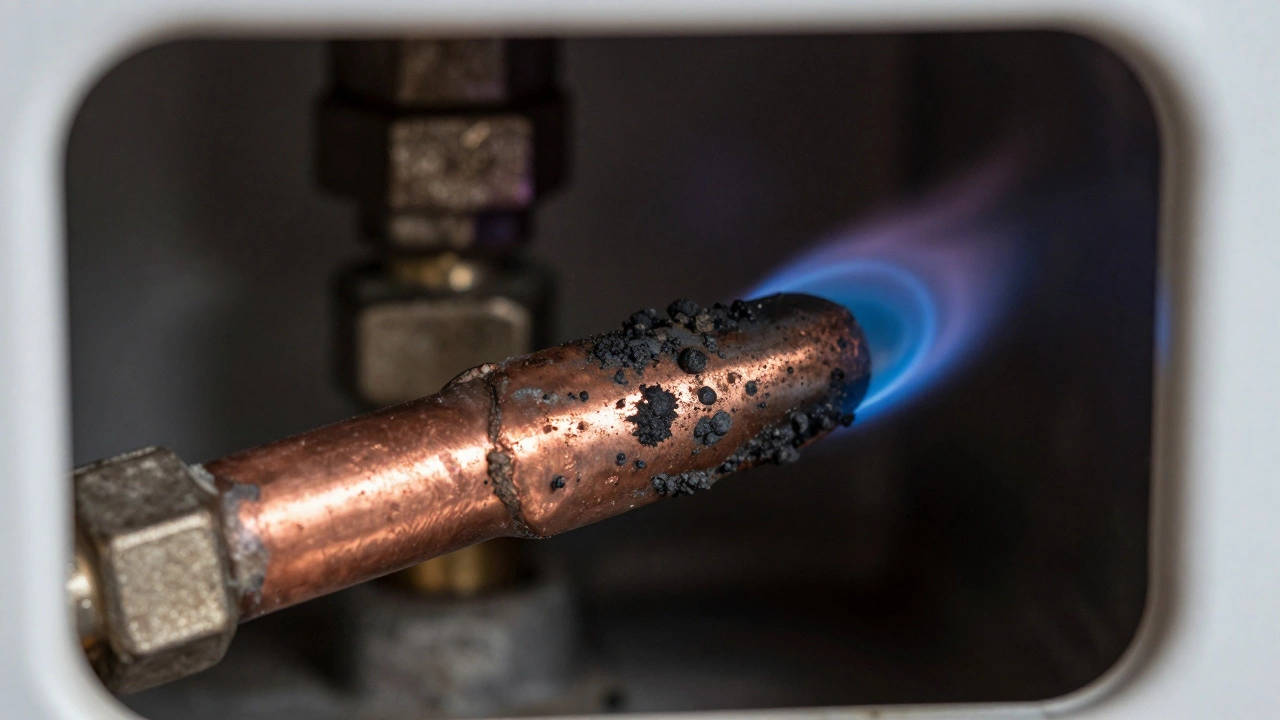
If you have a gas water heater, the thermocouple is likely your first suspect. This small copper tube sits near the pilot light and does one critical job: safety. It detects whether the pilot flame is lit. If the flame goes out, the thermocouple cools down and signals the gas valve to shut off the gas supply. This prevents dangerous gas leaks in your home.
Why does it fail? Over time, soot and carbon deposits build up on the tip of the thermocouple, insulating it from the heat. Even if the pilot light is on, the sensor thinks it’s off and cuts the gas. You’ll notice the pilot lights up when you hold the button but goes out immediately when you release it. Cleaning the tip with fine sandpaper often fixes this. If cleaning doesn’t work, replacement is cheap and easy. It’s a five-minute fix that saves hundreds in service calls.
Heating Elements: The Electric Weak Link
For electric water heaters, the story changes. You don’t have a pilot light or a thermocouple. Instead, you rely on heating elements. Most units have two: an upper element that heats water as it enters the tank, and a lower element that maintains the temperature. These elements are submerged directly in the water, making them vulnerable to corrosion and scaling.
In areas with hard water, minerals like calcium and magnesium coat the elements. This layer acts as an insulator, preventing the element from transferring heat efficiently to the water. Eventually, the element overheats and burns out. You might experience lukewarm water instead of hot, or no hot water at all. Testing these elements requires a multimeter to check for continuity. If the reading is infinite, the element is dead. Replacing them involves draining the tank, removing the old element, and installing a new one with fresh seals.
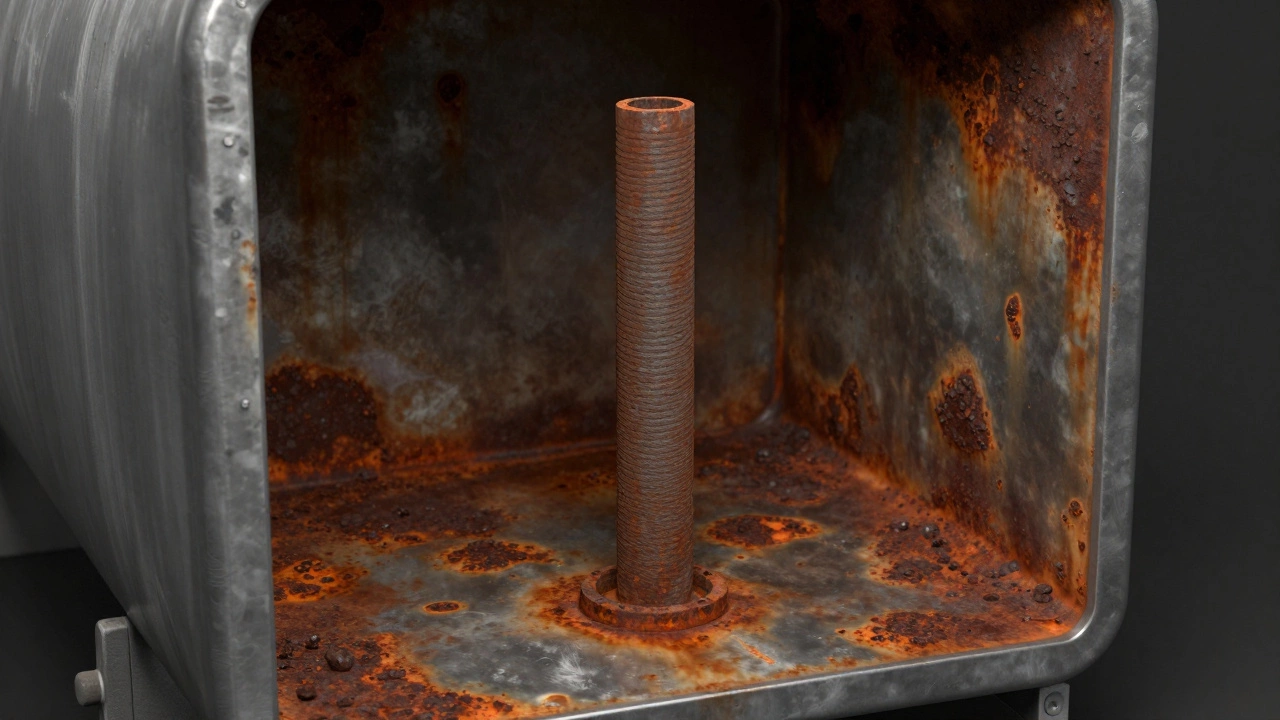
Anode Rods: The Sacrificial Hero
This is the part most people forget until it’s too late. The anode rod is a metal bar inserted into the top of the tank. Its sole purpose is to corrode instead of your steel tank. It attracts corrosive elements in the water, sacrificing itself to protect the inner walls of the heater. Think of it as a bodyguard taking bullets for the king.
When the anode rod is fully consumed, the corrosive elements attack the tank itself. This leads to pinhole leaks and eventual catastrophic failure. Manufacturers recommend checking the anode rod every three to five years. If more than half of the core wire is exposed, it’s time to replace it. A new anode rod costs less than $50 and can extend the life of your water heater by several years. Ignoring this simple maintenance step is the number one reason tanks rust through prematurely.
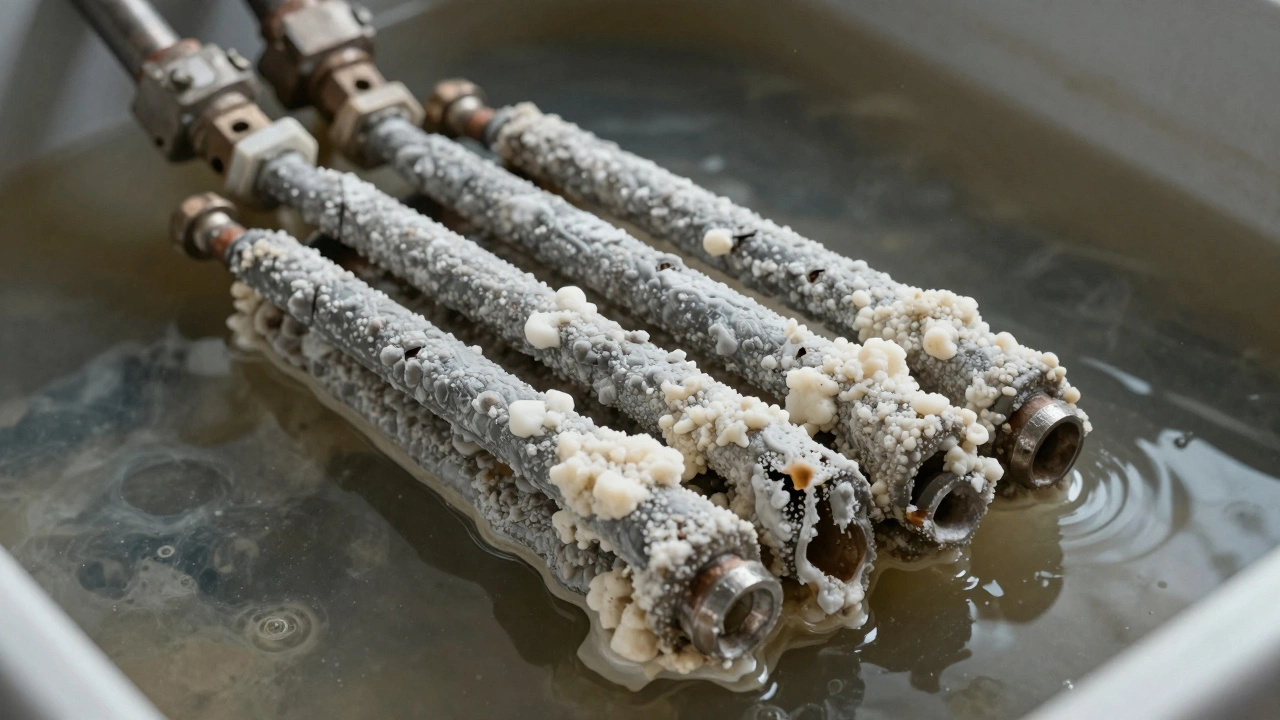
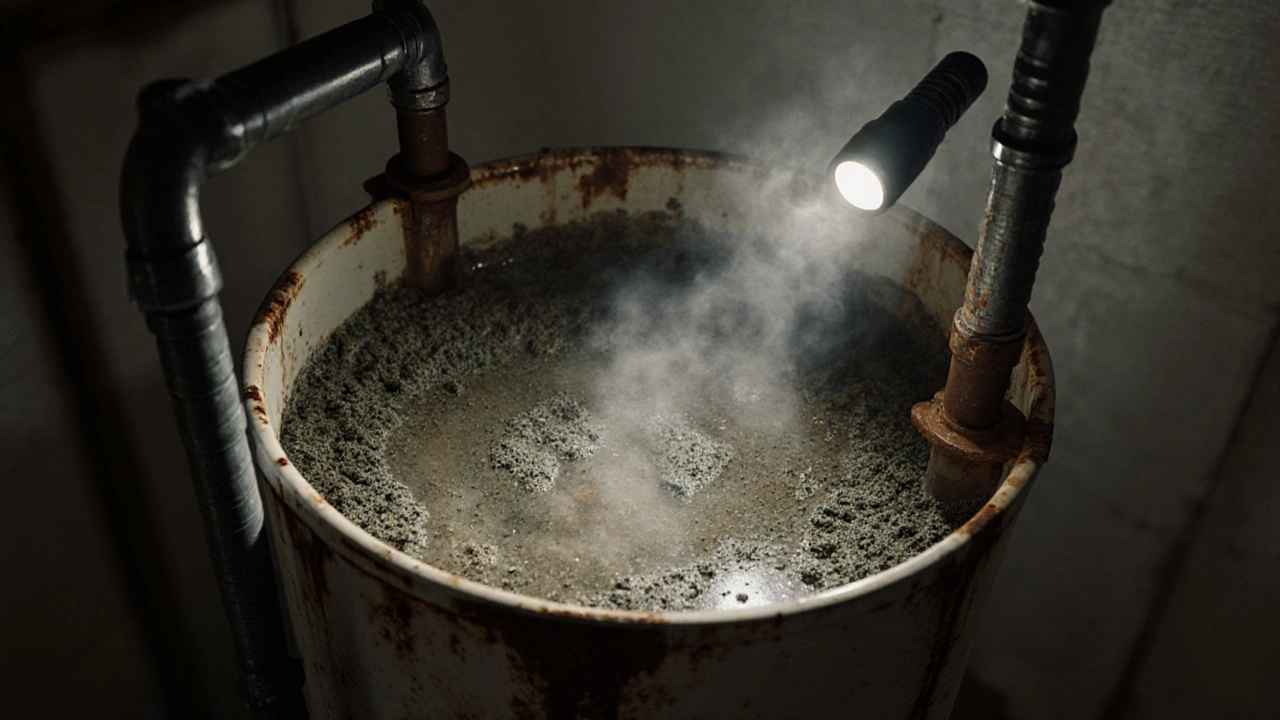
Sediment Buildup: The Hidden Killer
Hard water leaves behind sediment-sand, silt, and minerals-that settles at the bottom of the tank. Over years, this layer grows thicker. In electric heaters, this sediment covers the lower heating element, causing it to overheat and fail. In gas heaters, the sediment traps heat between the burner and the water, causing the tank to overheat and produce popping noises.
You might hear rumbling or banging sounds coming from the tank. That’s the water boiling beneath the layer of sludge. Flushing the tank annually removes this buildup. It improves efficiency, reduces noise, and extends the life of the heating elements. If you haven’t flushed your tank in years, expect a messy process. Open the drain valve carefully, letting the dirty water flow out until it runs clear. This single action can restore performance significantly.
Thermostats and Control Boards
Electric water heaters use thermostats to regulate temperature. Each heating element has its own thermostat. If the upper thermostat fails, the water won’t heat properly. If the lower thermostat fails, you might get hot water initially, but it won’t stay hot. Gas heaters use a gas control valve with a built-in thermostat. If this valve malfunctions, the burner won’t ignite or will stay on continuously.
Modern high-efficiency models often use digital control boards instead of mechanical thermostats. These boards manage ignition, temperature, and diagnostics. They are more complex but provide better accuracy. However, they are also sensitive to power surges. A lightning strike nearby can fry the board instantly. If your display is blank or showing error codes, the control board might be the issue. Replacement requires matching the exact model number, as boards are not universal.
Pressure Relief Valves: Safety First
Every water heater has a temperature and pressure relief valve (TPR). This valve opens automatically if the pressure or temperature inside the tank gets too high, preventing an explosion. It’s a critical safety device required by code. Sometimes, these valves leak slightly, dripping water onto the floor. This is often mistaken for a tank leak.
A leaking TPR valve can indicate excessive pressure in your home’s plumbing system or a faulty valve. Test the valve by lifting the lever briefly. Water should flow out freely and stop when you release it. If it doesn’t, or if it continues to drip afterward, replace it immediately. Never cap or ignore a leaking TPR valve. It’s protecting your home from potential disaster. The cost of replacement is minimal compared to the risk of ignoring it.
| Component | Symptoms | Lifespan | Fix Difficulty |
|---|---|---|---|
| Thermocouple | Pilot light won't stay lit | 3-5 years | Easy |
| Heating Element | No hot water, lukewarm output | 3-7 years | Moderate |
| Anode Rod | Rusty water, tank leaks | 5-10 years | Moderate |
| Sediment Buildup | Popping noises, reduced efficiency | Ongoing | Easy |
| TPR Valve | Dripping from side pipe | 5-10 years | Easy |
Diagnosing Your Specific Model
Not all water heaters are created equal. Tankless models, for example, face different challenges. They lack a storage tank, so sediment buildup affects flow rates rather than causing leaks. Scale accumulation in the heat exchanger is the primary enemy here. Regular descaling is essential. Traditional tank models suffer from tank corrosion and element failure. Knowing your model type directs your troubleshooting path.
Check the age of your unit. Most traditional water heaters last 8-12 years. If yours is older and failing frequently, replacement might be more economical than repeated repairs. Newer models offer better energy efficiency and longer warranties. Look for units with aluminum or zinc anode rods, which last longer than magnesium. Consider glass-lined tanks for added corrosion resistance.
How do I know if my water heater needs replacing?
If your unit is over 10 years old, leaking from the tank itself, or requiring frequent repairs, replacement is usually the smarter choice. Rusty water or persistent strange noises are also red flags. Calculate the cost of repairs versus a new unit. If repairs exceed 50% of the cost of a new heater, buy new.
Can I replace a heating element myself?
Yes, if you are comfortable with basic tools and electrical safety. Turn off the power at the breaker, drain the tank partially, remove the access panel, and unscrew the old element. Install the new one with fresh thread seal tape and reconnect the wires. Restore power and refill the tank before turning it back on.
Why is my water heater making popping noises?
Popping sounds indicate sediment buildup at the bottom of the tank. Water trapped under the layer of minerals boils and escapes, creating steam bubbles that pop. Flush the tank to remove the sediment. If the noise persists, the buildup may be severe, requiring professional cleaning or replacement.
Is it normal for the TPR valve to drip occasionally?
Occasional dripping can happen due to thermal expansion, but continuous leaking is not normal. It suggests the valve is faulty or the pressure in your system is too high. Test the valve. If it doesn't reset properly or continues to leak, replace it immediately to ensure safety.
How often should I flush my water heater?
Flush your tank once a year. In areas with very hard water, consider flushing twice a year. Draining a few gallons from the bottom removes sediment that reduces efficiency and damages components. It’s a simple maintenance task that pays off in longevity and energy savings.