If your glass hob just got a crack or chip, you’re probably wondering if you have to replace the whole thing—or if there’s a cheaper fix. Good news: not every ding spells disaster. Some minor damage can be patched up at home, but other problems need a pro (or a brand-new hob). Knowing the difference can save you a pile of money—not to mention keep your kitchen safe.
A cracked hob isn’t just an eyesore; it can turn dangerous fast if you mess with live wiring or ignore sharp edges. It’s all about checking the type, depth, and location of the damage before grabbing any tools. Small chips on the edge? Sometimes an epoxy kit can cover those. Big cracks running over heating zones? That’s riskier, and using the hob could even cause it to shatter next time it heats up.
Before you decide what to do, turn off the power at the wall. Never try cleaning or poking around a cracked hob while it’s still plugged in. Safety first, always.
- Glass Hob Anatomy: What Breaks and Why
- Spotting Damage: Types of Cracks and Chips
- DIY Repairs: What You Can (Safely) Tackle
- When to Call for Professional Help
- Costs, Risks, and Warranty Gotchas
- Tips for Preventing Future Hob Breaks
Glass Hob Anatomy: What Breaks and Why
Let’s break down what’s really under that shiny surface. Glass hobs—also called ceramic hobs—are basically a thick sheet of heat-resistant glass stuck on top of metal and electronics. That glass looks tough, but it’s not indestructible. The stuff they use is usually a special type called ceramic glass. Unlike window glass, it can handle big temperature swings without shattering. Still, it has weak spots.
Most hobs have a glass thickness of 4-8mm. The glass sits over coil or induction heaters that shoot heat right through it. There aren’t any moving parts on top—just sensors and touch controls under the surface. This is why a crack or chip can mess with how the whole thing works.
| Glass Type | Average Thickness | Common Weaknesses |
|---|---|---|
| Ceramic Glass | 4-8mm | Impacts, sudden cold/hot contact |
| Tempered Glass | 4-6mm | Edge chips, direct hard hits |
The biggest troublemakers for broken hobs are:
- Glass hob repair needs usually start after someone drops a heavy pot. Even a bottle of oil tipping over can be enough if it lands wrong.
- Placing something cold (like a frozen bag or wet rag) on the hot glass. This can make the surface crack fast.
- Dragging pans across the surface. Even “scratch-proof” brands can end up with small gouges that turn into chips later.
- Overheating. If someone keeps a zone blasting for ages without a pan, the glass can get too hot and weaken over time.
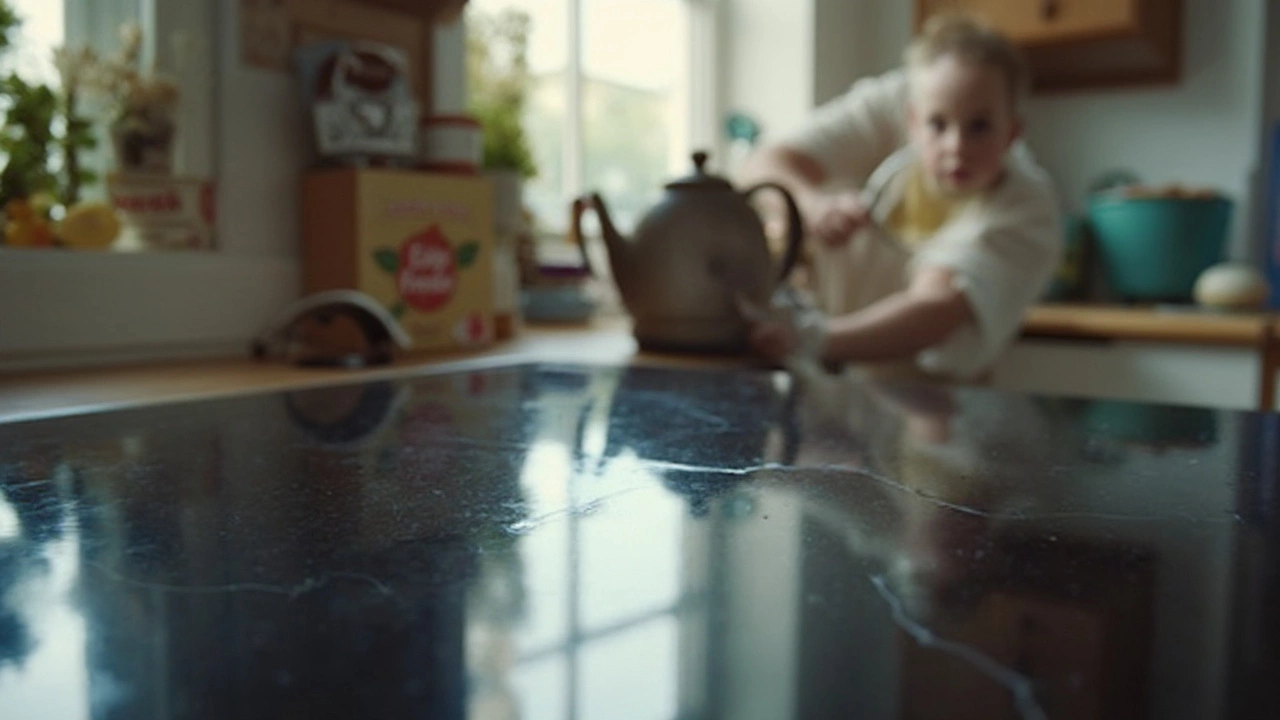
Edges are extra fragile. The middle part has some give, but hit the rim and you’re way more likely to see a split travel across the whole top. Plus, once a crack starts, it has a nasty habit of growing bigger, especially with all the heating and cooling going on every day.
So if your hob just chipped or cracked, now you know what might have pushed it over the edge—and why some damage is way more serious than others.
Spotting Damage: Types of Cracks and Chips
Not all cracks and chips are created equal. If you want to know whether you can fix your hob or if it's time to call for backup, the first step is figuring out exactly what kind of damage you're dealing with. Glass hobs can chip, pit, or crack in very different ways, and each type has its own risks.
Here's a quick rundown of what you might see:
- Surface Scratches – These look like faint lines and usually don’t affect how the hob works. They're annoying but mostly cosmetic.
- Small Chips on the Edge – If you spot tiny chips around the outer rim, they’re usually less risky unless they start to spread inwards. Many people use a repair kit for these.
- Hairline Cracks – Super thin lines that aren’t deep. Sometimes you barely see them until the light hits just right. If they cross over heating zones, that's trouble.
- Deep Cracks – These go through the top layer and can even split the glass. Do not keep using your hob like this; it’s basically running on borrowed time.
- Star-Shaped Cracks – Looks like a spider web. Usually caused by dropping something heavy. These can spread fast once the hob heats up again.
To spot damage early, check your hob in good lighting and run your finger gently across the surface—feel for rough spots or lines. Never press hard, just in case the glass is weak underneath.
Sometimes it’s not just about looks. Even small chips can hide bigger problems underneath, especially if they’re near where the hob gets hottest. Here’s what you should check out if you’re not sure:
| Type of Damage | Common Cause | Typical Risk |
|---|---|---|
| Surface scratch | Pots being dragged | Mostly cosmetic |
| Small chip (edge) | Accidental knocks | Usually safe if not spreading |
| Hairline crack | Sudden temperature change | Can grow, watch closely |
| Deep crack | Heavy impact | Unsafe, replace ASAP |
| Star-shaped crack | Dropped objects | Spreads with heat, unsafe |
If damage lines go over the heating zone or you see anything more than a scratch, it's best to stop using the hob until you know it’s safe. A cracked ceramic hob can fail suddenly and even break apart with normal use. Trust your gut—if it looks or feels wrong, don’t risk it.
The most important thing with any glass hob repair is catching damage before it gets out of hand. A small chip now could mean a big crack after dinner.
DIY Repairs: What You Can (Safely) Tackle
You don’t always need a technician just because your hob’s glass top took a hit. For minor chips or surface scratches, there are a few cost-effective fixes you can handle yourself. Let’s break down what’s safe for a DIY patch job—and what isn’t worth the risk.
The truth is, minor chips along the edge that don’t go deep or crack through a cooking zone are usually fair game. Hardware stores carry specialized stove glass repair kits made for tiny surface nicks. These typically use a heat-resistant epoxy resin that fills and seals damaged spots. For scratches, you’ll find rubbing compounds made to buff out marks (though deep cuts rarely vanish completely).
- Glass hob repair kits work best on shallow, clean chips that don’t expose any metal or wiring underneath.
- Don’t try to fix large cracks, especially those running over the heating elements or controls. These are a safety hazard if not handled by a pro.
- Most adhesives and repair compounds can handle operating heat up to about 250°C, but check your product’s label to be sure. Hobs often reach 200°C or higher during normal use.
- Before anything, clean the cracked area with rubbing alcohol (not kitchen cleaner) and let it dry thoroughly. Any grease stops the repair material sticking properly.
Here’s how pros suggest tackling a typical edge chip:
- Switch off all power to the hob at the wall and double-check it’s cool.
- Gently sand the chipped spot with a bit of fine sandpaper if the kit instructions say to.
- Mix the epoxy resin as directed and apply with a toothpick or small spatula, filling just the chip (not spreading outwards).
- Let it cure for the full time listed in the instructions—this means no using the hob, even for a quick reheat.
- Wipe down and check the seal before using again. If the repair feels loose or rough, you may need another kit or a professional fix.
Still not sure if your hob damage is "small enough?" Here’s a quick guide to common types of DIY-safe damage and what to watch out for:
| Damage Type | DIY Safe? | Notes |
|---|---|---|
| Small edge chip (<1cm) | Yes | Use repair kit |
| Surface scratch | Yes (if shallow) | Buff with glass safe polish |
| Crack over heating zone | No | Needs pro repair or replacement |
| Deep or spreading crack | No | Structural risk—don’t use |
| Loose or wobbling glass | No | Stop using hob |
Don’t try glue, clear tape, or sealant from your toolbox—they’re not made for heavy heat and will fail (or even catch fire). And always check your warranty; hacking your hob might void it if you go further than what’s allowed.
When to Call for Professional Help
Some damage is just out of your league—no matter how handy you feel. It’s time to bring in a pro if you spot deep cracks crossing a burner zone, spiderwebbing across the surface, or if any piece of glass is loose. This isn’t about looks; these cracks can mess with heat distribution, make the glass hob repair way more dangerous, and even risk an electric shock if you try to fix it yourself.
If water or cleaning products have seeped through the crack, there’s a chance they’ve reached the electronics underneath. That can create shorts or hidden malfunctions, and home fixes won’t sort that out. Also, if the surface feels uneven or there’s any sign of burning or melted glass, it means something’s seriously off beneath the hob—the only safe move is to call a certified technician.
Keep this checklist in mind for calling a professional:
- The crack is more than a few centimeters, especially near heating zones.
- You see glass shards, movement, or the hob feels wobbly.
- There’s any exposed wiring or weird smells (like burning).
- The hob won’t turn on, or trips the breaker when you try to use it.
- You have a warranty—unauthorized repairs might void it.
Pros can safely remove and replace the glass top, check all electricals, and advise if anything else needs swapping. Most importantly, they’ve got the right tools and know-how, which means no risk to your fingers or your kitchen’s wiring. Don’t gamble—if you’re in doubt, let the experts handle it.
Costs, Risks, and Warranty Gotchas
Repairing a glass hob repair issue can cost anywhere from £40 for DIY epoxy kits (mainly for scratches or minor chips) right up to £350 or more for replacing a full glass top, depending on your hob’s make and model. Plenty of people think they’ll save a fortune fixing it themselves, but if you get it wrong, you could easily double your costs—or worse, make the appliance unsafe.
It’s worth knowing that most manufacturers do not cover accidental glass damage under warranty. If you mess with the hob yourself, you can also void any remaining cover—even for unrelated problems. Here’s a line straight from Bosch’s warranty terms:
"Damage to the glass surface by impact, breakage, or cleaning with unsuitable materials is not covered under warranty."
The biggest risks with dodgy repairs include:
- Fire hazard—cracked glass can let spills get into the electrics, which is a recipe for trouble.
- Electric shock—if you poke around after breaking the surface, you might hit live parts.
- Glass shattering—what looks like a hairline split can suddenly give way under heat, sending sharp fragments everywhere.
If you’re thinking about repair versus replacement, here’s a quick cheat sheet with typical UK prices (as of June 2025):
| Damage Type | DIY Repair Kit | Pro Repair | Replacement |
|---|---|---|---|
| Small chip/scratch | £40–£60 | £70–£120 | N/A |
| Large surface crack | N/A | £120–£200 | £200–£400 |
| Complete glass top | N/A | N/A | £250–£450 |
Always check your warranty before making any move. Some extended cover plans give you one “oops” accident fix, but most don’t. And don’t forget, many home insurance policies have a separate excess for kitchen appliances. Reading the fine print can save you a world of hassle later on.
Tips for Preventing Future Hob Breaks
You can’t make a glass hob indestructible, but you can avoid the usual mistakes that cause cracks and chips in the first place. Here’s what actually works to keep your hob in one piece for longer.
- Don’t drop cookware: Most cracks and chips come from banging pots or dropping a pan even a few inches above the glass. Handle your cookware gently, and don’t use the hob as a resting place for heavy things outside of cooking.
- Stick to flat-bottom pans: Warped or rough-bottomed pans concentrate pressure on the glass and can cause both scratches and cracks. Check your pots and pans every so often and swap out any with visible warping.
- Cool down before cleaning: Glass hobs are weakest when hot. Pouring cold water or using a cold cloth on a hot surface can actually trigger a crack. Always wait till the surface is room temperature before cleaning.
- Never stand on or lean over your hob: Sounds obvious, but plenty of people use the hob as a step-stool or lean on it to reach a tall shelf. The glass isn’t designed to take body weight.
- Avoid oversized pots: A pan that’s too big spreads heat unevenly and stresses the glass. Always use cookware that matches your hob zone.
- Keep it spotless: Subtle leftovers—sugar, grit, or even spilled food—can burn on and weaken the glass, especially right where the heating element sits. Wipe up spills after each use but again, only when cool.
Here’s some quick data on what usually causes hob breaks, based on repair company call-outs in the UK:
| Cause of Break | Percentage of Cases |
|---|---|
| Dropped Cookware | 62% |
| Thermal Shock (Cold Cleaning) | 19% |
| Oversized/Heavy Pots | 11% |
| Standing/Leaning on Hob | 5% |
| Unknown | 3% |
If you want your glass hob repair job to be a one-off, stick to the basics above. Most breaks are plain bad luck or simple slips, but making these small changes actually does cut the risk a lot. Also—kids love climbing, so watch out for young ones in the kitchen. A bit of prevention saves a lot of cash and stress.