Discovering a burnt spot on your electric hob can feel like a kitchen catastrophe, but it doesn't have to spell the end. Before you start worrying about replacements, it's worth trying a few time-tested methods to restore your hob's appearance and function. Not only is fixing these blemishes often simpler than anticipated, but it can also be surprisingly satisfying when you see your hob clean and pristine.
In this guide, we'll walk you through the steps from initial cleaning and household remedies to advanced techniques for those stubborn marks. It's about rolling up your sleeves and giving your appliance a new life with some patience and a little elbow grease.
By understanding what causes these burns and adopting preventive practices, you can extend the life of your cooker and ensure it stays as the centerpiece of your culinary endeavors. So, gather your supplies and let's dive into restoring your electric hob.
- Understanding Burnt Electric Hobs
- Initial Cleaning Steps
- Household Solutions for Burn Marks
- Advanced Repair Techniques
- Preventive Measures and Maintenance
Understanding Burnt Electric Hobs
The electric hob is an indispensable part of modern kitchens, favored for its sleek design and efficient heating. But, these shiny surfaces are not free from their share of challenges, burnt hob marks being one of the most common. Understanding how these burns occur is key to prevention and repair. Typical causes include spillage from sugary or starchy foods, which when left unattended, can bake onto the surface due to the intense heat. These residues then turn into stubborn spots that can seem impossible to remove.
Another culprit could be pans with rough bottoms or incorrect size for the burners. Not only does this waste energy, but it also increases the risk of scratching the hob surface, which can predispose it to more serious damage. Some old wives’ tales suggest that using chemical cleaners is the best way out, but contrary to those beliefs, they can often exacerbate the problem by stripping away the protective surface of your appliance.
It's important to know that hobs, whether they're made of ceramic, glass, or metal, have a specific cooking threshold beyond which any spilled materials will char and bond with the surface. Temperature regulation is thus integral to avoiding burnt hob spots. Famous chef and kitchen appliance expert, Julia Stevens, advises,
"Controlling your cooking zone and being mindful of heat levels are just as crucial as the ingredients you put in your dish."This advice holds true universally, suggesting care and attention are paramount in achieving a long-lasting appliance.
One might wonder what the statistics say about these hobs; data suggests that approximately 70% of reported electric hob damage is related to improper use and neglect. This highlights the significance of understanding your kitchen appliance beyond just using it for cooking. With the right knowledge and approach, you can not only handle your burnt hob issues better but also prevent them from happening in the first place.
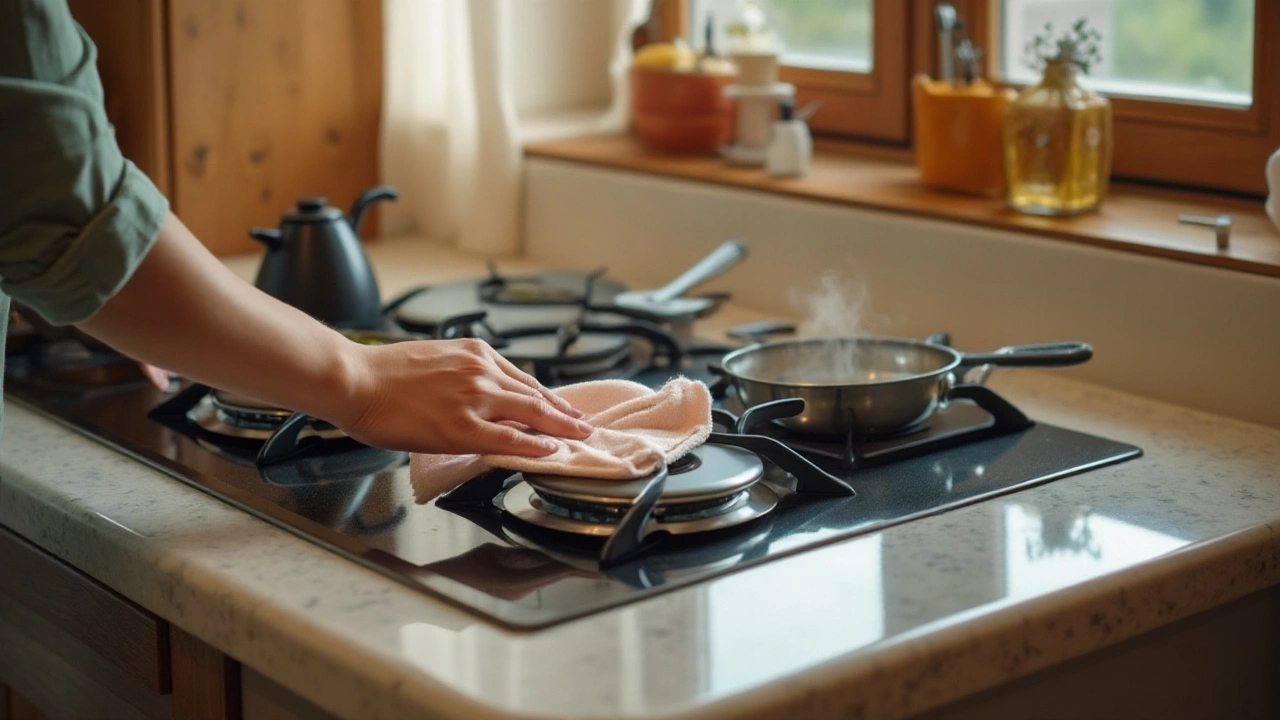
Initial Cleaning Steps
Getting started with cleaning a burnt electric hob can often seem daunting, but some systematic steps will help in making the task manageable. The first and most important phase is to ensure your safety. Always make certain the hob is completely cool before beginning any cleaning efforts. This not only protects your hands but also prevents unintentional smudging which can further complicate the cleaning process. The next step involves removing any loose debris from the surface. Use a soft-bristled brush or a damp cloth to gently sweep away the particles that could scratch the hob when you start scrubbing. Remember, electric hobs, particularly the ceramic-glass types, are more delicate and require gentle handling.
After preparing the surface, it is ideal to move onto the actual cleaning agent. For an initial clean, a simple mixture of warm water and mild dish soap can be surprisingly effective. Wet a soft sponge in this mixture and wring it out so it’s not dripping wet, then gently scrub the hob’s surface. Particularly focus on areas that are visibly more affected by burns and don’t hesitate to apply a bit more elbow grease, but always with care to avoid scratching. Let the sudsy water sit for a few minutes before wiping it away with a clean damp cloth. This step helps to loosen any stubborn residue without risking the hob's surface integrity.
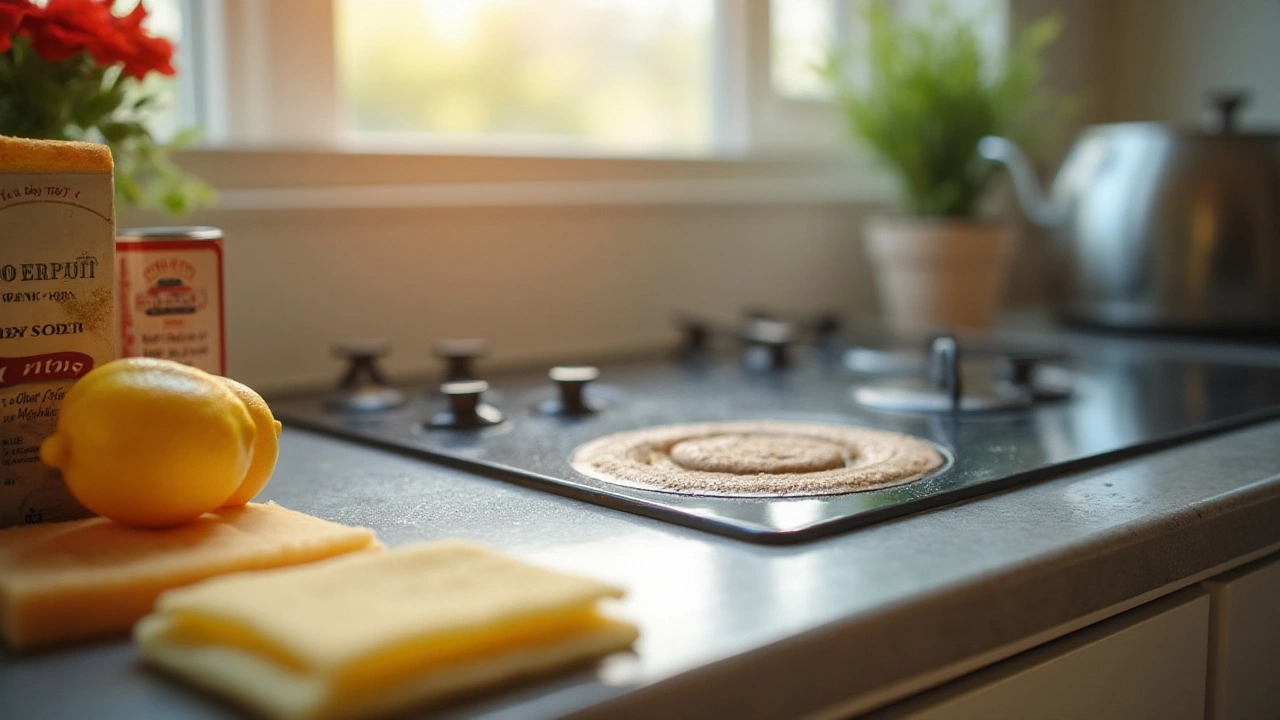
If using a homemade solution interests you more, consider a vinegar and baking soda paste. Not only is this method environmentally friendly, but it’s also extremely effective at dealing with grime. Apply the paste onto the spots and let it sit for at least fifteen minutes. During this process, allowing the chemicals to break down the buildup follows a natural progression that seems almost magical. Using a sponge or cloth to remove the paste can reveal a hob that looks noticeably better. An interesting point to note is that vinegar has antibacterial properties which can never hurt in a kitchen setting.
"The best cleaning solutions are often found in your kitchen pantry," says home maintenance expert Martha Thompson. "Baking soda and vinegar can clean almost any surface without leaving harmful residues."
Be sure to rinse the hob thoroughly and dry it completely with a soft cloth to prevent any water stains. By ensuring moisture does not linger, you help to maintain the sleek look of your appliance. Avoid using steel wool or any abrasive cleaners, as these can cause scratches and potentially shorten the life of your hob. By following these initial steps, you set a solid foundation for deeper cleaning, if needed, and extend the life of this essential kitchen appliance.
Household Solutions for Burn Marks
Tackling those unsightly burn marks on your electric hob doesn't always require specialized cleaners or professional intervention. Sometimes, the best solutions are lurking in your kitchen pantry or bathroom cabinet, waiting to be put to good use. It's amazing how a little creativity combined with household staples can bring back the shine to your kitchen appliance. Let's dig into some practical, everyday methods that can erase the traces of yesterday's cooking escapades and make your hob look new again.
One of the simplest and most cost-effective methods to remove burnt residues from your hob involves a staple in many cleaning routines: baking soda. This unassuming powder, known for its gentle yet effective abrasive properties, can tackle stubborn stains without leaving scratches. Start by making a thick paste with baking soda and a bit of water. Spread this mixture over the burnt area and let it sit for about 15 minutes. As you wait, consider how its neutral pH helps break down the residue without harming your appliance. Then, grab a soft cloth and scrub the area gently in circular motions. The paste lifts away the grime, leaving behind a clean and renewed surface.
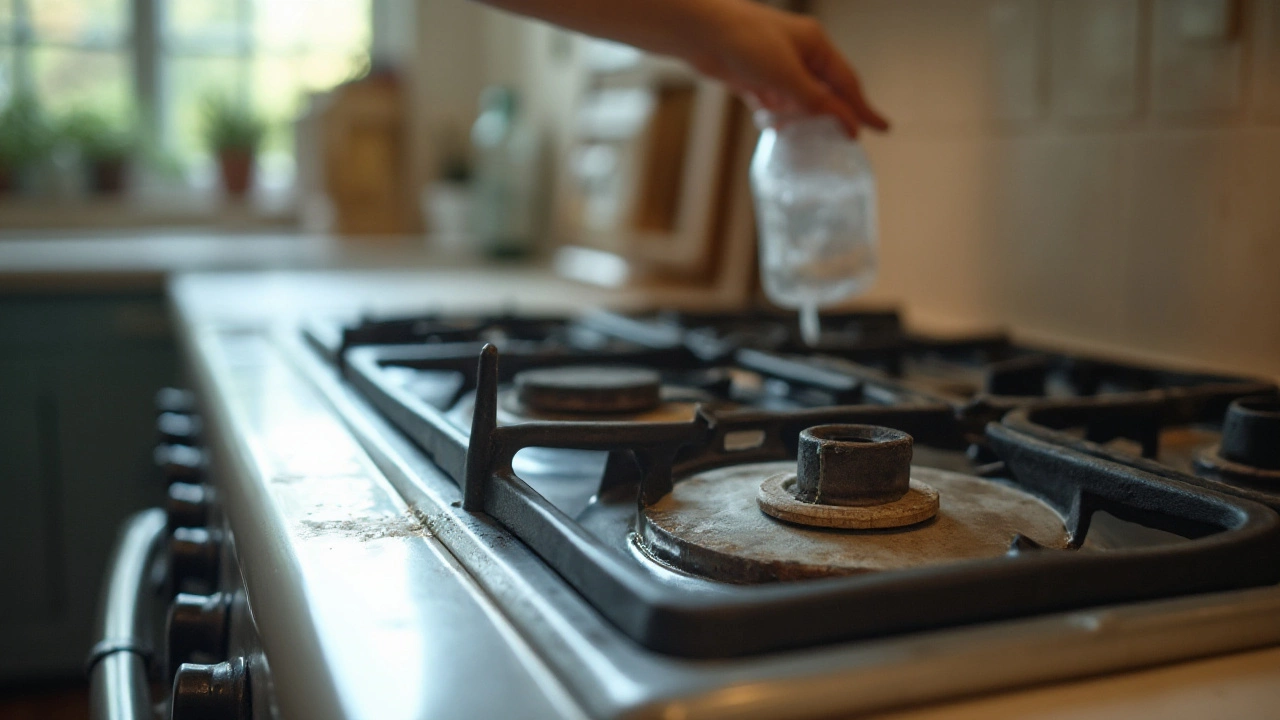
Equally effective, vinegar has earned its place in household cleaning arsenals thanks to its natural acidity. This kitchen hero, particularly white vinegar, can make all the difference when dealing with stubborn burn marks. Begin by heating a small pot of vinegar on the stove until it's warm— not boiling, just warm enough to handle comfortably. Soak a rag in the warm vinegar and place it over the burn mark. The warmth assists in loosening up the burnt residue while the vinegar breaks down the hardened layers. After about 10 minutes, wipe away with a clean cloth. You'll be surprised at how efficiently your electric hob shines back at you.
Another intriguing household remedy involves the use of lemon. Known for its acidic nature, lemon combines cleaning power with a refreshing scent, leaving your kitchen smelling fantastic. Cut a lemon in half and sprinkle a bit of salt on the cut side. Use this like a scrub directly on the burnt area. The salt acts as an abrasive, while the lemon's acid tackles the burn marks head-on. Continue scrubbing gently, allowing the acid time to work its magic, and then wipe clean with a damp cloth. The burnt discolorations diminish while your electric hob enjoys a fragrant makeover.
"Environmental friendliness meets efficiency when household staples like vinegar and lemon become your go-to cleaning agents." - Green Living Magazine
If these methods don't quite resolve the issue in one go, repeating the process usually yields better results. Patience is crucial here, as burn marks can be stubborn but not undefeatable. Don't forget the joy of finding a simple, cost-effective solution right under your nose. As you embrace these do-it-yourself approaches, you'll find maintaining and even restoring your electric hob's brilliance much easier than anticipated. Your kitchen will thank you for not introducing harsh chemicals, keeping it a healthy space for cooking and gathering.
To wrap up, employing these household solutions not only addresses those pesky burn marks but does so in a way that's light on your wallet and heavy on satisfaction. Give these methods a try the next time your cooking ambitions leave a mark on your hob, and enjoy the results of having a kitchen appliance that looks as good as it performs.
Advanced Repair Techniques
When regular scrubbing and household solutions fall short, it’s time to consider advanced repair techniques for your burnt hob fix. These methods often involve specialty products or unique approaches, designed to tackle stubborn burn marks on electric hobs. By turning to these strategies, you not only remove unwanted discoloration but also ensure that your appliance continues to operate effectively. One popular method includes the use of specialized hob cleaner creams that are available in most stores. These are formulated specifically to break down complex residues without harming the hob’s surface, offering a more targeted approach than routine cleaning solutions. Application of these creams requires patience and thoroughness, ensuring that all remnants of the burn are treated.
Another avenue worth exploring is the use of fine abrasives, such as ceramic scratch removers, which are specifically engineered for delicate kitchen surfaces. Using such tools involves gentle, circular motions that methodically erase burn marks. Proper technique here is crucial to avoid creating new scratches or dulling the hob’s finish. For those willing to invest time, replacing or repairing individual hob elements might also be necessary. This could be crucial in cases where burns have affected the electrical components, requiring disassembly and possibly part replacement. This task is typically more involved and might necessitate expert advice; however, it can often restore the appliance to a near-new condition.
An interesting detail is that some manufacturers provide repair kits tailored for specific hob models. These kits usually include a cleaning agent, abrasive pads, and instructions meant to address common problems. Familiarizing yourself with the tools and techniques provided can significantly reduce the effort and increase the efficacy of your repair endeavors. Although such kits can be beneficial, remember they should be used responsibly, adhering to provided guidelines to avoid additional damage. Having said that, modern electric hobs are designed with durability in mind, but intensive use does lead to wear and tear. With proper care and strategic intervention, these appliances can continue performing well beyond expected timelines.
| Method | Efficiency | Estimated Cost |
|---|---|---|
| Hob Cleaner Cream | High | $10 - $20 |
| Ceramic Scratch Remover | Moderate | $15 - $30 |
| Manufacturer Repair Kit | Very High | $20 - $50 |
Incorporating these advanced techniques requires an understanding of your appliance’s unique needs. It’s also beneficial to approach these procedures with diligence and care, keeping in mind the long-term benefits of maintaining a kitchen appliance in its best condition.
"In the realm of tech repair, persistence is your best ally," suggests repair expert Tom Hargrove, emphasizing patience and careful execution over rushed fixes.This wisdom applies equally to hob repairs, where methodical action can vastly improve results. So, when faced with a persistent burn mark, remember these strategies as your go-to solutions for restoring both aesthetics and functionality to your kitchen’s trusted centerpiece.
Preventive Measures and Maintenance
Keeping your electric hob repair needs to a minimum begins with regular care and understanding. Unlike fixing a burnt stove top, which can require immediate attention, preventive maintenance is about consistency and foresight. A major cause of burnt marks on an electric hob comes from spills that aren't taken care of right away. When you leave spills unchecked, they can get baked onto the surface with each use, making them tougher to clean. It's always a wise practice to wipe the hob after every cooking session with a cloth soaked in warm soapy water. Pay special attention to any tricky corners and edges that may trap grime.
Another handy tip is to avoid sliding pots and pans across the hob surface. Over time, this habit can lead to scratches and general wear, which can eventually become burnt areas. Instead, lift and place your cookware carefully to preserve the hob's smooth surface. Protecting your cooker isn't just about how you clean, but also about how and what you cook.
Different materials interact differently with a hob. Using cookware suited for your model reduces the risk of burns. For ceramic hobs, ensure you use flat-bottom pots to spread the heat evenly and reduce burnt spots. Regularly rotating your pots can also help in distributing heat better, alleviating the chances of one spot bearing the entire brunt.
Emphasizing knowledge of your appliance is another crucial part of preventive maintenance. Many electric hob brands provide user manuals with valuable insights into their specific maintenance needs. It might surprise you to know that the manual could contain practical tips that can forestall potential damage. For example, Bosch advises users to use vinegar solutions to clean their hobs, a practice easy enough to incorporate into your routine.
Finally, integrating a monthly deep-cleaning routine can keep your hob in top shape. This involves using specially formulated cleaning agents distinct from your regular dish soap. Glass ceramic or stainless steel cleaners come highly recommended due to their ability to remove stubborn stains and polishes without damage. Finishing off by buffing with a microfiber cloth can leave your hob looking both shiny and new. By adhering to these guidelines, you will not only extend the lifespan of your appliance but also save on future repair costs. Remember, taking care of your kitchen equipment is part and parcel of enjoying a smooth, stress-free cooking experience.