Extractor fans are vital for maintaining good air quality in kitchens, bathrooms, and other areas of the home prone to humidity. Knowing when and how to replace them can improve both safety and comfort. If you're noticing poor ventilation or strange noises, it might be time for a change.
Selecting the right fan involves considering factors like room size and power requirements. Armed with a set of basic tools and a little DIY spirit, the task isn't as challenging as you might think. There's a sense of satisfaction that comes from tackling a home project like this yourself.
For those eager to learn the ropes, this guide breaks down the process into manageable steps, ensuring your new extractor fan functions smoothly and effectively. Let's embark on this handy home improvement journey together, making spaces fresher, one fan at a time.
- When to Replace an Extractor Fan
- Choosing the Right Extractor Fan
- Tools and Materials Needed
- Step-by-Step Replacement Guide
When to Replace an Extractor Fan
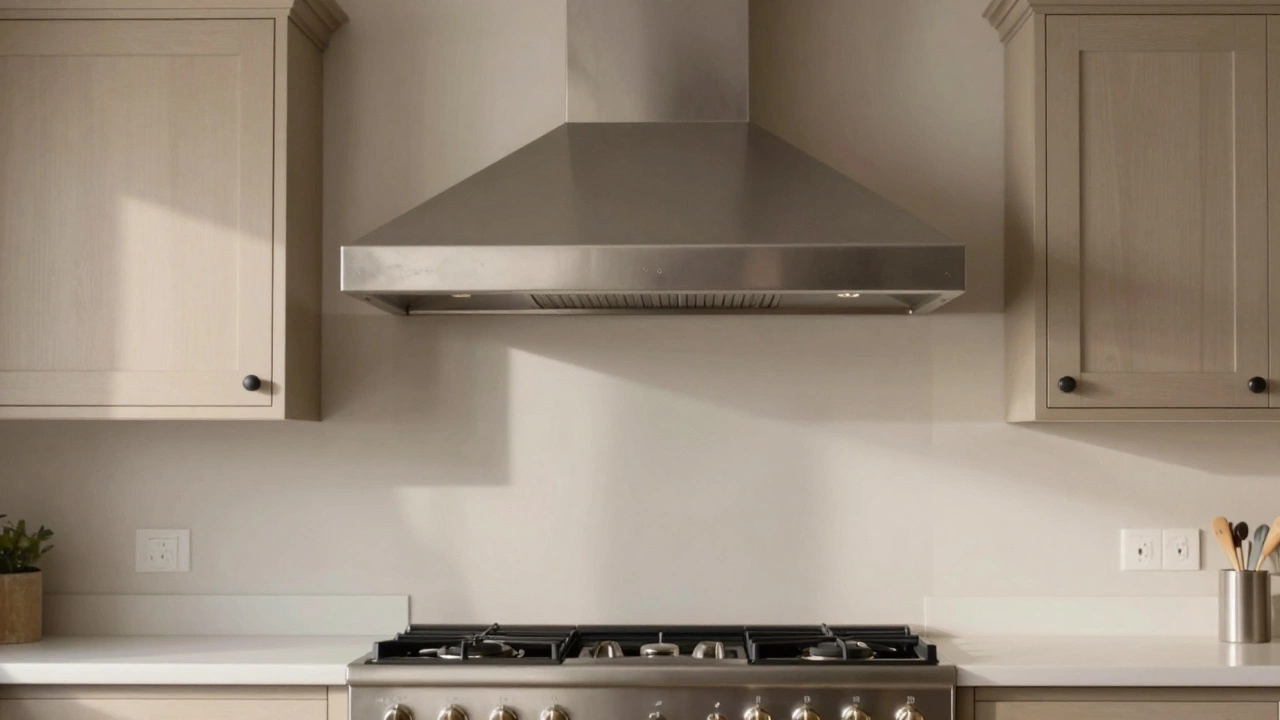
Identifying the right moment to replace your extractor fan can save you from potential frustrations and ensure optimal air quality in your home. Often, these unsung heroes of ventilation systems go unnoticed until they malfunction. One clear sign is an increase in noise levels. If your fan emits a worrying clatter or buzz, it could indicate worn-out bearings or debris buildup. Over time, an extractor fan's efficiency decreases, and what once was a gentle hum can morph into an unpleasant racket. This not only disrupts tranquility but might also mean it’s working harder without delivering the needed ventilation benefits.
The effectiveness of your kitchen ventilation can significantly degrade when air extraction is weakest. Another indicator is visible damage such as cracks or discoloration on the fan cover, which can hint at deeper mechanical issues. Regular cleaning plays a role here; if you’ve noted an excessive buildup of dust and grime despite maintenance, it's an alert. Cleaning might offer temporary respite, but recurring issues can imply it's time for an upgrade. An expert once noted,
"An efficiently running extractor fan should change the air quality in your kitchen within minutes."If your existing appliance takes much longer, power loss could be occurring and impacting performance.
Older models, especially those operating for more than a decade, might struggle with modern demands. Energy consumption is a crucial factor; dated fans consume more electricity compared to newer, energy-efficient models available today. Statistics suggest that upgrading to an advanced model can save up to 30% on electricity bills annually. To assess, start by evaluating whether your fan matches the space’s requirements. Over time, warranties run out, and components are subject to wear, making frequent repairs inevitable. If repairs cost almost as much as or surpass the price of a new fan, replacement emerges as a more judicious option.
- Noise levels: Is the fan noisier?
- Efficiency: Noticing lingering smells or dampness?
- Age: Has it been serving you for over a decade?
- Energy bills: See a spike in consumption?
| Model Age | Efficiency Loss | Service Calls |
|---|---|---|
| Less than 5 years | 10% | 1 per year |
| 5-10 years | 20% | 2 per year |
| Over 10 years | 30% | 3+ per year |
Realizing when these symptoms converge is imperative. If you have answered affirmatively to several points, then the season to consider a swap is near – securing not just performance, but peace of mind. Investing in a new fan enhances the space’s air quality, effectively reducing household allergens. And with a wide array of choices today, tailoring a solution specific to your home needs is more possible than ever. Staying proactive ensures that light breezes waft through your abode, no hassle required.

Choosing the Right Extractor Fan
Choosing the right extractor fan is more than just picking something that fits the space. It's about enhancing the overall efficiency and, ultimately, the comfort of your living area. A well-chosen fan can significantly improve air quality, which is particularly crucial in areas like kitchens and bathrooms where moisture and odors are prevalent. To start, one critical factor to consider is the fan's capacity to move air effectively, measured in cubic meters per hour (m³/h). For small rooms, a fan with a lower capacity may suffices, while larger areas might require something more robust to ensure ample air circulation.
Another important consideration is the noise level. A fan should ideally enhance your environment, not contribute to noise pollution. Most manufacturers list noise levels in decibels, so you can easily compare models. Kitchen fans, for instance, should typically range under 50 decibels to keep the space comfortable without any intrusive hum. Noise may not seem significant, but it's often the small details that contribute to the better living environment we all desire.
Energy efficiency is a focus for many, and rightfully so. Look for an extractor fan with an energy star rating or similar certification, as these models not only conserve power but save money over time. With the growing emphasis on eco-friendly appliances, some fans now come equipped with sensors that adjust operation based on room conditions. These small technological advances can massively impact your energy bills and overall home carbon footprint.
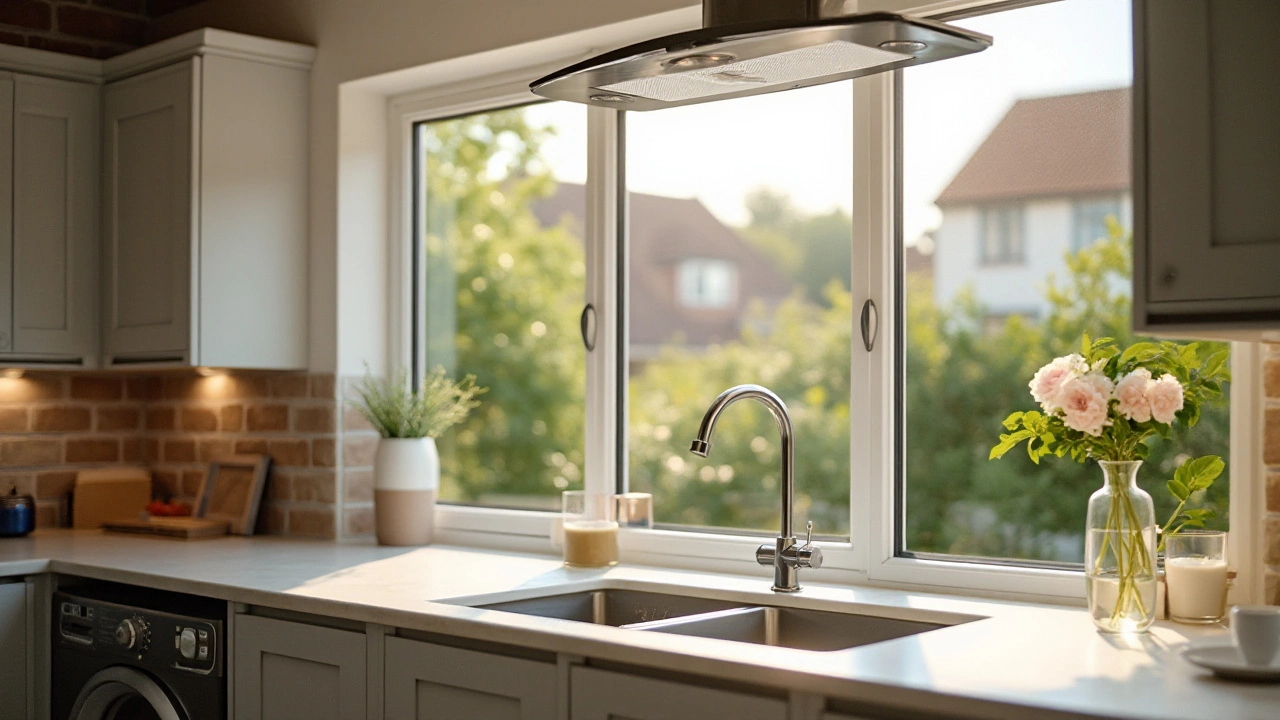
Fan Types and Features
There's also the matter of fan type, from wall-mounted to ceiling and inline fans. Wall-mounted fans are prevalent for ease of installation, while ceiling fans often provide a more discrete solution. Inline fans, less visible but highly effective, are ideal for those willing to invest a little extra for a hidden system with high power. Then, consider additional features like timers, auto shut-off, or humidity sensors. These can add convenience and functionality to the fan, making it a worthy upgrade for any home.
According to the New Zealand Energy Efficiency and Conservation Authority, "Efficient ventilation systems not only enhance indoor air quality but significantly reduce household energy consumption if properly selected."
Don't forget aesthetics and build quality. If the fan isn't properly installed or made of low-quality materials, it might not only perform poorly but also require replacement sooner than expected. Investing in a reliable brand known for durable products ensures longevity and peace of mind.
| Type | Noise Level (dB) |
|---|---|
| Wall-mounted | 35-45 |
| Ceiling | 40-50 |
| Inline | 30-40 |
Remember, choosing the right fan might involve balancing multiple needs and preferences. Whether seeking better efficiency, lower noise levels, or just a modern-looking addition to your setup, the options are vast and varied. A little research goes a long way, so take the time to read reviews and maybe even see some fans in action at a local showroom. With the right fit, your home's air quality can be transformed, making a noticeable difference in day-to-day living.
Tools and Materials Needed
Embarking on a DIY project to replace an extractor fan is not just about rolling up your sleeves and getting your hands dirty. It's about being prepared with the right tools and materials. Having these on hand not only makes the task smoother but also prevents those annoying last-minute trips to the hardware store. It’s worth noting that different fan types might require slightly varied tools, so checking the manufacturer's guidelines before starting is always a good idea.
First on the list is a reliable screwdriver set. Since extractor fans are usually mounted with screws, a good set that includes different sizes of both flat-head and Phillips screwdrivers is essential. You would also need a drill with appropriate bits, which comes in handy for creating new mounting points if necessary. A voltage tester is a must-have tool to ensure your safety by checking if the wires are live or not before you start handling them.
Additionally, wire strippers are crucial for any electrical work, allowing you to remove insulation cleanly from wires, ensuring a good connection. If you're replacing an old fan with a new model, you might have to adapt some elements of the installation, involving cutting or reshaping materials. Thus, a jigsaw can be a lifesaver in such scenarios. A sturdy ladder is indispensable for reaching ceiling-mounted fans, providing a steady platform to work from.
"Getting the right tools beforehand is like half the job done. It might feel like a task, but in reality, it saves so much time and potential frustration during the actual replacement," advises Mike Holmes, a renowned home improvement expert.
Apart from these tools, you will need materials like the new extractor fan itself, which will typically come with mounting brackets. You might also need some additional brackets or screws depending on the setup of your space. Electrical tape is handy for securing any wire connections, ensuring they're safe and insulated. To correctly size your new fan replacement, always have a tape measure ready. This ensures you’re positioning it correctly relative to existing ductwork and cabinetry.
If your kitchen or bathroom walls are tiled, a suitable adhesive or sealant might be necessary to keep everything watertight and secure. It’s equally important to have the instruction manual ready. Most modern fans come with detailed instructions that cater to specific designs and configurations, making the installation task a lot easier. It's like having a little extra help on the side without the need for guesswork.
Considering the importance of proper ventilation, choosing replacement fans that come with filters or are easy to clean can significantly enhance their longevity and effectiveness. Bringing these elements together ensures that once your fan is installed, it will serve you well, keeping air quality in your home fresh year-round.
Step-by-Step Replacement Guide
Tackling an extractor fan replacement may sound intimidating, but breaking it down into simple steps makes it quite accessible. The first step involves ensuring safety. Always start by turning off the power supply to the extractor fan you’re replacing. Locate the circuit breaker box and switch off the corresponding switch to avoid any mishaps. Double-check that no power is running to the fan by trying to turn it on. Preparation is key, and ensuring a safe work environment sets you up for success.
With safety in mind, the next task is removing the old fan. Unscrew the fan cover carefully, ensuring not to damage any surrounding surfaces. This part can get a bit tricky as the fan blades and casing are typically attached to ducts. Detach the wires, usually three in number—live (brown), neutral (blue), and earth (green/yellow stripes). Pay attention to the wiring configuration, as you’ll need to connect these to your new fan. A photograph can serve as a helpful reference here. This slow and steady approach minimizes errors and makes for a smooth replacement experience.
"Start by doing what's necessary; then do what's possible, and suddenly you are doing the impossible." — Francis of Assisi
Now that the old fan is out, it’s time to install the new one. If you’ve chosen the right extractor fan replacement model that matches your previous fan’s capacity, the installation should be a breeze. Secure the fan's wires to the new fan’s terminals accurately. Think of it like piecing a puzzle together—everything needs to fit just so. It's crucial to ensure all connections are snug, reducing the risk of any electrical mishap. Align the fan into its designated spot, securing it with screws, and reattach the ductwork to the housing.
| Step | Tools | Estimated Time |
|---|---|---|
| Safety Measures | Multimeter, Insulation Tape | 10 minutes |
| Remove Old Fan | Screwdriver, Wire Cutter | 15 minutes |
| Install New Fan | Drill, Voltage Tester | 20 minutes |
Once tensions subside and the fan is in place, carefully replace the cover, aligning it securely. Now, turn the power back on and take a moment for a quick test of the new installation. A functioning kitchen ventilation system should efficiently circulate air, clearing out excess moisture or odor. This swift yet deliberate check assures you everything is in order. Though the task seems like a mountain at first, steadily working through each step makes it more of a molehill.
With the fan whirring away, it’s important to tidy up the workspace and make sure no tools or screws are left behind. It's a testament to diligent work and attention to detail. Tackling a DIY fan repair project not only saves on costly bills but empowers you with skills and knowledge. It's about transforming a nuisance into an opportunity. This hands-on experience offers both confidence and competence, reminding us that home improvements, one step at a time, are always within our grasp.