Refrigerator Problem Diagnostic Tool
Follow the steps below to identify why your refrigerator isn't working properly. Select "Yes" or "No" for each observation.
Check Power & Lights
Is the interior light turning on when you open the door?
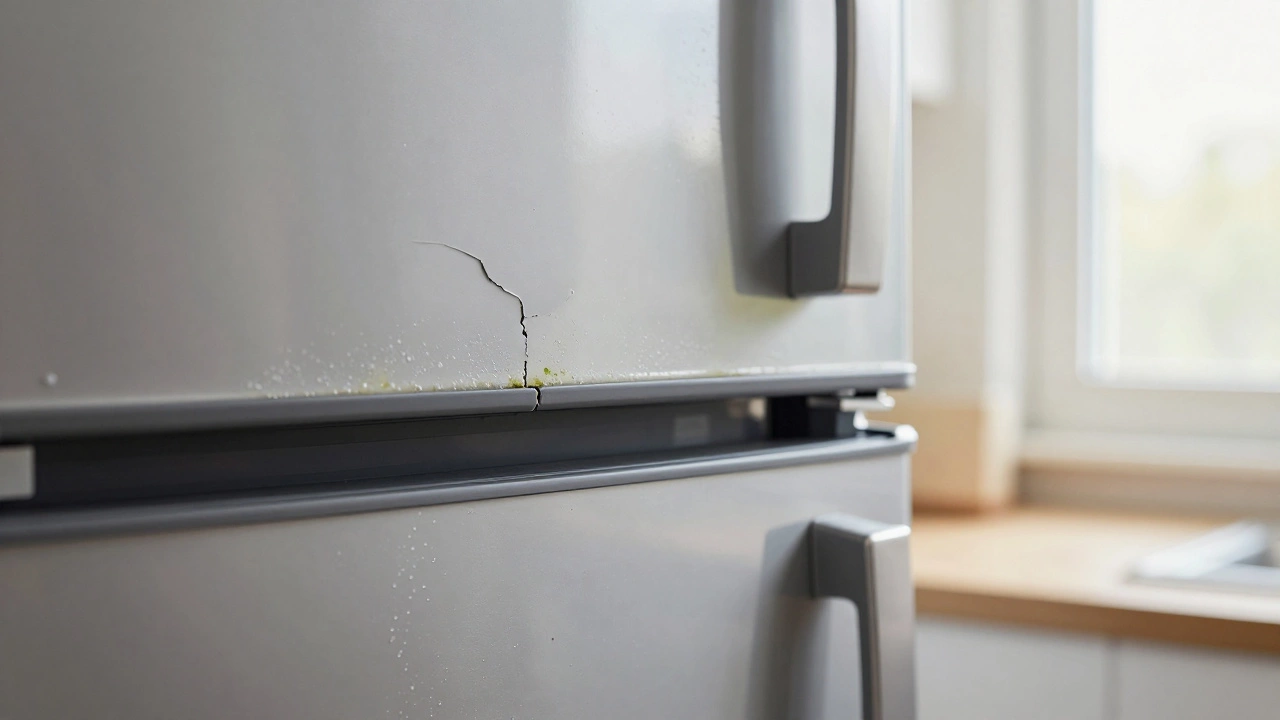
Door Seal Check
Can you easily pull a dollar bill out of the closed door seal?
Condenser Coils
Are the coils (back/bottom) covered in dust or pet hair?
Fan Noise
Do you hear grinding/clicking noises or silence from the freezer fan?
Ice Buildup
Is there thick ice buildup inside the freezer compartment?
Compressor Sound
Does the compressor hum but fail to start running?
Your refrigerator stops working, and suddenly you’re staring at a drawer full of melting ice cream. It’s stressful, especially when you’re not sure if it’s a quick fix or a costly replacement. Before you call a technician in Auckland or anywhere else, you can often pinpoint the issue yourself. Most refrigerator problems are common issues related to temperature regulation, airflow, or power supply that can be diagnosed with basic tools don’t require expensive parts.
In this guide, we’ll walk through how to systematically diagnose your fridge. We’ll cover everything from checking the power source to inspecting the condenser coils. By following these steps, you’ll save time and money while keeping your food fresh.
Check the Basics First
Before diving into complex repairs, rule out the obvious. It sounds simple, but many people overlook these initial checks. Start by ensuring the fridge is actually plugged in. Sometimes, a loose plug or a tripped circuit breaker can cause the unit to stop running entirely.
- Power Supply: Check if the light inside the fridge turns on. If it doesn’t, test the outlet with another device, like a lamp. If the outlet is dead, reset your circuit breaker or GFCI switch.
- Temperature Settings: Verify that the thermostat hasn’t been accidentally bumped. Set it to the recommended level-usually 3-5°C (37-41°F) for the fridge and -18°C (0°F) for the freezer.
- Door Seals: Close a dollar bill or piece of paper in the door. If you can pull it out easily, your seals are worn. This lets cold air escape, making the compressor work overtime.
If the basics check out, move on to the internal components. These are the most common culprits behind a malfunctioning unit.
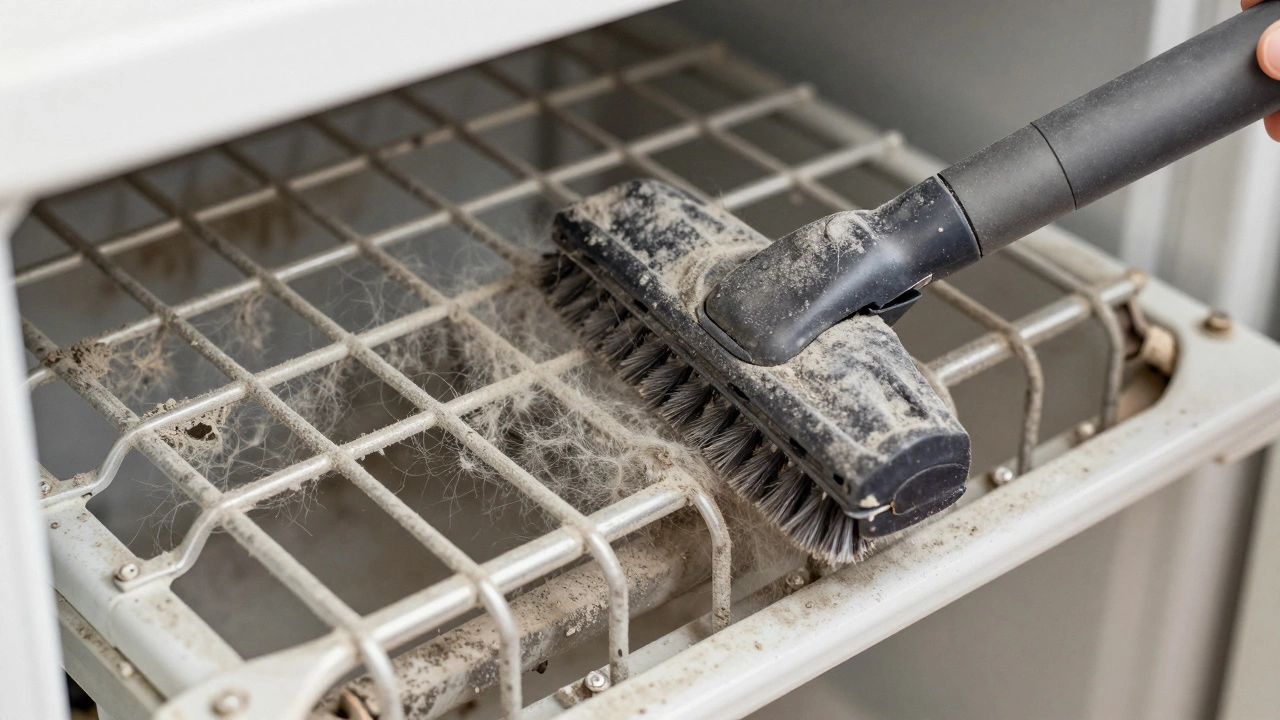
Inspect the Condenser Coils
The condenser coils are metal tubes located on the back or bottom of the refrigerator that release heat absorbed from the interior are vital for cooling. When they get covered in dust, pet hair, or debris, the fridge can’t dissipate heat effectively. This causes the compressor to overwork, leading to higher energy bills and potential failure.
To check them, unplug the fridge and locate the coils. On most models, they’re behind the kickplate at the bottom or on the back. Use a vacuum cleaner with a brush attachment or a coil brush to clean them thoroughly. If the coils were heavily clogged, cleaning them might restore proper cooling immediately.
| Condition | Symptoms | Action Required |
|---|---|---|
| Dusty/Clogged | Fridge runs constantly, warm interior, hot exterior | Clean coils every 6 months |
| Clean | Normal operation, consistent temperature | No action needed | r>
Test the Evaporator Fan Motor
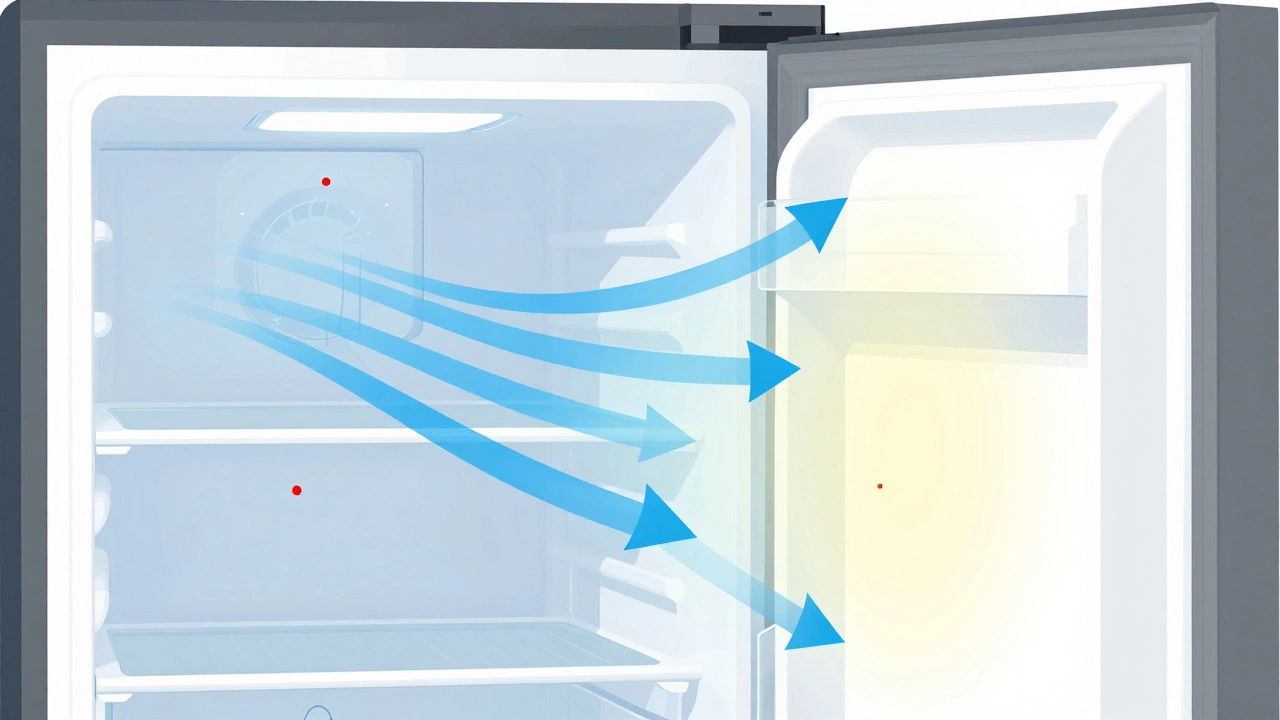
The evaporator fan motor is a small fan inside the freezer compartment that circulates cold air throughout the refrigerator is critical for maintaining even temperatures. If this fan fails, you might notice that the freezer is cold, but the fridge section is warm. You may also hear unusual noises, such as grinding or clicking.
To diagnose this, open the freezer and listen for the fan running when the door is closed. If it’s silent, there could be an obstruction like ice buildup. If the fan spins freely when manually turned but doesn’t run on its own, the motor might be faulty. In some cases, replacing the fan motor is a straightforward DIY task.
Examine the Defrost System
Modern refrigerators use a defrost system that automatically melts frost buildup on the evaporator coils to maintain efficiency to prevent ice accumulation. This system includes three key components: the defrost heater, defrost thermostat, and defrost control board. If any of these fail, ice will build up on the evaporator coils, blocking airflow.
Look for signs of excessive frost inside the freezer. If you see thick ice layers, the defrost system isn’t working. You can test the defrost heater with a multimeter to check for continuity. If there’s no continuity, the heater needs replacement. Similarly, test the defrost thermostat to ensure it’s triggering the heating cycle correctly.
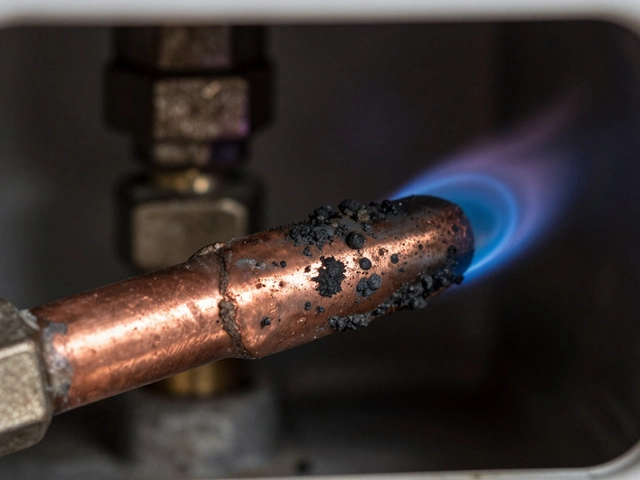
Evaluate the Compressor and Start Relay
The compressor is the heart of the refrigerator that pumps refrigerant through the system to cool the interior is the engine of your fridge. If it’s not running, the fridge won’t cool at all. However, before assuming the compressor is dead, check the start relay. This small component helps the compressor start up. If it fails, the compressor might hum but not engage.
Locate the start relay on the back of the fridge, attached to the compressor. Remove it and shake it. If it rattles, it’s likely broken. Replacing the start relay is inexpensive and easy. If the relay is fine but the compressor still doesn’t run, you might need a professional to assess whether the compressor itself has failed.
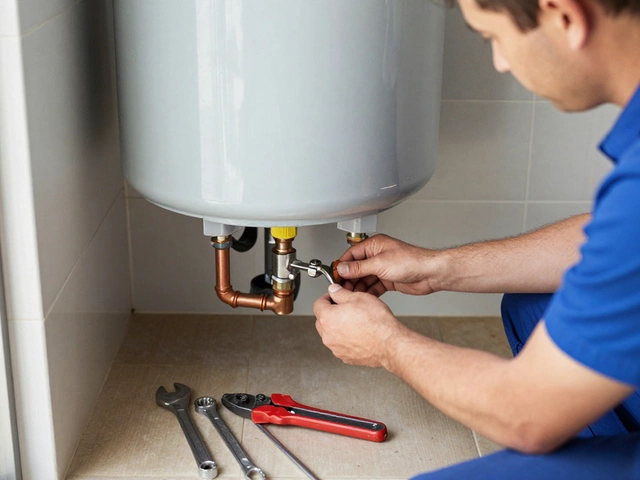
When to Call a Professional
Sometimes, the problem is beyond DIY fixes. If you’ve checked all the above components and the fridge still isn’t cooling, it could be a refrigerant leak or a more complex electrical issue. These require specialized tools and expertise.
In Auckland, finding a reliable technician is crucial. Look for certified professionals who offer warranties on their work. They can handle tasks like recharging refrigerant or repairing sealed system components safely. Don’t attempt to fix refrigerant leaks yourself-it’s illegal and dangerous without proper certification.
Maintain Your Fridge to Prevent Future Issues
Prevention is better than cure. Regular maintenance can extend the life of your refrigerator and prevent unexpected breakdowns. Here are some tips:
- Clean the condenser coils every six months.
- Check door seals annually and replace if damaged.
- Avoid overloading the fridge, which restricts airflow.
- Keep the area around the fridge clear to ensure proper ventilation.
By staying proactive, you’ll reduce the likelihood of major repairs and keep your food safe for longer.
Why is my refrigerator running constantly?
A fridge running non-stop usually indicates dirty condenser coils, worn door seals, or a faulty thermostat. Clean the coils and check the seals first. If the problem persists, the thermostat might need replacement.
What does it mean if the freezer is cold but the fridge is warm?
This often points to a failing evaporator fan motor or blocked airflow due to ice buildup. Check the fan for obstructions and test its functionality. Clearing ice or replacing the fan usually resolves the issue.
How do I know if my refrigerator compressor is bad?
If the compressor hums but doesn’t start, the start relay might be faulty. If it’s completely silent and the fridge isn’t cooling, the compressor could have failed. A professional should verify this diagnosis.
Can I clean the condenser coils myself?
Yes, cleaning condenser coils is a safe DIY task. Unplug the fridge, remove the kickplate or access panel, and use a vacuum or brush to remove dust and debris. Do this every six months for optimal performance.
Is it worth repairing an old refrigerator?
It depends on the cost of repair versus the price of a new unit. As a rule of thumb, if the repair costs more than half the price of a new fridge, consider replacing it. Older models are also less energy-efficient.