Cooker Repair Diagnostic Assistant
Click a symptom on the left to begin diagnosis.
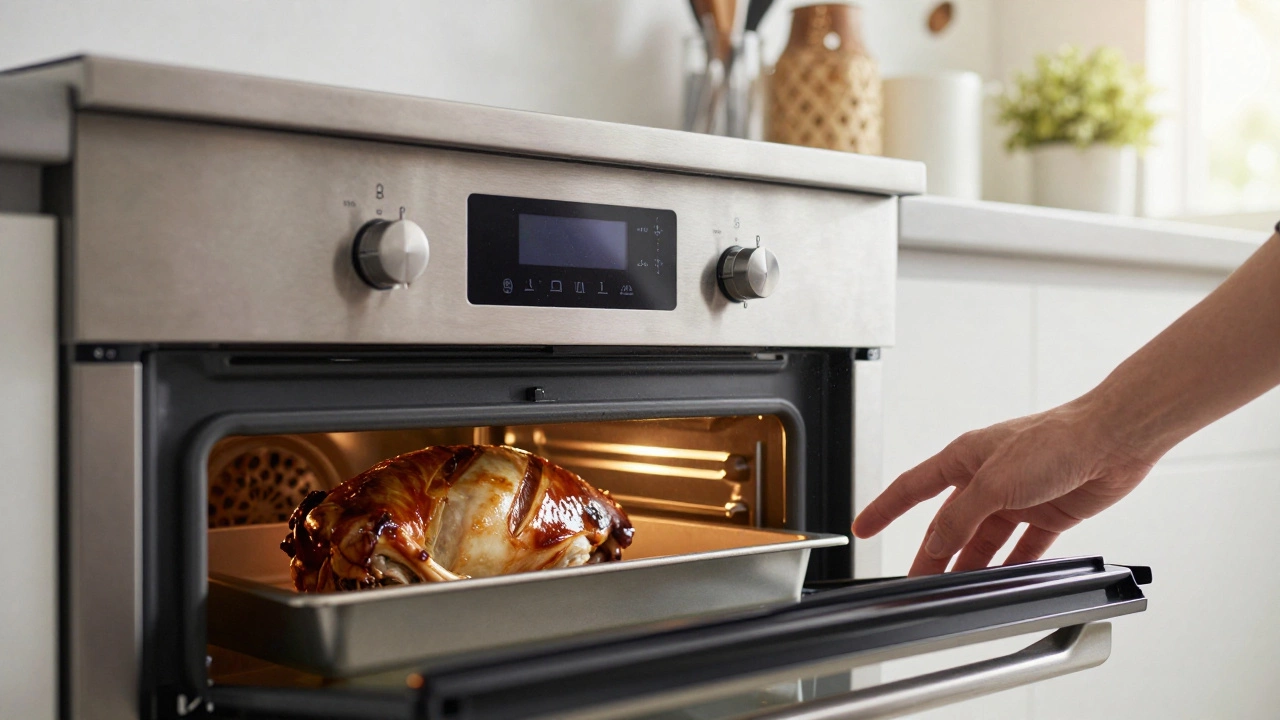
There is nothing quite as frustrating as opening your kitchen cabinet to find your dinner ruined because the cooker refused to heat up. You planned a roast, but now you are staring at a cold pan and wondering if you need to call a technician or if this is something you can fix yourself. Most of the time, the answer is yes. Modern cookers are complex machines, but many common failures-like a broken heating element or a faulty thermostat-are surprisingly easy to diagnose and replace with basic tools.
This guide will walk you through identifying the specific problem with your appliance, whether it is an electric model, a gas range, or a dual-fuel unit. We will cover everything from simple resets to replacing internal components. By the end of this article, you will know exactly how to assess the damage, what parts you might need, and when it is safer to let a professional handle the job.
Safety First: Before You Touch Anything
Before you grab a screwdriver, you need to understand that working on a kitchen appliance involves serious risks. Electricity and gas are not toys. If you ignore safety protocols, you could cause a fire, an explosion, or severe electrical shock. The first rule of any repair is to disconnect the power source completely.
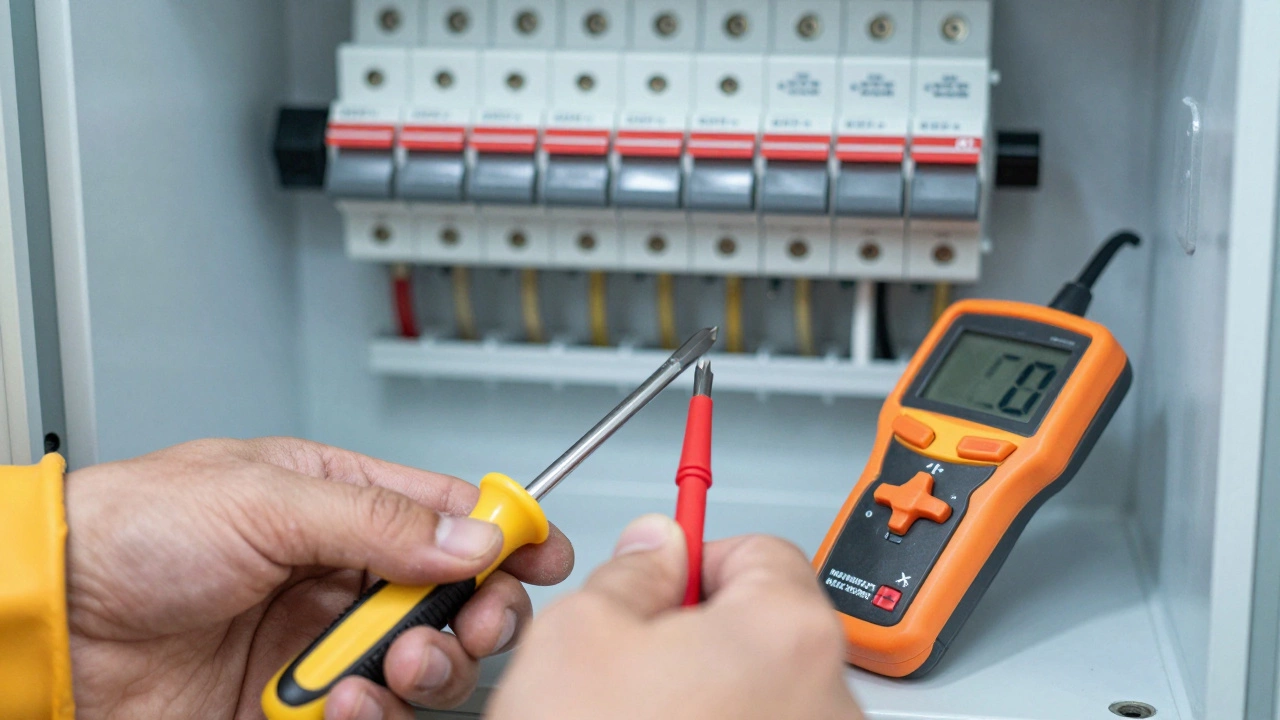
- Electric Cookers: Turn off the circuit breaker in your main fuse box. Do not just unplug the device if it is hardwired. Use a voltage tester to confirm there is no current running to the unit before you touch any wires.
- Gas Cookers: Shut off the gas supply valve located behind or near the cooker. Open the windows to ventilate the area. If you smell gas strongly at any point, leave the house immediately and call emergency services.
- Dual-Fuel Models: These have electric ovens and gas hobs. You must shut off both the electricity at the breaker and the gas at the valve.
Wear rubber-soled shoes and use insulated tools. If you are unsure about any step, stop. It is better to pay for a repair than to risk your home.
Diagnosing Common Electric Cooker Problems
Electric cookers are generally easier to troubleshoot because they rely on standardized components like heating elements, thermostats, and control boards. Here are the most frequent issues and how to identify them.
The Oven Won't Heat Up
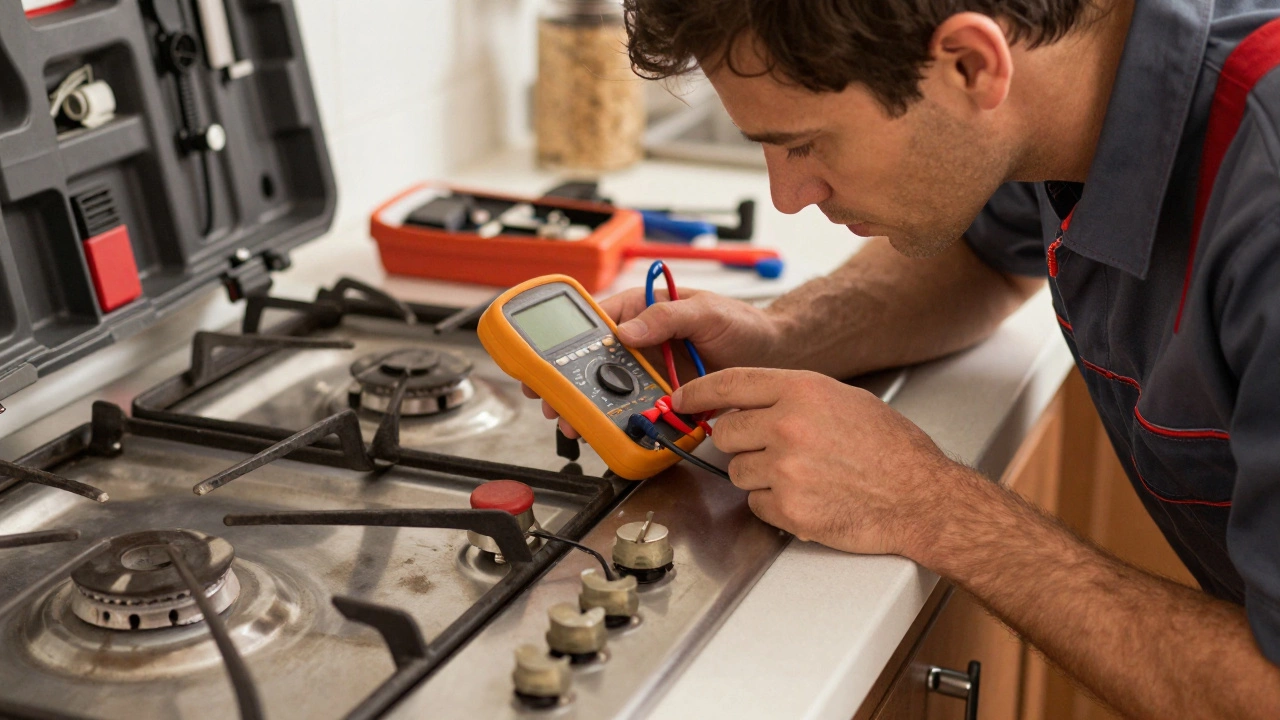
If your oven lights up but does not get hot, the culprit is usually the heating element. Look inside the oven cavity. Do you see any black spots, blisters, or breaks in the metal coil? If the element looks damaged, it needs replacement. Even if it looks fine, it could be internally broken. You can test it with a multimeter set to resistance (ohms). A good element should read between 10 and 30 ohms. If it reads infinity, the circuit is open, and the element is dead.
The Temperature Is Inconsistent
If your food burns on one side or undercooks on the other, the issue might be the thermostat. This component regulates the heat by turning the element on and off. Over time, thermostats drift out of calibration. You can check this by placing an independent oven thermometer inside. If the difference between the dial setting and the actual temperature is more than 25 degrees Fahrenheit (about 14 degrees Celsius), the thermostat likely needs adjustment or replacement.
The Control Panel Is Unresponsive
Modern digital cookers often suffer from software glitches. Before assuming the main control board is fried, try a hard reset. Unplug the cooker for 60 seconds or turn off the breaker for a minute. This clears temporary memory errors. If the display remains blank or buttons do not respond after the reset, the control board may have failed. This is a more complex repair involving soldering or board replacement, which might require a pro.
Troubleshooting Gas Hob Issues
Gas hobs present different challenges. Since they burn fuel directly, airflow and ignition are critical. Here is how to fix the most common gas-related problems.
Burners Won't Light
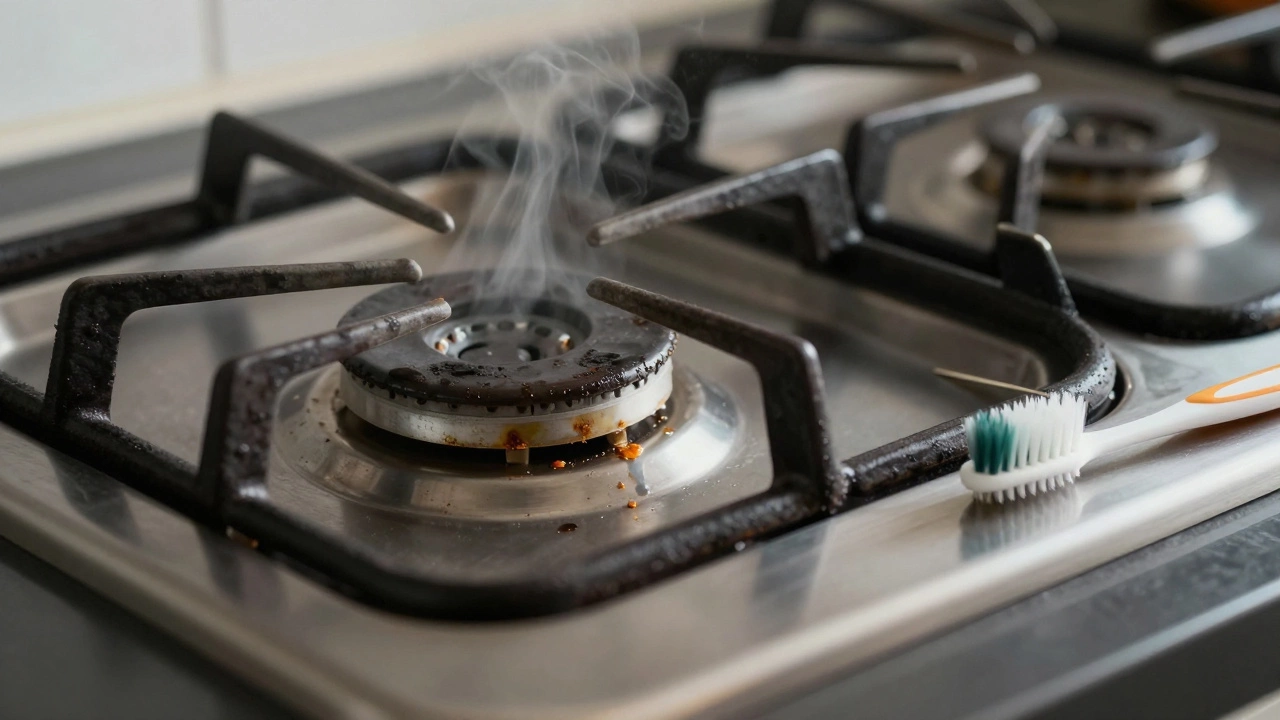
If you hear the clicking sound of the igniter but no flame appears, check the spark electrode. It is a small white ceramic piece near the burner cap. Clean it with a soft brush or toothpick to remove grease buildup. Grease insulates the spark, preventing it from jumping to the gas. Also, ensure the burner cap is seated correctly. If it is misaligned, the gas cannot mix properly with air.
Yellow or Lazy Flames
A healthy gas flame should be blue. If it is yellow, orange, or flickering lazily, your burner is starving for oxygen. This is dangerous because it produces carbon monoxide. Lift the burner grate and inspect the ports around the ring. Food debris often clogs these tiny holes. Use a pin or needle to clear them gently. Do not use a wire brush, as it can widen the holes and alter the flame pattern permanently.
No Spark at All
If there is no clicking sound, the issue is likely the battery in the switch mechanism (for some models) or the ignition module itself. Check if your cooker uses batteries; if so, replace them. If not, the ignition module may have failed. Testing this requires a multimeter to check for continuity across the terminals. If there is no continuity, the module needs replacement.
| Symptom | Likely Cause | Difficulty Level |
|---|---|---|
| Oven won't heat | Broken heating element or faulty thermostat | Easy to Moderate |
| Gas burner won't light | Clogged ports or dirty spark electrode | Easy |
| Inconsistent temperature | Calibration error in thermostat | Moderate |
| Control panel frozen | Software glitch or failed control board | Moderate to Hard |
| Smell of gas | Leaking hose or faulty valve | Call Professional Immediately |
Replacing Parts: A Practical Guide
Once you have identified the faulty component, you need to replace it. Most appliance parts are available online or at local hardware stores. Always buy genuine OEM (Original Equipment Manufacturer) parts or high-quality equivalents. Cheap knock-offs can fail prematurely or pose safety risks.
- Order the Correct Part: Locate the model number plate, usually found inside the door frame or on the back of the cooker. Enter this exact number into a parts search engine. Cross-reference the part number with your diagram.
- Gather Tools: You will typically need a Phillips head screwdriver, a flathead screwdriver, pliers, and a multimeter. For some models, you may need a socket wrench set.
- Access the Component: Remove the necessary panels. For oven elements, this often means unscrewing the back panel inside the oven cavity. For hobs, you may need to lift the entire top surface, which can be heavy. Get help if needed.
- Disconnect Wires: Take a photo of the wiring configuration before disconnecting anything. This serves as a reference for reassembly. Gently pull wire nuts apart or unscrew terminal blocks.
- Install the New Part: Place the new component in position. Secure it with screws. Reconnect the wires exactly as they were before.
- Test Before Closing Up: Restore power or gas. Test the function briefly. If it works, turn it off again and reassemble the panels.

When to Call a Professional
While DIY repairs save money, some situations demand expert intervention. You should call a certified appliance technician if:
- You smell gas continuously: This indicates a leak in the supply line or valve. Do not attempt to fix this yourself. Evacuate and call your gas provider.
- The issue involves the main gas valve: Gas valves are precision instruments. Improper handling can lead to catastrophic leaks.
- Electrical arcing occurs: If you see sparks coming from the back of the cooker or the plug socket, there is a short circuit. This is a fire hazard.
- The warranty is still valid: Opening the unit yourself may void the manufacturer's warranty. Check your terms first.
In Auckland, where humidity can affect electronics, regular maintenance is key. If you live in an older building with aging wiring, consider having an electrician inspect your kitchen circuits annually. Prevention is always cheaper than repair.
Maintenance Tips to Extend Lifespan
Repairing a cooker is reactive. Preventing breakdowns is proactive. Simple habits can add years to your appliance's life.
- Clean Spills Immediately: Sugar and acidic foods can corrode heating elements and seals over time. Wipe up spills while the cooker is cool but not frozen.
- Check Door Seals: Rubber gaskets degrade with heat. If they are cracked or loose, heat escapes, forcing the oven to work harder. Replace them every few years.
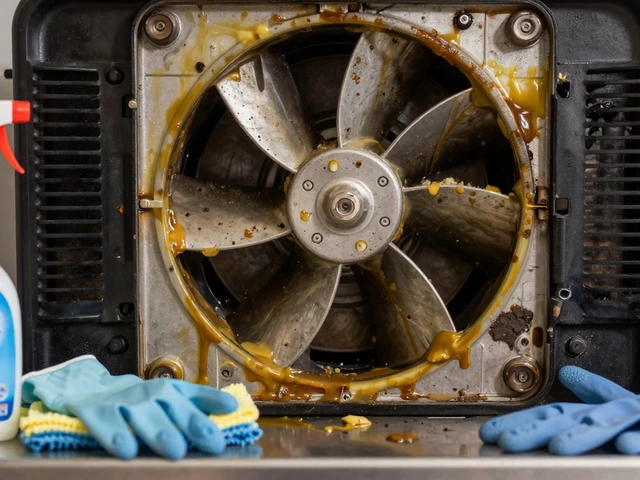
- Ventilate Properly: Ensure the vents at the bottom and back of the cooker are not blocked by cabinets or rugs. Overheating damages internal electronics.
- Use Oven Liners Carefully: While baking sheets protect the floor, avoid using plastic liners that can melt onto elements. Use aluminum foil sparingly and never cover the bottom entirely.
By understanding how your cooker works, you empower yourself to handle minor issues confidently. Whether it is cleaning a clogged gas port or swapping out a burnt-out element, these skills save time and money. Remember, knowledge is your best tool. Stay safe, stay curious, and keep cooking.
Is it expensive to repair a cooker?
Costs vary widely. Replacing a heating element might cost $50-$100 for parts plus labor. However, fixing a control board or gas valve can exceed $300. If your cooker is over 10 years old, repair costs may approach the price of a new unit, making replacement a smarter financial choice.
Can I fix a gas leak myself?
No. Never attempt to fix a gas leak yourself. Gas leaks are extremely dangerous and can lead to explosions or carbon monoxide poisoning. If you suspect a leak, turn off the gas supply, evacuate the area, and contact your gas provider or a licensed technician immediately.
How long does a typical cooker last?
With proper maintenance, an electric cooker can last 10-15 years. Gas models often last longer, up to 15-20 years, because their mechanical components are less prone to electronic failure. Regular cleaning and timely repairs extend this lifespan significantly.
Why is my oven door glass cracking?
Cracking glass is often due to thermal shock. Pouring cold water into a hot oven or slamming the door can stress the glass. Additionally, if the inner seal is damaged, excessive heat can warp the door frame, putting pressure on the glass. Replace damaged seals promptly to prevent this.
Do I need a special license to repair my own cooker?
In New Zealand, homeowners can perform basic repairs on their own appliances without a license. However, any work involving gas lines or major electrical installations must be done by a licensed gasfitter or electrician to comply with safety regulations and insurance requirements.