Extractor Fan Motor Compatibility Checker
Check your fan's motor compatibility
Enter your current motor's specifications to verify if a replacement will work with your extractor fan. Matching these correctly is essential for safe operation and performance.
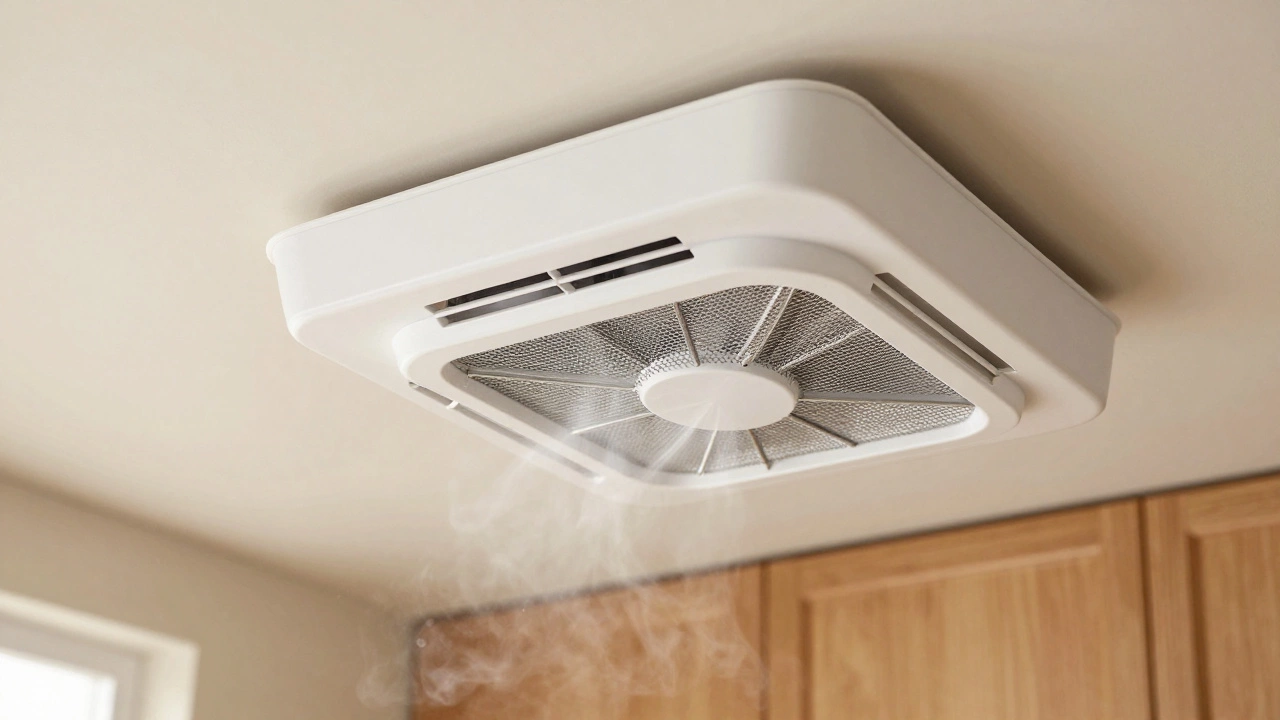
Replacing the motor in your kitchen extractor fan isn’t as scary as it sounds. Most people think they need to call a technician or buy a whole new unit-but more often than not, it’s just the motor that’s worn out. If your fan is noisy, slow, or stops working after a few minutes, the motor is probably the culprit. Replacing it can save you hundreds of dollars and get your kitchen ventilation back in shape in under an hour.
Why the motor fails
Extractor fan motors don’t last forever. They’re designed to run for about 8 to 12 years, depending on usage. In a busy kitchen, especially in places like Auckland where cooking happens daily, the motor can wear out faster. Grease buildup, moisture, and dust clog the bearings. Over time, this causes friction, heat, and eventually, burnout. You’ll notice signs like:
- A loud grinding or buzzing sound
- The fan turns slowly or not at all
- It runs for a few seconds, then shuts off
- A burning smell coming from the unit
If you see any of these, the motor’s done. Replacing it is cheaper than replacing the whole unit-and way easier than you think.
What you’ll need
Before you start, gather these tools and parts:
- Replacement motor (match the model number exactly)
- Screwdrivers (Phillips and flathead)
- Wrench or pliers
- Masking tape
- Work gloves
- Flashlight or headlamp
- Small container for screws and parts
- Isopropyl alcohol and lint-free cloth (for cleaning)
Don’t skip getting the right motor. The old one should have a label with the model number, voltage, RPM, and wattage. Take a photo of it before removing it. You can search online using that info-sites like ApplianceSpares.co.nz or TradeMe usually have replacements. Generic motors won’t fit right and might not match the airflow needs of your hood.
Step 1: Turn off the power
Safety first. Go to your circuit breaker and turn off the power to the kitchen extractor fan. Don’t just unplug it-many units are wired directly into the wall. Test the fan with the switch to make sure it’s dead. Use a non-contact voltage tester if you have one. Better safe than shocked.
Step 2: Remove the fan unit
Most extractor fans are mounted under a cabinet or into the wall. You’ll need to access it from below or behind. Remove the grease filter first-that’s usually just a snap-in or slide-out part. Then, unscrew the outer casing. There are usually 4 to 6 screws holding it in place. Some models have clips, so gently pry with a flathead screwdriver if needed.
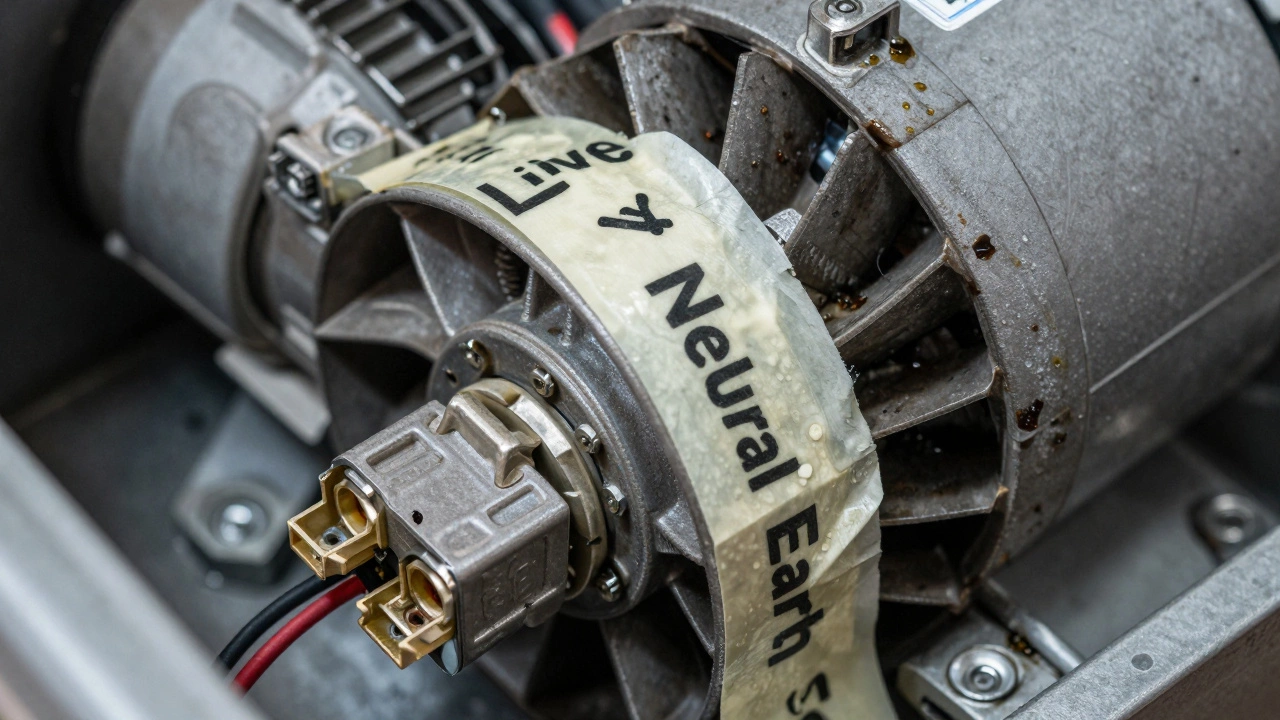
Once the casing is off, you’ll see the motor. It’s usually held in by two or three metal brackets. Take a picture now. Wiring will be connected to the motor with plastic push-fit connectors. Don’t pull on the wires. Label them with masking tape if they’re not already color-coded. Write “Live,” “Neutral,” and “Earth” on the tape if you’re unsure.
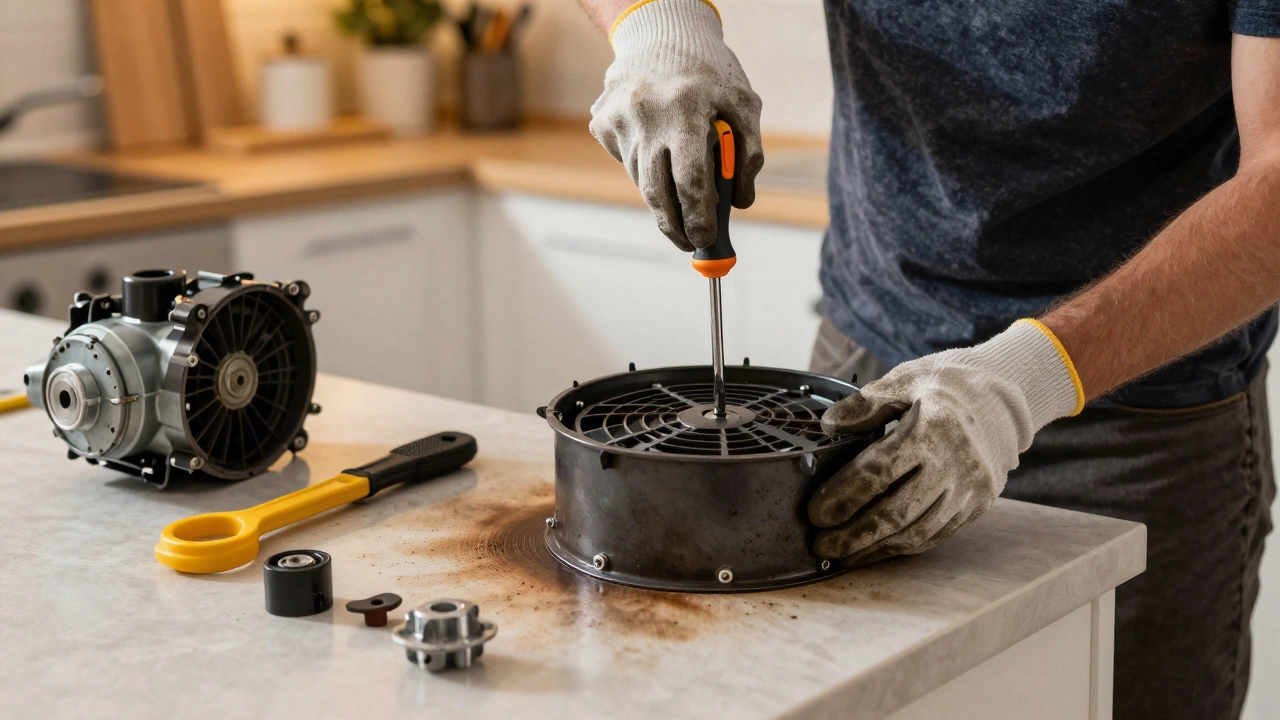
Step 3: Disconnect and remove the old motor
Unplug the connectors by gently squeezing the sides and pulling. Some motors are bolted in. Use a wrench or screwdriver to remove the mounting bolts. If the motor is stuck from grease or rust, wiggle it side to side. Don’t force it. If it doesn’t come out easily, spray a little penetrating oil around the edges and wait 10 minutes.
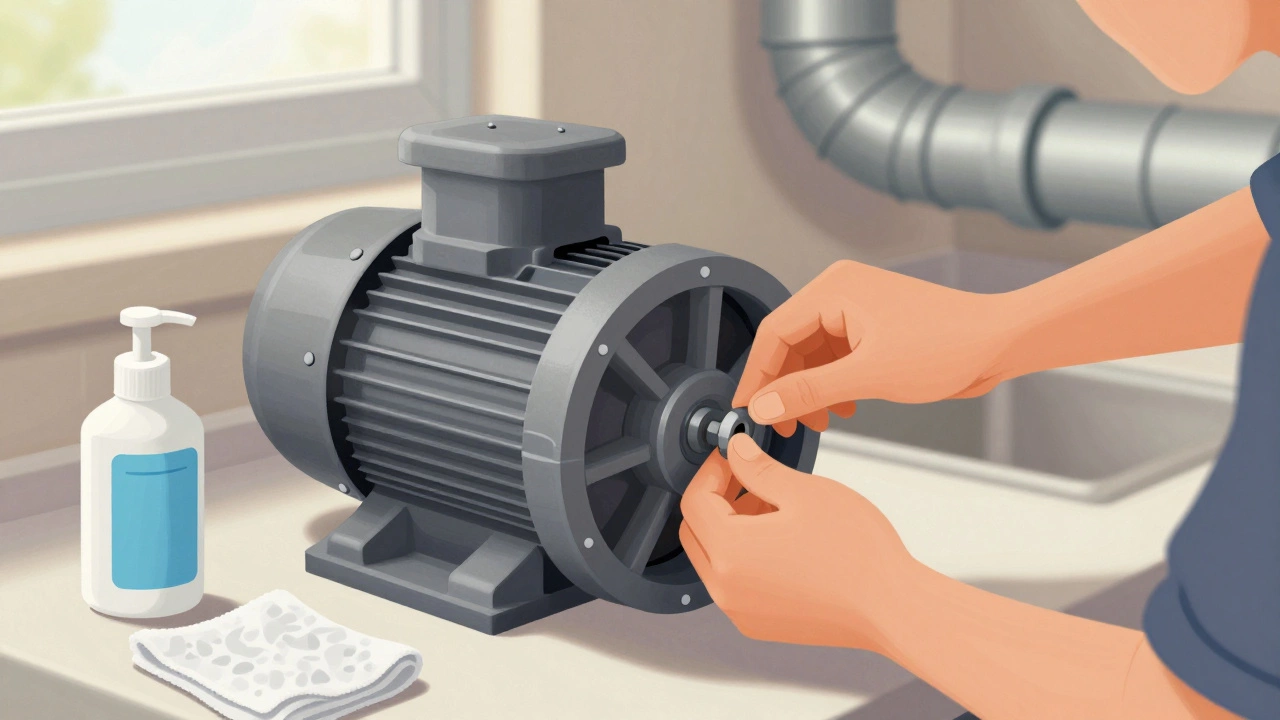
While you’re at it, clean the housing. Use isopropyl alcohol and a cloth to wipe away grease and dust. A dirty housing causes new motors to overheat faster. This step alone can double the life of your new motor.
Step 4: Install the new motor
Match the new motor to the old one. The shaft size, mounting holes, and wire positions should line up. If they don’t, you got the wrong part. Slide the new motor into place. Reattach the mounting brackets and tighten the bolts. Don’t overtighten-aluminum housings can crack.
Reconnect the wires. Push the connectors firmly until you hear a click. Double-check that live, neutral, and earth are in the right spots. If the motor has a capacitor (a small silver cylinder), make sure it’s wired the same way. Incorrect wiring can burn out the new motor instantly.
Step 5: Reassemble and test
Put the outer casing back on. Reinstall the grease filter. Turn the power back on at the breaker. Flip the fan switch. It should start quietly and reach full speed within 2 seconds. If it hums but doesn’t spin, the capacitor might be bad. If it’s noisy, check that the impeller (the fan blade) isn’t hitting the housing. It should spin freely by hand before you power it on.
Common mistakes to avoid
Here’s what goes wrong most often:
- Buying the wrong motor-always match the model number, not just the size
- Forgetting to turn off the power-this is how people get hurt
- Not cleaning the housing-grease buildup kills new motors fast
- Forcing parts into place-this breaks plastic housings or warps metal
- Ignoring the capacitor-if your old motor had one, the new one must too
One thing I’ve seen too many times: people replace the motor but leave the ductwork clogged with grease. That’s like putting a new engine in a car with a blocked exhaust. The fan works harder, overheats, and dies again in months. Clean your ducts at least once a year.
When to call a pro
You can do this yourself if you’re comfortable with basic tools and wiring. But if you see any of these, stop and call someone:
- Wires are melted or frayed
- The housing is cracked or corroded
- You’re not sure about the electrical connections
- The fan is part of a built-in range hood with integrated lighting or controls
Some modern hoods have smart controls or variable speed modules. Replacing the motor on those requires diagnostic tools and firmware resets. It’s not worth the risk.
How long will the new motor last?
With proper care, a replacement motor should last 5 to 8 years. To stretch it out:
- Wash the grease filter monthly
- Run the fan for 10 minutes after cooking to clear moisture
- Don’t leave it on high for hours
- Check for blockages in the duct every 6 months
In Auckland’s humid climate, moisture is the silent killer. Make sure your duct vents outside-not into the attic. Condensation inside the duct causes rust, mold, and reduced airflow. A simple vent cap with a backdraft damper can help.
Cost comparison: DIY vs professional
Here’s what you’re looking at:
| Option | Cost | Time | Difficulty |
|---|---|---|---|
| DIY (motor only) | $40-$80 | 1-2 hours | Easy to Moderate |
| Professional repair | $150-$300 | 1-2 days | N/A |
| New extractor unit | $300-$800 | Same day | Hard |
Replacing the motor yourself saves you at least $100. And if you do it right, you’ll never need to do it again for years.
Can I use a universal motor for my extractor fan?
No. Universal motors are designed for vacuum cleaners or power tools, not kitchen extractors. They run at different speeds, have different mounting patterns, and often lack the moisture resistance needed in a kitchen. Using one can cause overheating, poor airflow, or even fire risk. Always use the exact replacement specified by the manufacturer.
What if the fan still doesn’t work after replacing the motor?
If the fan still doesn’t spin, check the capacitor-it’s a small cylindrical component wired to the motor. If it’s bulging or leaking, replace it. Also, make sure the impeller spins freely by hand. If it’s stuck, grease or debris is blocking it. If everything checks out, the control board might be faulty. That’s harder to fix without tools or schematics.
Do I need to replace the ductwork too?
Not unless it’s damaged. But if your duct is kinked, crushed, or full of grease, the new motor will struggle. Clean it with a long brush or hire a duct cleaning service. In Auckland, many homes have flexible plastic ducts that sag over time. Metal ducts last longer and are easier to clean. If your duct is over 10 years old, consider upgrading to rigid aluminum.
Is it worth replacing the motor if the fan is 12 years old?
Yes-if the housing, duct, and controls are in good shape. The motor is the only moving part that wears out. The rest of the unit can last another 10 years. If you’re replacing the motor every 5 years, you’re still saving money compared to buying a new hood. But if multiple parts are cracking or corroded, it’s time for a full upgrade.
Where can I find the right motor in New Zealand?
Try ApplianceSpares.co.nz, TradeMe, or local appliance repair shops. Bring the old motor’s label or take a clear photo. Many online sellers let you search by model number. Avoid generic parts from overseas suppliers-they often don’t meet NZ electrical safety standards. Look for the SAA mark on the packaging.