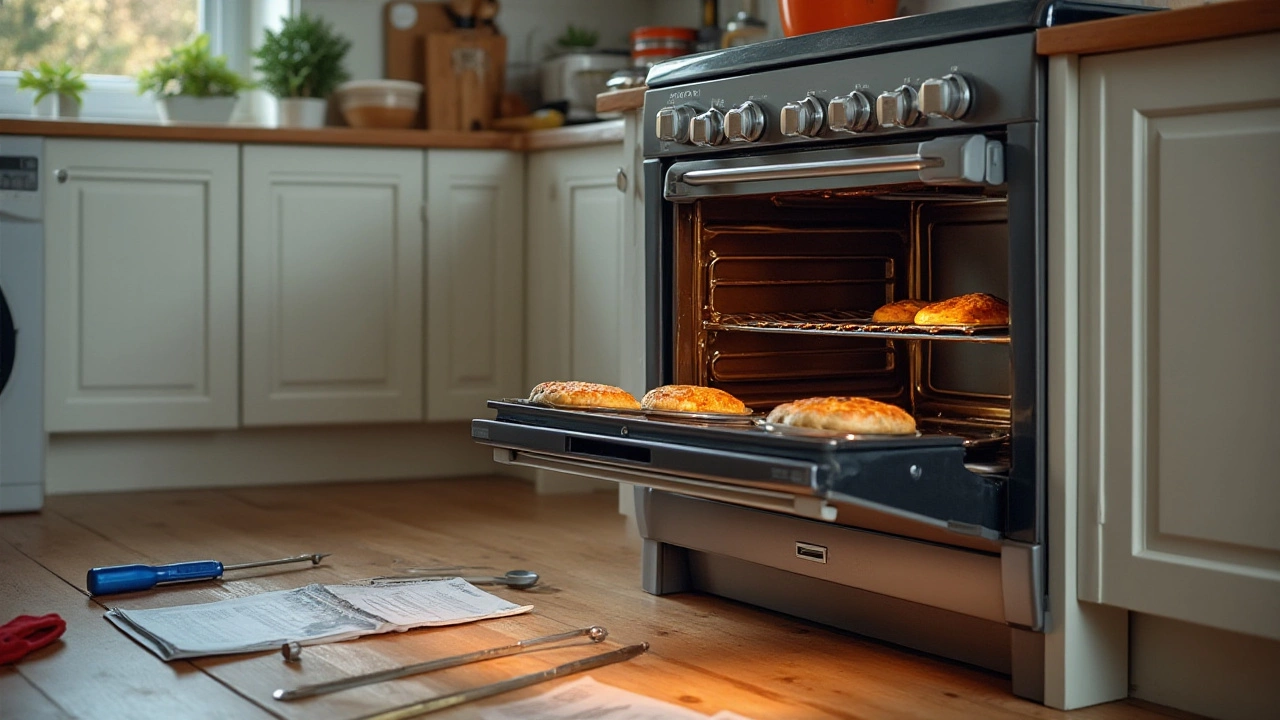
Your oven is acting up, and you're left wondering if it's time to replace the heating element or consider an entirely new appliance. This decision hinges on more than just the age of your oven. The cost, convenience, and your DIY skills also play a significant role.
Identifying a faulty heating element can be straightforward. Maybe your cookies are unevenly baked, or you notice the oven taking longer to reach the desired temperature. Sometimes, a visual inspection can reveal clear signs of damage like visible wear or breaks in the heating element.
- Recognizing a Faulty Heating Element
- Steps to Replace an Oven Heating Element
- Cost-Effectiveness: Replacement vs New Purchase
- Tips for Prolonging Your Oven's Life
Recognizing a Faulty Heating Element
To determine if your oven's issues stem from a faulty heating element, you need to know what to look for. Oftentimes, the signs may be subtle at first, like a minor delay in oven preheat time or food not cooking evenly. As the problem escalates, it becomes more pronounced. Let's dive a bit deeper to identify these red flags accurately. When you open your oven door, pay attention to the environment inside; odd sounds, different from the usual hum or clicks of a functioning oven, often indicate issues. Additionally, frequent circuit breaker trips might be directly linked to a malfunctioning element.
"A heating element that refuses to heat is like a dancer without rhythm—it won’t perform its essential function." - Kitchen Appliance Repair Magazine
The infamous 'pop' sound sometimes signals the sudden failure of the heating element, typically due to a surge. Physical damage checks are also vital. Remove the racks and inspect the element carefully: cracks, blisters, or a discolored area on the element are clear indicators that it’s seen better days. When testing, safely disconnect the electric oven at its power source to avoid shocks. Afterward, a multimeter can be employed to assess electrical continuity. A reading avowing an infinite resistance or zero resistance signals a replacement is due. Visual clues, sometimes paired with undeniable odors of burnt wiring, can compellingly confirm suspicions.
Common Symptoms of a Failing Heating Element
One common symptom of a failing heating element is inconsistent temperature maintenance. You may notice times where the oven reports reaching the set temperature but your dishes consistently undercooked. A rather frustrating occurrence would be a cold spot or hot spot phenomenon while cooking, which points toward partial element failure. The oven's self-cleaning cycle might be unexpectedly triggered, or worse, interrupted, leading to poor self-clean results. Another visible cue includes the absence of or reduced glow from either the bake or broil element during operation.
Consider your model and make—some have specific issues reported more than others which can be informational gold. Manufacturer websites and user forums become your best allies in such scenarios. Friends or family who have encountered similar issues can also offer insights. Statistically, most individuals have experienced one or more instances of household appliance malfunction, with 60% dealing with an oven at some point. With this knowledge, you are well on your way to being a hands-on home repair connoisseur. Ultimately, knowing when to identify these symptoms can save you both time and means the next time your electric oven seems to give up halfway through your homemade lasagna.
Steps to Replace an Oven Heating Element
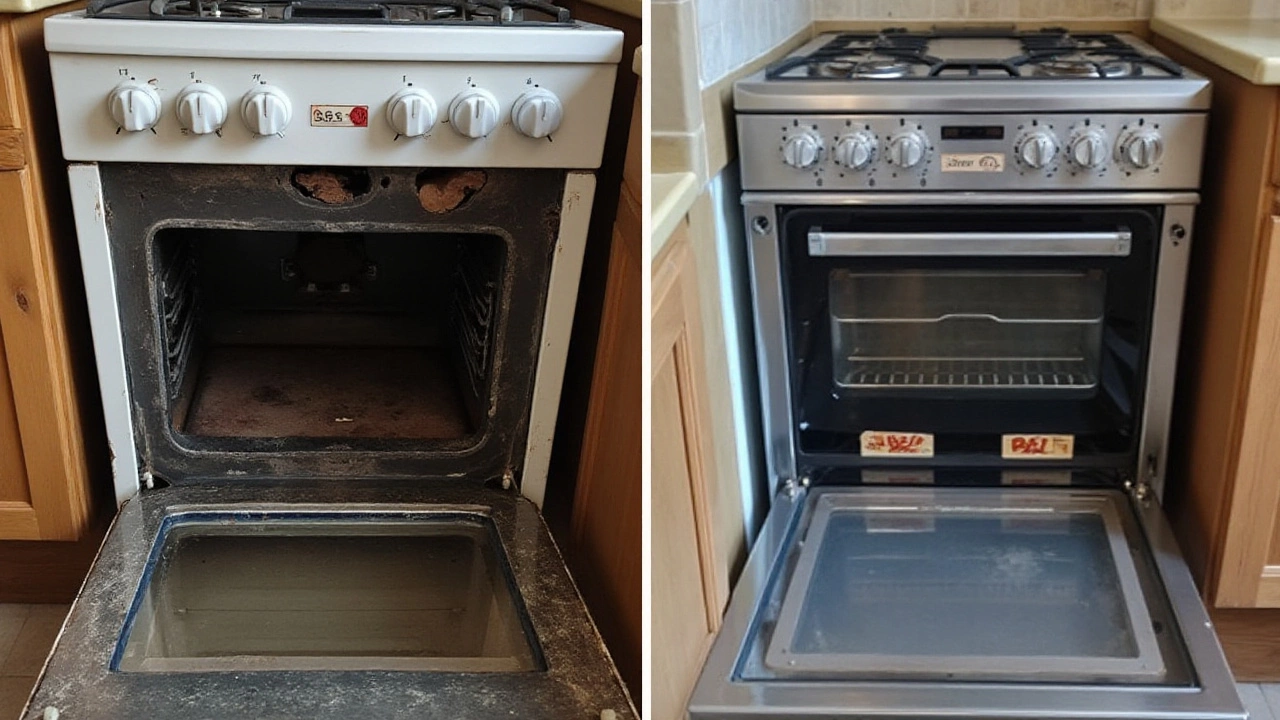
Replacing the heating element in your electric oven can feel like a daunting task, but with careful preparation and a little patience, it's something you can Do-It-Yourself. Before you begin, make sure to get the correct replacement part. Heating elements aren’t universal, so you'll need one specific to your oven’s model. Checking your oven's handbook or consulting the manufacturer's website can help you find the right part number, ensuring a smooth and hassle-free installation.
Before diving in, safety is paramount. Start by unplugging your oven or turning off the circuit breaker to avoid potential electric shocks. Safety goggles and work gloves are your best friends during this process as they protect you from electrical and sharp metal hazards. Taking time to understand your oven’s basic layout is beneficial — typically, the heating elements are mounted at the bottom and/or the top of the oven cavity. Here’s a famous acknowledgment from a professional in the field,
"Approaching any electrical appliance repair with proper knowledge and caution is crucial to prevent accidents," says John Smith, a renowned appliance repair expert.He stresses the importance of safety before efficiency when working on household repairs.
Once you're ready, begin by removing the oven racks for easy access. Locate the screws or brackets holding the heating element in place. A screwdriver that matches the screws' head type will be indispensable here. As you remove the fasteners, try to put them in a small container to avoid misplacing them. After detaching the element from its bracket, gently pull it toward you to expose the terminal wires. You'll typically find two wires attached to the element's terminals.
Carefully detach the wires using your screwdriver or pliers. Here, make some notes or take a photo for reference on how they were connected. Then, ready your new element. Attach these wires to the corresponding terminals on the new heating component, ensuring the connections are tight and secure. After ensuring everything is connected properly, tuck the wires neatly back into the oven cavity to prevent obstruction when you close the oven.
Secure the new heating element using the screws or brackets you had put aside earlier. At this stage, you might feel a bit jittery, but don’t rush. Mount it snugly, but avoid over-tightening, which could cause damage. With everything back in place, resurrect your oven by plugging it back in or flipping the circuit breaker on. Conduct a test by heating your oven to a moderate temperature, say 350°F, and observe if it reaches the set point efficiently.
If your homemade bread comes out perfectly baked next time, give yourself a pat on the back—a successful effort indeed. According to a survey by the Appliance Maintenance Association, DIY repairs on home appliances have shown to reduce costs by 20% on average compared to hiring professional services.

Cost-Effectiveness: Replacement vs New Purchase
When your oven's heating element starts showing signs of malfunction, such as uneven cooking or prolonged preheating times, you're faced with a decision: Should you replace the heating element or invest in a new oven? This choice is often dictated by both economic factors and personal preferences, each path laden with its advantages and challenges.
The cost of a new heating element typically ranges between $20 and $60, depending on the brand and model of your electric oven. If you're comfortable with handling electrical components, DIY replacement can save considerable labor costs. Many home appliance stores offer parts at reasonable prices, and with a bit of online research and guidance, you can manage the swap yourself. Contrast this with purchasing a new oven, which can set you back anywhere from a few hundred to several thousand dollars, depending on your chosen features.
"Replacing a heating element can extend the life of your oven significantly," suggests Mark Tanner, a home appliances expert at Appliance Guide. "Most ovens are designed to last over a decade, and a faulty element shouldn't necessitate an immediate full replacement."
However, the financial aspect is not the only factor to consider. Think about the age of your current appliance. If your oven is approaching the end of its intended lifespan or if it frequently breaks down in other ways, investing in a new model might offer better long-term value. Newer models may also provide improved energy efficiency, which can lower your electricity bills over time, offsetting the higher initial cost. Plus, newer appliances often come with warranties, offering peace of mind in case of future failures.
Energy Efficiency and Long-Term Savings
Energy efficiency is a crucial metric if sustainability and savings are priorities for you. Modern electric ovens are designed to be more energy-efficient, which could save a substantial amount over the years, especially if you use your oven regularly. According to recent studies, an energy-efficient oven can cut your overall energy use by up to 20% compared to older models.
Let’s not forget the convenience factor. A new oven is less likely to have issues, at least for several years. This is an appealing consideration if you're less inclined towards constant repairs. Ultimately, whether to replace the heating element or go for a new purchase depends on a mix of financial considerations, your DIY comfort level, and the desire for new, more efficient features.
- Assess the overall condition of your oven.
- Compare costs between part replacement and new purchase.
- Take into account long-term energy savings.
- Consider professional evaluations if unsure.

Tips for Prolonging Your Oven's Life
When you invest in an electric oven, you want it to last as long as possible while continuing to perform at its best. Maintenance is key, and some simple habits can significantly extend the life of your appliance. Cleaning the oven regularly is essential. Grease and food remnants can build up over time, leading to unpleasant odors, smoke, and even a potential fire hazard. A straightforward way to maintain your oven's cleanliness is to wipe it down after each use with a damp cloth. For deeper cleaning, use a mixture of baking soda and vinegar, applying it gently to avoid scratching surfaces, especially when dealing with stubborn stains.
"Regular maintenance helps appliances stay efficient and reduces the risk of unexpected breakdowns," advises Mary Carpenter, a well-respected home improvement expert who regularly contributes to Home & Kitchen Monthly.
Another vital tip is to avoid slamming the oven door. It may sound trivial, but the hinges and seals of the door play a critical role in retaining heat. Constant slamming can misalign or ruin these components, contributing to heat loss and uneven cooking. When you're closing the door, do it gently to maintain a tight seal and to ensure your oven works efficiently.
It's also smart to steer clear of using foil on the oven floor. Although many might see this as a method to catch spills and drips, it can be detrimental. Foil can interfere with heat distribution and block airflow, potentially leading to overheating. Instead, place a baking sheet on a lower rack to catch any spills. This method protects your oven without hindering its operation.
Mind the Preheat Time
One common oversight is overusing the preheat function. While waiting for your oven to reach the desired temperature is definitely necessary for some recipes, it doesn't always need to be done excessively early. By trimming down the preheat time, you conserve energy and decrease unnecessary cycles, which can wear down the heating element. Be mindful, though, to follow recipe-specific needs, some of which do necessitate a thorough preheat for optimal results.
- Be mindful of the noises your oven makes. A strange sound might be a sign something is amiss, maybe indicating an imminent repair need.
- Inspect the door seals periodically to ensure they aren't cracked and are providing a proper seal.
- Use energy-efficient cooking methods when possible to reduce wear on the appliance.
Lastly, give your oven a break now and then. Just like us, it benefits from rest, which in this case, can mean alternating between stovetop and oven-cooked meals to prevent overworking the components. Efficient use not only promotes longevity but also preserves reliability.
