If you’ve ever had your morning shower turn icy out of nowhere, you know how crucial your water heater actually is. But here’s the thing—most folks rarely think about their water heater until it acts up or totally gives out. Taking care of yours doesn’t just mean hotter showers; it also means lower bills and fewer nasty surprises.
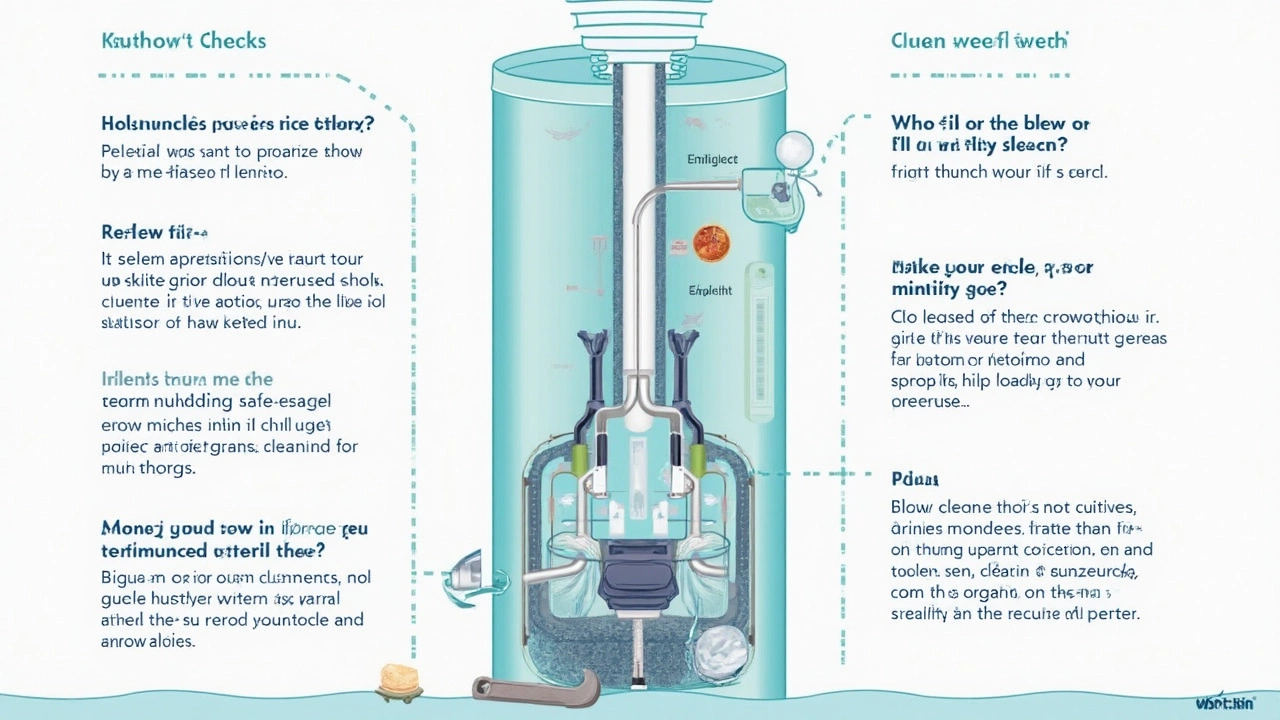
Simple maintenance steps keep your water heater safe and efficient. Stuff like flushing the tank, inspecting key parts, and being alert for leaks can save you hundreds in repairs and replacements. The best part? Most of it you can handle with a few basic tools and a little time. Let’s get into what actually needs doing so you can keep things running smooth and avoid waking up to an ice-cold rinse.
- Why Water Heater Maintenance Matters
- Flushing the Tank: The Simple Must-Do
- Checking the Anode Rod
- Testing the Temperature and Pressure Relief Valve
- Inspecting for Leaks and Rust
- Signs It’s Time to Call a Pro
Why Water Heater Maintenance Matters
Truth is, skipping regular upkeep on your water heater is like never servicing your car. Sooner or later, you’re going to pay the price—sometimes in cold water, sometimes in a big repair bill. Regular maintenance keeps your heater running smoother, helps it last longer, and cuts down your energy costs.
Minerals in water, especially if you’ve got hard water, can pile up at the bottom of your tank. This sediment can make the heater work harder, driving up your energy bill and wearing out parts faster. The crazy thing? Over time, just an inch of sediment can mean 6-8% more energy use. And if you ignore a broken part like the anode rod, your tank could rust through, leading to leaks or total failure.
Let’s check some real numbers to see what happens when maintenance gets ignored:
| Maintenance Task | Risk If Ignored | Average Repair/Replacement Cost (2025) |
|---|---|---|
| Tank Flushing | Heating element failure, higher bills | $250-$600 |
| Anode Rod Change | Rust, tank leaks | $900-$2,000 (new tank) |
| Valve Checks | Pressure build-up, possible burst | $125-$300 (valve) / $2000+ (damage) |
And here’s the kicker—a well-maintained water heater can add up to five years to its lifespan versus a neglected one. If you’re interested in saving money and headaches, it’s all about regular water heater maintenance. It’s way easier to stay on top of things than to deal with a surprise breakdown.
- Longer heater life means fewer big purchases
- Better efficiency lowers monthly bills
- Early problem-spotting helps you avoid flooding or emergencies
- Cleaner water, since a clean tank keeps out rusty gunk
So, while it’s easy to forget, a few minutes each year pays off big time. Nobody likes expensive surprises—or a cold shower.
Flushing the Tank: The Simple Must-Do
This is the one water heater chore nobody should skip. Over time, minerals like calcium and magnesium settle at the bottom of your tank, building up as sediment. If you’re on hard water, this happens even faster. Sediment makes your water heater work way harder, hiking your energy bill and wearing parts down faster. A University of Nebraska study found that tanks with just one inch of sediment can waste up to 10% more energy.
The good news? Flushing the tank gets rid of this gunk and can add years to your heater’s life. As the U.S. Department of Energy puts it:
“Flushing your water heater tank at least once a year helps maintain its efficiency and can reduce costly repairs.”
Here’s the lowdown for doing it right:
- Turn off the power. Shut off electricity at the breaker for electric heaters. For gas models, set it to “pilot.”
- Turn off the cold water supply. This stops more water from filling up the tank while you work.
- Grab a bucket or hook up a hose to the drain valve (at the bottom of the tank). Aim the other end to a safe spot—like a floor drain or outside.
- Open a hot water tap in your house. This makes the draining process go smoother by letting air in.
- Open the tank’s drain valve carefully. Hot water and sediment will start pouring out. Let it drain fully.
- Once it’s empty, let cool water in for a few seconds, then drain again—this helps flush out stubborn leftover junk.
- When the water runs clear, close the drain valve, turn off the open tap, refill the tank, and turn the power or gas back on.
How often should you do this? Once a year is good for most households. Got really hard water? Flushing every six months isn’t overkill.
| Frequency | Water Type | Benefit |
|---|---|---|
| Every 12 months | Normal | Removes average sediment buildup |
| Every 6 months | Hard | Protects against rapid buildup |
Skip this, and you risk a clogged drain valve, noisy operation, or even leaks. Flushing is a simple move but a total game changer for hot water reliability. It’s probably the easiest water heater maintenance job you’ll ever do that pays off big time.
Checking the Anode Rod
Most people have never even heard of the anode rod, but this little part plays a huge role in keeping your water heater maintenance routine on track. The anode rod sits inside your tank and pretty much sacrifices itself to rust so your tank doesn’t have to. It’s like a bodyguard against corrosion, which is the main reason tanks leak and die early.
If you’ve got hard water (that’s a lot of us, by the way), your anode rod might be eaten up in just two or three years. Even in normal conditions, five years is pushing it for most rods. Ignoring it can shave years off your heater’s life. Here’s how you check it yourself:
- Turn off the power or gas to your water heater, and let it cool for a while. Safety first.
- Shut off the cold water supply valve. You don’t want a geyser in your face.
- Open a hot water tap in your house to relieve pressure in the tank.
- Find the hex head of the anode rod—usually on top of the tank. Some models have it hidden under a plastic cap.
- Use a socket wrench to unscrew the rod. It might take muscle, so don’t be shy with the torque.
- Pull out the rod and check it. If it’s less than half its original thickness or is coated in calcium or looks super beaten up, it’s time to swap it for a new one.
- Pop in a new rod (same size/type as the old one), screw it tight, and fire everything back up.
Want to see just how fast corrosion can wreck a rod? Check out these averages from water heater pros:
| Water Quality | Typical Anode Rod Lifespan |
|---|---|
| Hard Water | 2–3 years |
| Normal Water | 4–5 years |
| Softened Water | 2 years or less |
Regularly checking and replacing this part is one of the easiest ways to double your water heater’s lifespan. A new rod only costs about $20–$40, but skipping it could mean shelling out for a brand-new heater way sooner than you’d like.

Testing the Temperature and Pressure Relief Valve
Every water heater has a Temperature and Pressure Relief (T&P) valve. This little part does a big job—it keeps your tank from turning into a homemade volcano if the heat or pressure gets too high. When the T&P valve fails, you’re risking leaks or even a burst tank, so it pays to check it out at least once a year.
Here’s how to do a quick check yourself:
- First, find the T&P valve. It’s usually on the side or top of the tank, with a small pipe connected and pointing down.
- Place a bucket under the end of the drain pipe to catch water.
- Gently lift the T&P valve’s lever. If it’s working, you’ll hear a short rush of air or see a little water flow out.
- Let go of the lever. The water should stop flowing. If it doesn’t close tight or nothing comes out, the valve might be stuck or broken.
If you never test your T&P valve and it gets stuck, pressure can build up to dangerous levels—rare, but not worth the risk. Replacing a faulty valve is cheap and much safer than waiting for trouble. This step takes five minutes but could prevent a ton of damage. It’s a key part of solid water heater maintenance.
Inspecting for Leaks and Rust
This is the step that can make or break your water heater maintenance routine. Even small leaks or early rust can turn your trusty heater into a ticking time bomb for bigger issues—like flooded floors or even mold behind your walls. Keeping an eye out only takes a few minutes but can save a load of hassle down the road.
Start with a good flashlight and look at the base of the tank and all the connections. Drips or tiny puddles might not seem like much, but they often mean trouble is just beginning. Rust stains—especially around inlet or outlet connections—are a major red flag.
- Check around the drain valve and pressure relief valve. If you spot any moisture or rusty water, don’t ignore it. These small leaks tend to get worse over time.
- Inspect the bottom of the tank. If there’s a lot of rust or flaking, the inside could also be rusting—a classic sign your tank’s life is running out.
- Look over connected pipes for any signs of corrosion or watermarks. Old pipes are notorious for hiding slow leaks behind insulation or paint.
Sometimes leaks come from condensation, especially in humid weather or when cold water first fills the tank. But if the tank is leaking from the bottom, it usually means the inner lining has corroded—at this point, replacement is almost always the only fix.
Here’s a quick breakdown of what you might spot, what’s normal, and what means trouble:
| What You See | What It Means | What To Do |
|---|---|---|
| Tiny water spots on tank base | Condensation or small leak | Monitor; if it gets worse, investigate further |
| Rust stains around valves | Corrosion starting | Consider replacing valves or checking tank inside |
| Active dripping from bottom | Inner tank leak | Plan for a full replacement soon |
| Rust on connected pipes | Pipes corroding | Replace affected pipes, check for bigger problems |
Most water heaters last 8 to 12 years. If you have regular leaks or rust, and your heater is pushing that age, it’s time to think about a new one. But spot these issues early and you can often nip expensive repairs in the bud. Check your heater every couple of months—add a reminder to your phone so it actually happens. It’s quick peace of mind, and way less messy than mopping up a flooded utility room.
Signs It’s Time to Call a Pro
Sometimes things go wrong with your water heater that no amount of DIY maintenance can fix. Knowing when to bring in a professional isn’t just about comfort—it’s about safety and preventing bigger, more expensive problems down the line.
If you hear popping or banging coming from the tank, that’s usually a build-up of sediment that hasn’t been flushed out. It might sound minor, but repeated noises like this can mean the heater is working way harder than it should, putting stress on the system and wearing it out faster.
Seeing rusty water coming out of your hot taps? That’s a big flag, especially if you’ve already replaced the anode rod and the issue continues. Rust can mean the inside of your tank is corroding away, and leaks or even tank failure could be just around the corner.
- Water heater maintenance suddenly becomes a job for the professionals when you spot water pooling around the base of the tank. Even small leaks matter—they usually get worse, not better, and could cause water damage or mold.
- If your water just refuses to get hot, or you’re dealing with weird temperature swings, something’s up with the heating elements, thermostat, or possibly even the gas supply (for gas heaters). Some parts can only be tested and replaced with pro-level tools and know-how.
- Another red flag: if the temperature and pressure relief valve (T&P valve) starts leaking even after you’ve checked or replaced it. This isn’t something to mess with, since a faulty T&P valve can increase the risk of a pressure build-up, which—yes—can be dangerous.
If the water heater is over ten years old and keeps acting up, it’s best to have someone take a look. Sometimes repair costs just pile up, and a seasoned pro can tell you if it’s smarter to swap the whole thing out.
The bottom line: Weird noises, leaks, rust, or persistent hot water problems mean it’s time to give up the wrench and grab the phone. Save yourself the headache and let a licensed tech handle the deeper fixes or replacements.


