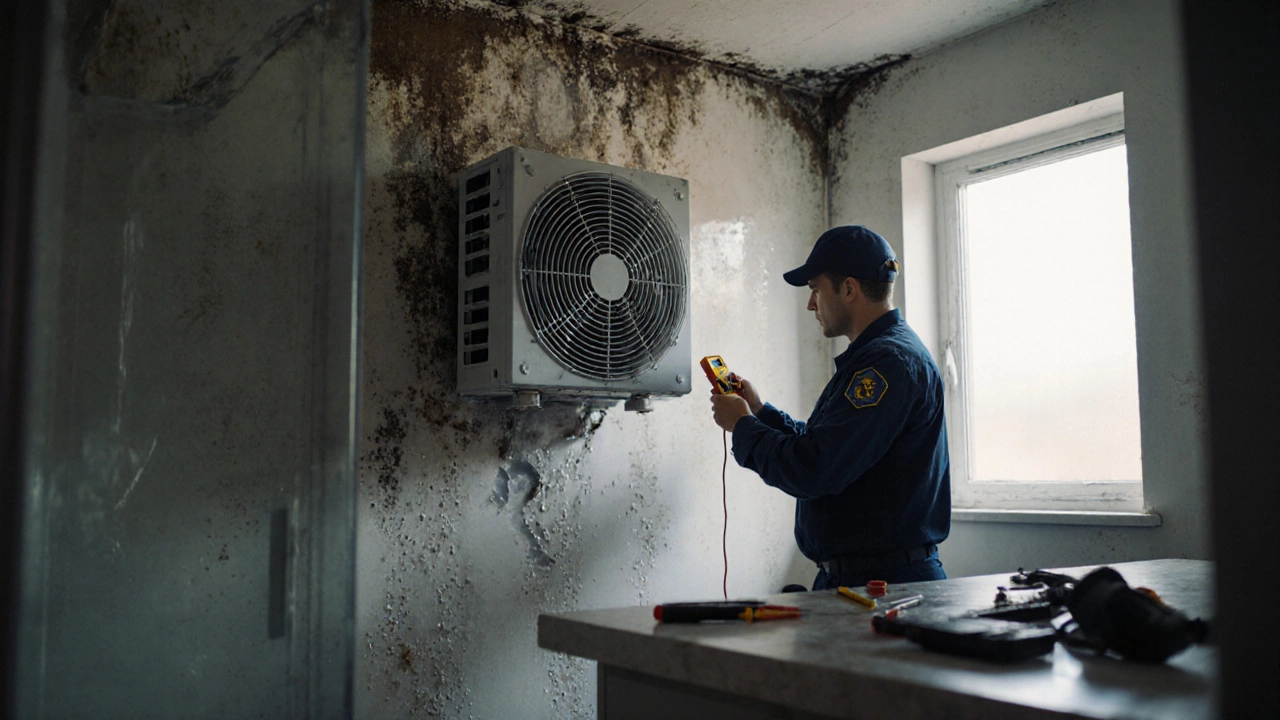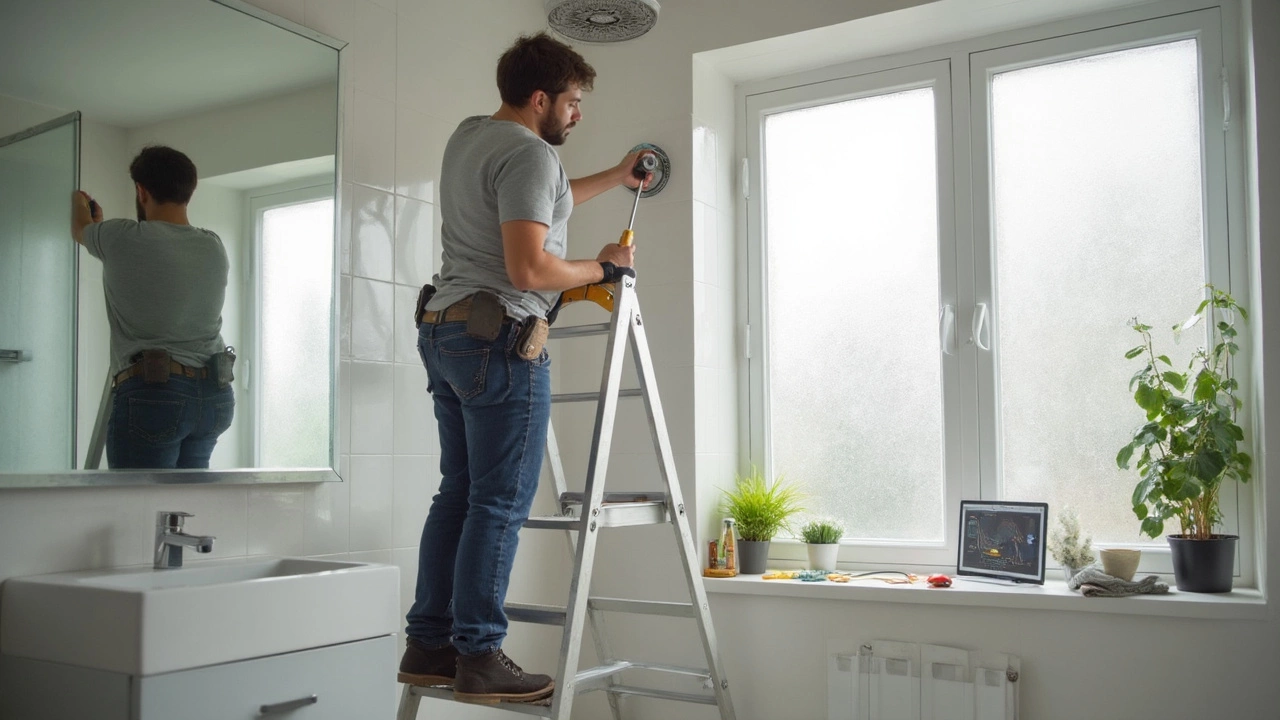
Swapping out a bathroom extractor fan sounds intimidating, but it's usually not rocket science. If your fan is buzzing, rattling, or barely moving air anymore, that’s a pretty clear sign it’s given up. Before you do anything, hit the power at the breaker—seriously, don’t just flick the bathroom switch. I’ve made that mistake before, and it’s not fun.
Most bathroom fans are held by a few screws and might have simple wiring (sometimes even just two wires). The biggest headache isn't the fan itself—it's reaching it, especially if your bathroom ceiling is high or the fan's boxed in tight. Having the right screwdriver and a voltage tester saves a lot of time and swearing.
If you're a bit handy, this job is often easier than installing a light fixture. You only need basic tools, a good flashlight, and maybe a step stool. Double-check your replacement matches the old model’s size—measure before you buy or you’ll be making that annoying extra hardware store trip that nobody loves.
- When Should You Replace Your Extractor Fan?
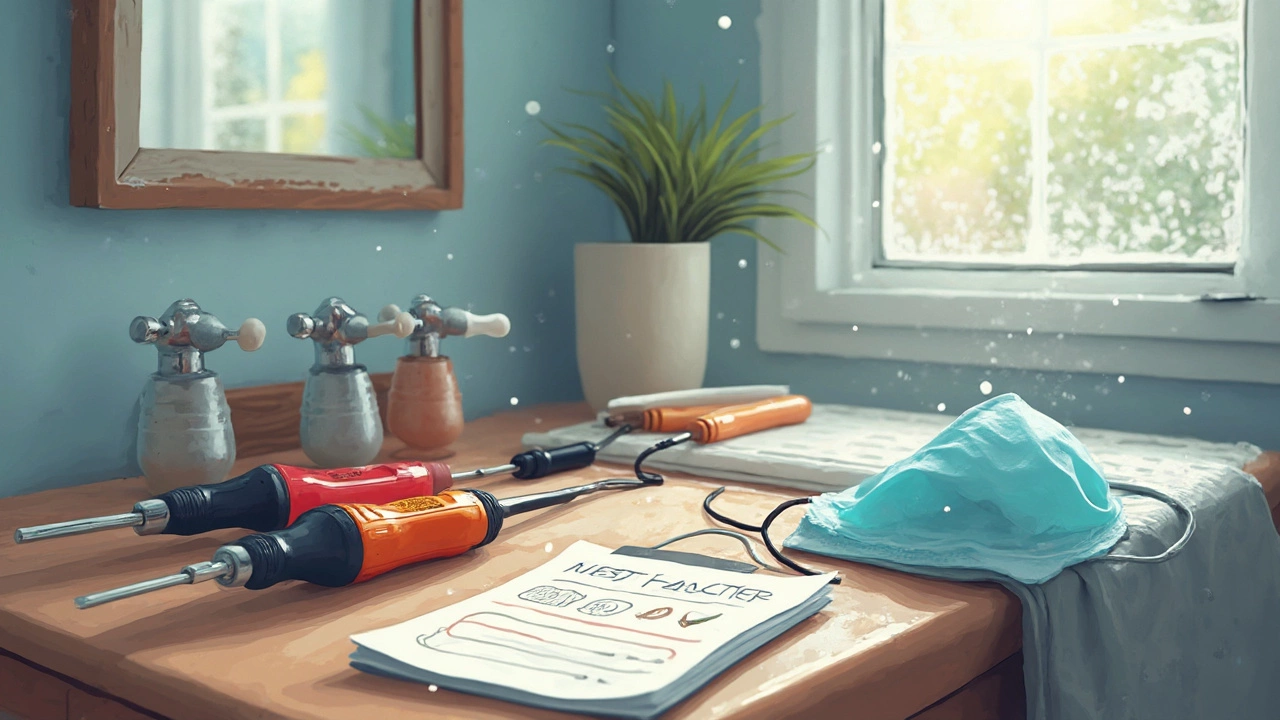
- What Tools and Gear Do You Need?
- Step-By-Step: Replacing a Bathroom Extractor Fan
- Common Issues and Troubleshooting
- Simple Maintenance to Make Yours Last Longer
When Should You Replace Your Extractor Fan?
You don’t need to be an expert to spot most bathroom extractor fan problems. If you’ve started to notice your mirror stays foggy for way too long or there’s a sweaty smell that just won’t quit, your fan probably isn’t doing its job anymore. Plus, mold creeping onto tile or paint is another warning signal—no one wants that headache, especially in a kid’s bathroom.
Extractor fans usually last anywhere from 5 to 10 years, but poor ventilation, cheap parts, or endless long showers can wear them out faster. If your fan makes more racket than airflow, smells like burning, or won’t switch on at all, it’s time to think about a swap. According to Which?, “Excess noise and reduced performance are strong signs your fan’s motor is on its last legs.”
"Regularly check your extractor fan for signs of dust buildup, weak airflow, and noise—these hint the fan may need replacing soon." – Homebuilding & Renovating Magazine
If you’re unsure, do a tissue test. With the fan running, hold a single sheet of tissue up to the vent. If it doesn’t stick, your fan’s suction is shot. Here’s a quick list of when you should look at replacing your extractor fan:
- The fan doesn’t turn on or spins erratically
- There’s a constant burning smell or heat from the motor
- It’s noisy (grinding, buzzing, or rattling)
- Bathrooms stay damp long after showers
- Visible mold, mildew, or constant condensation around the vent
Being proactive with extractor fan replacement stops those annoying damp patches and keeps your bathroom healthy for everyone who uses it—especially if your house is full of teenagers who love hour-long showers.
What Tools and Gear Do You Need?
You don’t need a mountain of tools to swap out a extractor fan replacement, but missing something basic can slow you down fast. Here’s what you should have on hand before you even grab a screwdriver:
- Voltage tester: This one’s a must. If you skip checking the wires, you’re risking a nasty shock. Double-check the power is off before you start unscrewing anything.
- Screwdriver set: Most bathroom fans take Phillips or flathead screwdrivers. Sometimes tiny screws pop up, so having a small set helps.
- Wire strippers or cutters: If your old fan’s wiring is frayed or the new fan needs fresh wire ends, you’ll need these.
- Drill (optional): For awkward screws or stubborn brackets. If you have old plastic anchors or if the screws are stripped, a drill can save the day.
- Mask and gloves: If your fan is dusty or has been up there forever, gloves stop you from getting grime everywhere. The mask is smart too, especially if your bathroom is older and you don’t trust the dust.
- Step stool or ladder: Even in small bathrooms, reaching up isn’t always safe if you’re just balancing on a slippery tile. Grab something sturdy.
- Replacement fan: Obvious, but make sure it fits the hole in your ceiling. Fans come in standard sizes like 4-inch or 6-inch, so check your current one before buying a new model.
- Pencil and tape measure: For checking the hole size or marking holes if the new fan bracket is slightly different. Saves you from patching drywall later.
If your bathroom has attic access, a flashlight is handy, too. Some folks throw down a drop cloth to catch old debris—might sound like overkill, but cleaning up ceiling dust is nobody’s hobby.
All in, you don’t need special skills or super-expensive equipment. With a bit of prep, you can make the whole process a lot smoother and a lot safer.
Step-By-Step: Replacing a Bathroom Extractor Fan
Ready to swap out that old noisy fan? Here’s how you do it without calling anyone in. This walkthrough skips the jargon and keeps things simple but safe.
- Turn Off the Power at the breaker. Test your fan switch after to make sure there’s no juice. You don’t want any surprises.
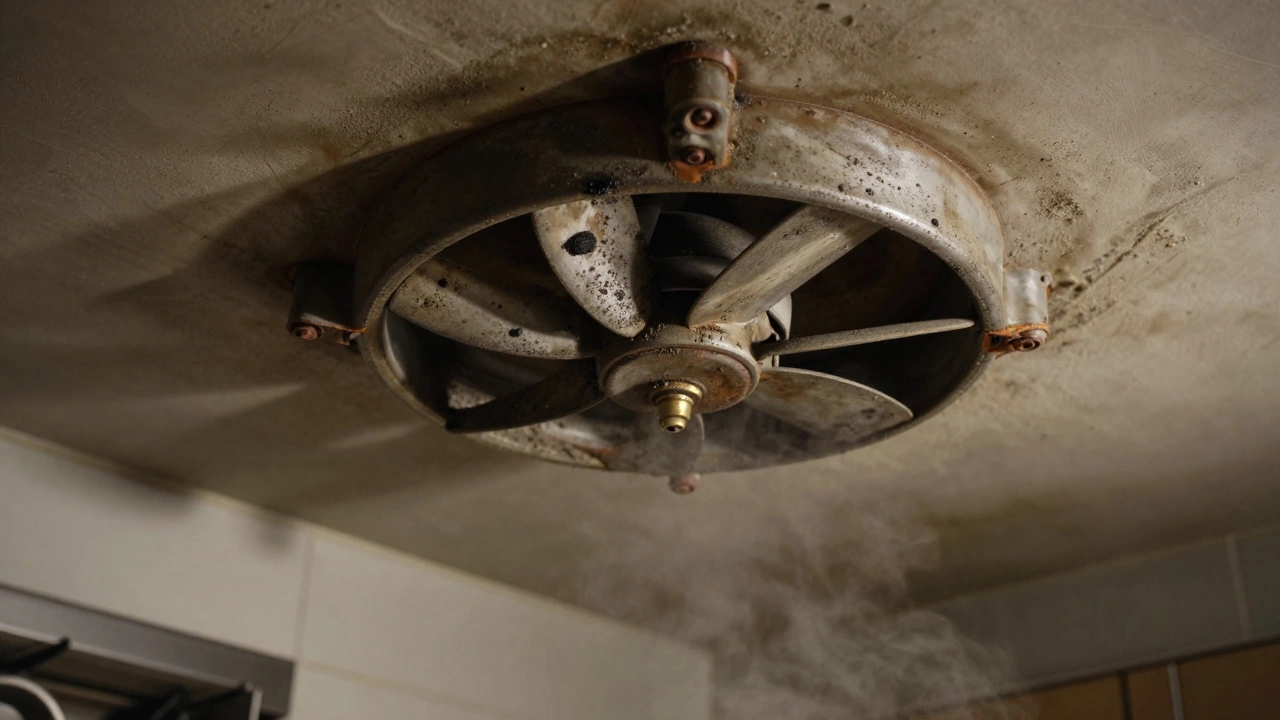
- Pop off the cover. Most covers just pull down with a gentle tug. They’ll hang by little springs—give those a squeeze to fully unhook the cover.
- Check how your fan is fixed in. Usually you’ll find two or four screws holding the fan housing to the ceiling or wall. Some are just clipped if you’re lucky.
- Unscrew or unclip the fan. Pull it out far enough to see the wiring. If there’s any duct taped to the fan, peel it off gently so it doesn’t tear.
- Take a quick photo of the wires. Most standard bathroom fans only use two or three—typically live (brown or red), neutral (blue or black), and sometimes earth (green/yellow). This will help when hooking up the new one.
- Disconnect the wires. Loosen the terminal screws or press in the connectors, then unhook the wires from the old fan.
- Measure the hole and check your new fan matches up. Nothing ruins your day like a surprise mismatch.
- Connect the wires to the new fan just how you found them (your photo comes in handy here). Tighten terminals—no loose stuff.
- Push the new fan housing into place and screw or clip it on. Make sure it’s sitting flush and not wobbling.
- Reattach the duct if you removed it. Use some foil tape if you need a snug fit—this keeps steam moving outside, not into your attic.
- Hook on the new cover and snap it back up.
- Turn the power on at the breaker, then hit the switch. If the fan fires up and pulls air, you nailed it.
Here’s a quick look at a few common tools and average times for each step (if you're not stopping for snacks or kids):
| Step | Tool | Avg. Time (mins) |
|---|---|---|
| Remove Cover & Old Fan | Screwdriver | 10 |
| Wire Disconnection | Voltage Tester, Screwdriver | 5 |
| Install New Fan | Screwdriver, Tape | 10 |
| Wire Reconnection | Screwdriver | 5 |
| Final Check | User | 2 |
Apart from some rare fans with timers or fancy humidity sensors, most models are a straight swap job. Still, keep that extractor fan replacement manual close by if you need a quick double-check. If you see weird colored wires or things aren’t matching up, it’s no shame to call an electrician—better safe than sorry, especially with wiring.
Common Issues and Troubleshooting
Bathroom extractor fans don’t last forever, and they love to throw curveballs when you least expect it. Maybe yours hums but never spins, or it pulls hardly any air at all. You might also see moisture building up way faster than before—cue the foggy mirrors and peeling paint. Let’s break down the usual suspects and how to fix them.
- Power problems: Test the wall switch and breaker first. Around 30% of fan failures happen simply because of a tripped breaker or loose wiring. Use a voltage tester—never trust the naked eye.
- Noisy fans: Rattles and scraping sounds can be caused by loose screws, old bearings, or something stuck in the vents. Tighten any visible screws and clear out debris. Sometimes, a spritz of light oil in the motor (if your fan allows it) can quiet things down.
- Weak airflow: If you’re hardly moving air, check the vent cover for dust or lint. Also, pop open the grille and look for clogged ductwork. According to one HVAC survey, more than half of poor-performance cases are down to a blocked vent pipe or a stuck damper.
- Won’t turn on at all: Confirm the unit is getting power. If it is and nothing happens, the motor may be toast. At this point, replacing the whole fan is usually easier and faster than wrestling with a new motor.
Here’s a quick table showing what typically goes wrong and what tends to fix it:
| Problem | Cause | Solution |
|---|---|---|
| Fan doesn’t turn on | No power, dead motor, broken switch | Check breaker/switch, replace motor or whole fan |
| Noisy operation | Debris, loose mounting, worn bearings | Clean, tighten screws, lubricate or replace fan |
| Weak suction | Clogged vent or duct, stuck damper | Clean vent and duct, free up damper |
| Fan runs but doesn’t clear room | Wrong size, short run time | Install proper-sized fan, use timer switch |
If you run into burnt wires or see scorch marks, stop right there and call an electrician. Safety first. But for most extractor fan glitches, a little patience and elbow grease goes a long way. And when in doubt, always double-check you’ve cut the power before poking around the wiring.
Simple Maintenance to Make Yours Last Longer
If your bathroom stays humid after every shower, your extractor fan is probably working overtime. The good news is, you can get more years out of it with really simple upkeep. Here’s what makes the most difference: cleaning and checking for blockages.
You should clean your bathroom extractor fan every six months. When dust and lint pile up, the motor strains and your fan loses power. Here’s a basic routine:
- Shut off power at the breaker. It takes 10 seconds and keeps you safe.
- Remove the cover—usually it pops off or needs one screw undone.
- Wipe the cover with a damp cloth. For stubborn gunk, a little soap goes a long way.
- Vacuum the fan blades and the area around the motor. Use a soft brush attachment if you have one.
- Check the vent duct for blockages—lint and even the odd spiderweb can build up over time and choke the airflow.
- Put everything back and flip the breaker on.
Try to catch odd noises or rattles early. If the fan suddenly gets louder or starts buzzing, it might need oil or have a loose part. Small problems get worse if you ignore them, and replacing a busted part is way cheaper than buying a new fan.
A well-maintained fan can beat the odds. Most cheap models last 3-5 years, but regular cleaning can stretch that to 10 years or more. Check out the numbers:
| Maintenance | Average Lifespan (Years) |
|---|---|
| Neglected (no cleaning) | 3-5 |
| Basic Cleaning Every 6 Months | 8-10 |
| Regular Cleaning + Duct Check | 10+ |
Makes you think twice about skipping that quick clean, right? Get in the habit and you’ll save cash, keep your bathroom mold-free, and avoid the hassle of surprise repairs.